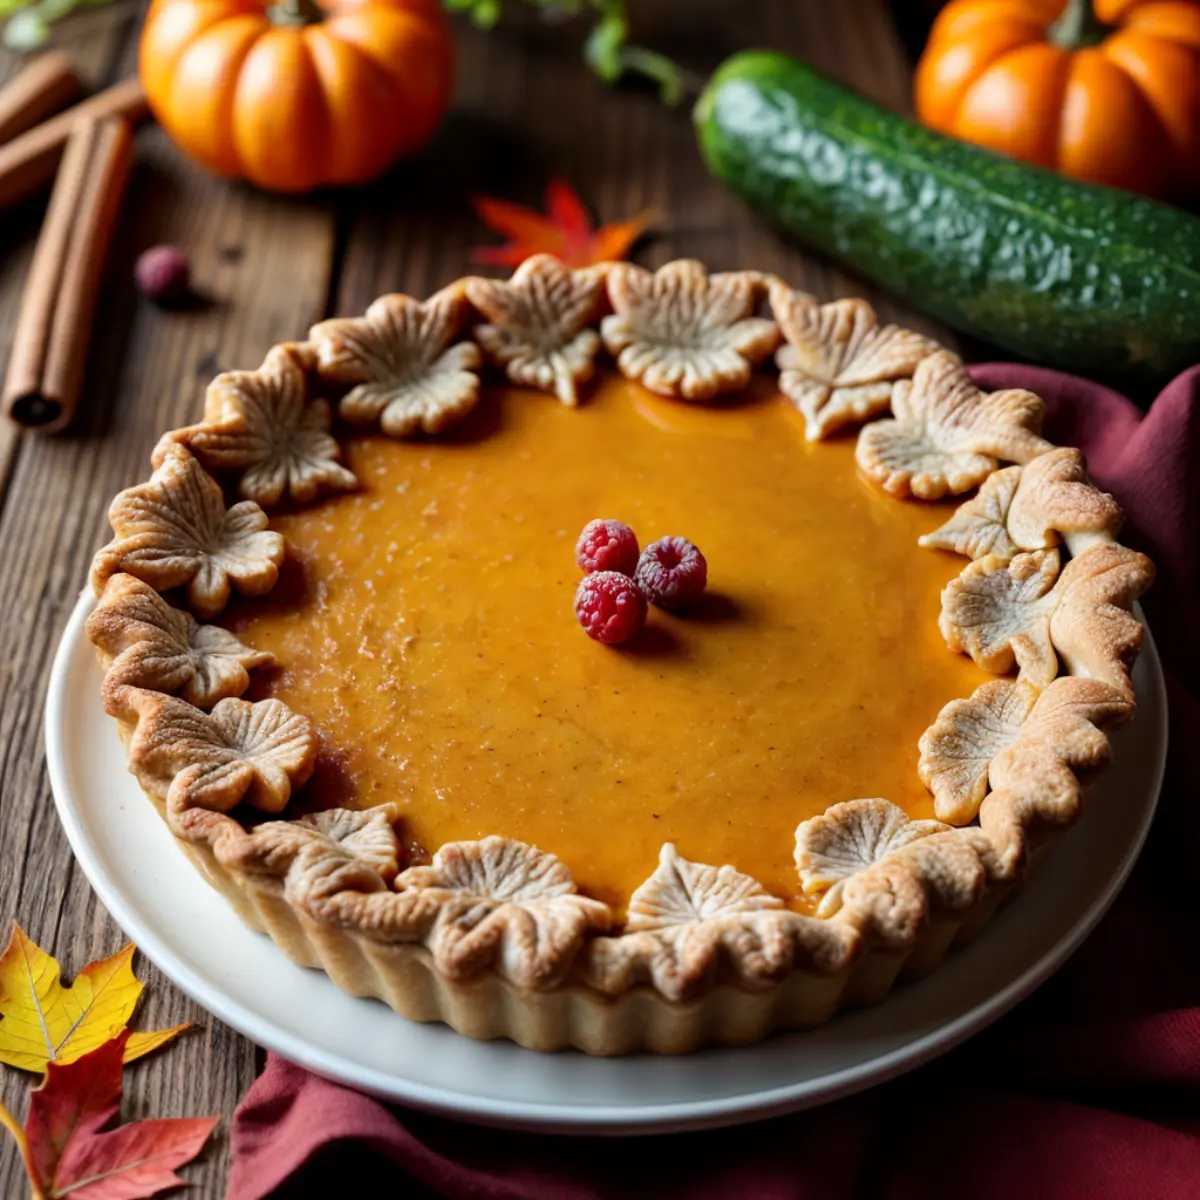
Fall is synonymous with cozy sweaters, golden leaves, and the comforting aroma of freshly baked pies. Pumpkin pie has long been a seasonal favorite, but what if we told you there’s a way to elevate it further? Enter the zucchini and pumpkin pie—a delightful fusion that brings together the creamy richness of pumpkin and the moist, tender qualities of zucchini.
This pie isn’t just delicious; it’s also packed with nutrients, making it a guilt-free indulgence. Whether you’re a seasoned baker or a beginner looking for an easy zucchini pumpkin pie recipe, this step-by-step guide will take you through the entire process of crafting this delightful dessert. Let’s get baking!
Table of Contents
Why Zucchini and Pumpkin Make a Perfect Pair
At first glance, the combination of zucchini and pumpkin might seem unusual, but they complement each other beautifully. Here’s why:
- Zucchini adds moisture: Its subtle flavor and high water content keep the pie filling soft and tender without overpowering the pumpkin.
- Pumpkin provides richness: Known for its naturally sweet and creamy texture, pumpkin acts as the star ingredient, balancing the mild zucchini.
- Both are nutrient-rich: Pumpkin is packed with vitamin A and antioxidants, while zucchini offers fiber, vitamins, and hydration.
This pairing results in a dessert that’s flavorful, moist, and lighter than traditional pies. It’s the perfect choice for anyone seeking a healthy zucchini pumpkin dessert that satisfies sweet cravings without excess calories.

Ingredients
Let’s start by gathering all the ingredients for this delicious pie.
Pie Crust Options
- Store-Bought Crust: Ideal for convenience and time-saving.
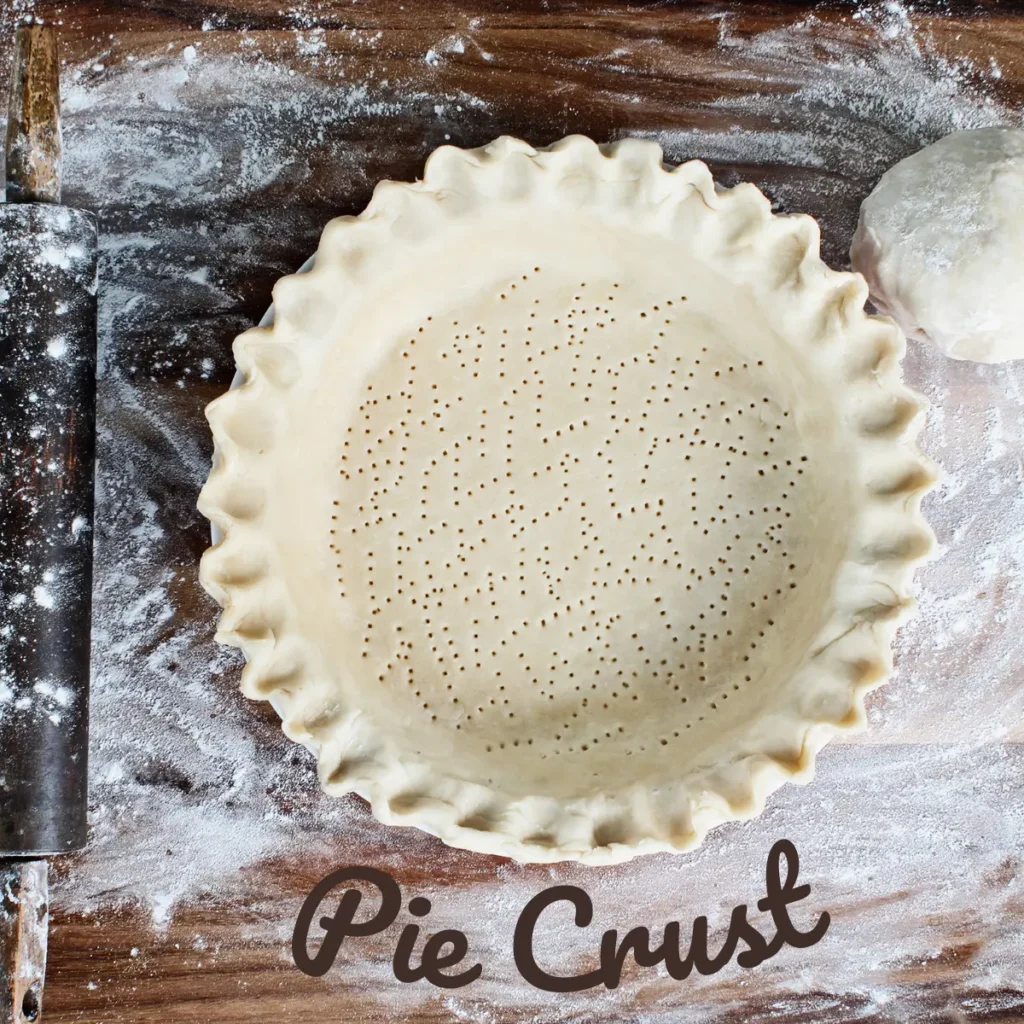
- Homemade Crust: A buttery, flaky crust made from scratch adds a personal touch.
Filling Ingredients
Here’s a comprehensive list of what you’ll need for the filling:

| Ingredient | Amount | Notes |
|---|---|---|
| Pie crust | 1 | Pre-baked or uncooked. |
| Zucchini (grated) | 1 cup | Squeeze out excess moisture. |
| Pumpkin puree | 1 cup | Fresh or canned (unsweetened). |
| Brown sugar | ¾ cup | Adjust for sweetness preference. |
| All-purpose flour | 1 ½ cups | Opt for whole wheat flour to make a healthier choice. |
| Cinnamon | 1 tsp | Adds a warm, spicy flavor. |
| Nutmeg | ½ tsp | Optional but enhances flavor. |
| Eggs | 2 large | At room temperature. |
| Vanilla extract | 1 tsp | For a hint of sweetness. |
| Butter (melted) | ½ cup | Coconut oil works well as an alternative ingredient. |
Step-by-Step Instructions
Follow these detailed steps to make the perfect zucchini pumpkin pie from scratch.
1. Prepare Zucchini and Pumpkin Pie Crust
- If using store-bought: Allow it to thaw (if frozen) and follow package instructions for pre-baking if required.
- For homemade crust: Roll out the dough and press it into a 9-inch pie pan. Trim excess edges and create a decorative crimp.Chill the crust in the refrigerator while you get the filling ready.

2. Preheat the Oven
Preheat your oven to 350°F (175°C). This ensures an even bake once your pie is ready to go in.
3. Prepare the Filling
Step 1: Grate the Zucchini
- Use a box grater to shred the zucchini finely.
- Place the grated zucchini in a clean towel or paper towels and squeeze out as much liquid as possible.
Step 2: Mix the Dry Ingredients
- In a large mixing bowl, whisk together the flour, cinnamon, and nutmeg.
Step 3: Combine the Wet Ingredients
- In another bowl, mix the pumpkin puree, eggs, brown sugar, vanilla extract, and melted butter until smooth.
Step 4: Incorporate the Zucchini
- Gently mix the grated zucchini into the wet ingredients until it is evenly incorporated.
Step 5: Bring It All Together
- The dry components should be added to the wet mixture gradually. To prevent overmixing, stir just until incorporated.
4. Assemble Zucchini and Pumpkin Pie
- Pour the prepared filling into the pie crust, spreading it out evenly with a spatula.
- Place the pie pan on a baking sheet to catch any potential drips and make handling easier.
5. Bake Zucchini and Pumpkin Pie
- Bake for 45-50 minutes, or until the filling is firm and a toothpick inserted in the center comes out clean.
- To avoid over-browning, wrap the crust edges with aluminum foil if they begin to brown too soon.

6. Cool and Serve Zucchini and Pumpkin Pie
- Let the pie cool completely at room temperature before cutting into slices. This helps the filling firm up for cleaner cuts.
Tips and Techniques for Success
Here are some expert tips to ensure your easy zucchini pumpkin pie is a success:
- Blind Bake the Crust: For a crisp crust, bake it for 10-15 minutes before adding the filling.
- Use Fresh Spices: Spices lose potency over time. Using freshly ground cinnamon and nutmeg will enhance the flavor of your pie.
- Avoid Overmixing: Overmixing the batter can make the filling dense. Just enough stirring will bring the ingredients together.
- Check for Doneness: The filling is ready when it slightly puffs up and the center is firm to the touch.
Nutritional Benefits
This zucchini pumpkin pie recipe isn’t just tasty; it’s also packed with nutritional benefits:
- Fiber-Packed: Zucchini and pumpkin are excellent sources of dietary fiber, promoting healthy digestion.
- Vitamin-Rich: Pumpkin provides a hefty dose of vitamin A, while zucchini contributes vitamin C and potassium.
- Low in Calories: Compared to traditional desserts, this pie is a lighter, healthier option.
Frequently Asked Questions (FAQs)
Can I Make This Recipe Gluten-Free?
Yes! Replace the all-purpose flour with a gluten-free baking mix to accommodate dietary restrictions.
Can I Use Fresh Pumpkin Instead of Canned?
Absolutely. To use fresh pumpkin, cut it into chunks, roast it until soft, and puree it in a blender until smooth.
How Should I Store Zucchini Pumpkin Pie?
- Any leftovers can be kept in an airtight jar in the refrigerator for up to five days.
- For longer storage, freeze individual slices, When you want to serve them, thaw overnight in the refrigerator.
Do I Have to Pre-Bake the Crust?
Pre-baking isn’t required but is recommended if you prefer a crisper bottom crust.

Zucchini and Pumpkin Pie Recipe
Ingredients
For the Pie Crust:
- 1 store-bought pie crust or homemade crust
For the Filling:
- 1 cup zucchini grated and moisture squeezed out
- 1 cup pumpkin puree fresh or canned, unsweetened
- ¾ cup brown sugar adjust for sweetness
- 1 ½ cups all-purpose flour substitute with whole wheat for a healthier option
- 1 tsp cinnamon
- ½ tsp nutmeg optional
- 2 large eggs room temperature
- 1 tsp vanilla extract
- ½ cup melted butter or substitute with coconut oil
Instructions
Prepare the Pie Crust
- If using a store-bought crust, thaw it if frozen. Pre-bake as per package instructions if needed.
- If using a homemade crust, roll it out and press it into a 9-inch pie pan. Crimp the edges for a decorative look. Chill while preparing the filling.
Preheat the Oven
- Set the oven to 350°F (175°C).
Make the Filling
- Grate the zucchini using a box grater and squeeze out excess moisture with a clean towel or paper towels.
- In a large mixing bowl, whisk together the flour, cinnamon, and nutmeg.
- In another bowl, combine the pumpkin puree, eggs, brown sugar, vanilla extract, and melted butter. Stir until smooth.
- Fold the grated zucchini into the wet mixture.
- Gradually add the dry ingredients to the wet mixture, stirring until just combined.
Assemble the Pie
- Pour the prepared filling into the pie crust. Smooth out the top with a spatula.
- Place the pie on a baking sheet to catch any drips.
Bake
- Bake for 45-50 minutes, or until the filling is set and a toothpick inserted comes out clean. Cover the edges of the crust with foil if they brown too quickly.
Cool and Serve
- Let the pie cool fully at room temperature before cutting into slices. This helps the filling set.
Notes
To make it gluten-free: substitute the all-purpose flour with a gluten-free baking blend.
Store leftovers in an airtight container in the refrigerator for up to 5 days. Freeze for longer storage.
You’ve now mastered the art of making a unique zucchini pumpkin pie from scratch. This recipe combines the best of both worlds—nutritious ingredients and mouthwatering flavor—to create a dessert that’s perfect for any occasion.
What are you waiting for? Gather all your ingredients, roll up your sleeves, and start baking! Once you’ve tried this recipe, leave your thoughts in the comments section below after attempting it , share your results in the comments below.
Did you add a personal twist? Let us know—we’d love to hear about your baking adventures.
For more creative and healthy dessert recipes, subscribe to our blog today.
Happy baking!
