
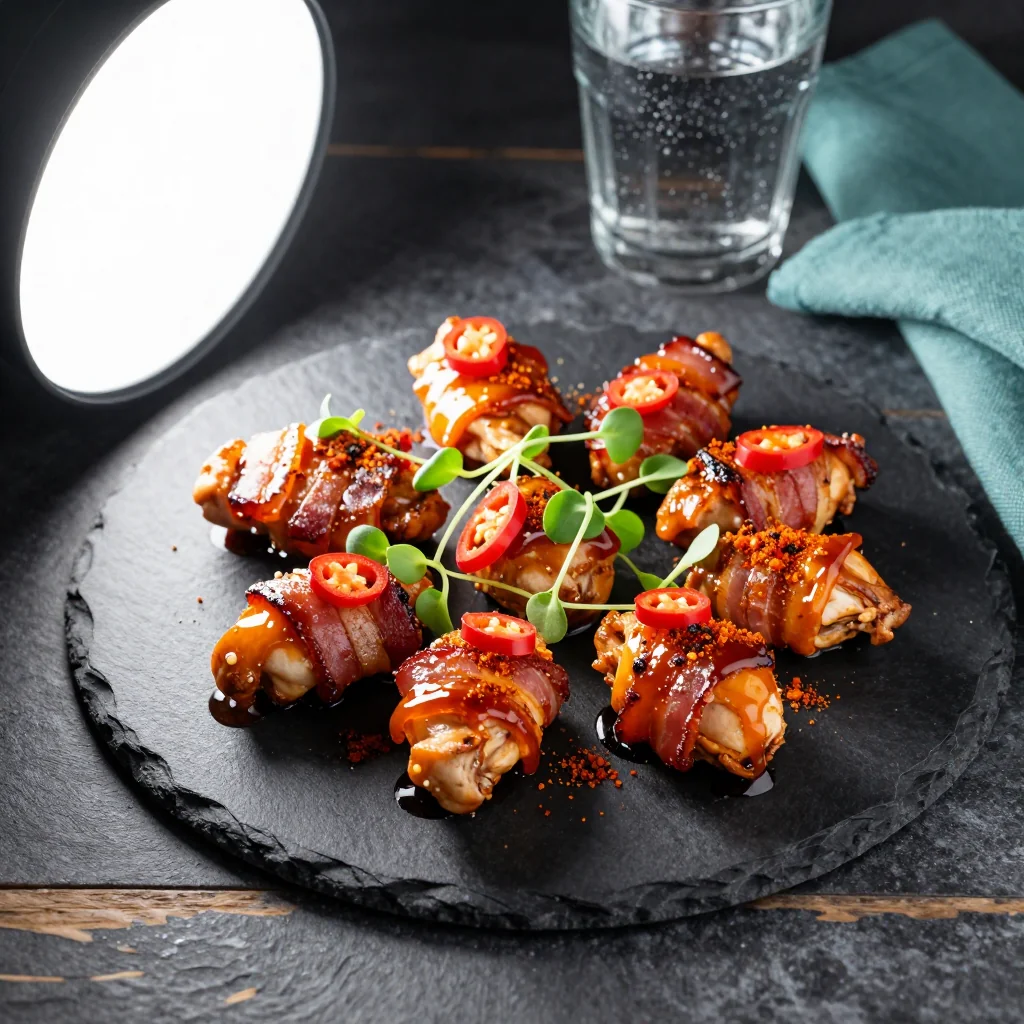
Crispy, spicy wings that bring the heat of a classic buffalo bar to your kitchen.

I still remember the first time I tasted authentic Buffalo wings at a tiny sports bar in upstate New York. The crackle of the skin, the rush of heat, and the cool tang of blue‑cheese dressing created a symphony that still dances on my palate. That memory sparked a lifelong love affair with wing culture, and I’ve spent countless evenings perfecting the balance between crispiness and sauce‑soaked flavor.
Originating from the city that never sleeps, Buffalo sauce has become a staple across the United States, celebrated for its simple yet bold combination of butter, hot sauce, and a pinch of vinegar. My version stays true to that tradition while adding a few secret tricks that elevate the wings from ordinary to unforgettable.
In this article, you’ll discover how to achieve restaurant‑quality wings at home, the science behind a perfectly crisp skin, and the exact ratios that make the sauce cling lovingly to every bite. By the end, you’ll be equipped to serve a crowd‑pleasing platter that’s both fiery and buttery, with just the right amount of heat.
I’m thrilled to share every detail, from ingredient selection to plating, so you can recreate this classic with confidence and flair. Let’s get started!
🌟 Why This Recipe Will Capture Your Heart
Whether you’re feeding a game‑day crowd or craving a spicy snack, these wings deliver on flavor, texture, and satisfaction.
- ✨ Perfect Crunch: A two‑step baking method guarantees a golden, crackly exterior without deep‑frying.
- ✨ Balanced Heat: The sauce blends hot sauce with butter and a whisper of vinegar for a mellow, lingering heat.
- ✨ Easy Scaling: The built‑in portion adjuster lets you multiply or halve the recipe with a single click.
- ✨ Minimal Mess: Baking instead of frying reduces splatter, oil usage, and cleanup time.
- ✨ Versatile Pairings: From crisp celery sticks to creamy blue‑cheese dip, the wings complement a variety of sides.
- ✨ Crowd‑Pleaser: The iconic flavor profile wins over both spice lovers and milder palates.
🥗 Ingredients
📝 Complete Ingredient List
For the Wings:
- 2 lbs chicken wings
- 1 tsp salt
- 1 tsp black pepper
- 1 tsp garlic powder
- 1 tsp smoked paprika
For the Buffalo Sauce:
- 0.5 cup unsalted butter
- 0.5 cup hot sauce (e.g., Frank’s RedHot)
- 1 tbsp white vinegar
- 1 tsp Worcestershire sauce
- 0.25 tsp cayenne pepper (optional)
For Garnish & Serving:
- 2 tbsp fresh parsley, chopped
- 0.25 cup blue‑cheese crumbles
- 1 bunch celery sticks

🔍 Focus on Key Ingredients
Chicken Wings
Fresh, skin‑on wings provide the perfect canvas for a crispy exterior and juicy interior. Look for wings that are uniform in size; this ensures even cooking. If possible, ask the butcher to separate the drumettes from the flats for a more elegant presentation.
Unsalted Butter
Butter is the heart of Buffalo sauce, delivering richness that balances the acidity of the hot sauce. Unsalted butter lets you control the salt level precisely, preventing the sauce from becoming overly salty.
Hot Sauce
The classic Buffalo flavor hinges on a quality hot sauce with a vinegar base. Frank’s RedHot is the traditional choice, but any sauce with a similar heat profile and tang will work. Adjust the amount based on your preferred spice level.
🔄 Quick Substitutions
| If you don’t have... | Use instead... |
|---|---|
| Butter | Olive oil (for a lighter version) |
| Hot sauce | Sriracha mixed with a splash of apple cider vinegar |
| Blue‑cheese | Greek yogurt mixed with crumbled feta |
👨🍳 Step‑by‑Step Instructions
Follow these detailed steps to achieve perfectly crisp wings drenched in buttery, tangy sauce. Take your time with each phase, and you’ll be rewarded with a dish that rivals any sports‑bar favorite.
📋 Phase 1: Preparation & Mise en Place
Set up your workspace and get all components ready before the oven heats.
Pat the Wings Dry
Using paper towels, thoroughly pat each wing dry. Removing excess moisture is crucial for achieving a crispy skin during baking. Once dry, place the wings in a large bowl, sprinkle with salt, black pepper, garlic powder, and smoked paprika, then toss until evenly coated. The spices should cling lightly to the surface, creating a flavorful base that will deepen as the wings roast.
Prepare the Sauce Ingredients
While the wings rest, measure out butter, hot sauce, white vinegar, Worcestershire sauce, and cayenne pepper. Keep them within easy reach; you’ll melt the butter and combine everything in a saucepan in the next phase. If you prefer a milder wing, omit the cayenne pepper or reduce it to a pinch.
🔥 Phase 2: Baking & Sauce Integration
Cook the wings to a golden crunch and then coat them with the luscious Buffalo sauce.
Preheat and Bake the Wings
Preheat your oven to 425°F (220°C). Line a baking sheet with foil and place a wire rack on top; this allows air to circulate around the wings, promoting even browning. Arrange the seasoned wings in a single layer on the rack, ensuring they don’t touch. Bake for 20 minutes, then flip each wing and bake for an additional 15‑20 minutes until the skin is deeply golden and crisp.
Make the Buffalo Sauce
While the wings finish baking, melt the butter in a saucepan over medium heat. Once melted, whisk in the hot sauce, white vinegar, Worcestershire sauce, and cayenne pepper. Simmer the mixture for 2‑3 minutes, stirring constantly, until it thickens slightly and the flavors meld. Remove from heat; the sauce should be glossy and smooth.
Coat the Wings
Transfer the baked wings to a large mixing bowl. Pour the hot Buffalo sauce over the wings and toss vigorously until each piece is evenly coated. The sauce should cling to the wings, forming a thin, shimmering glaze that will set as it cools.
✨ Phase 3: Finishing Touches & Plating
Give the wings a final boost of flavor and present them beautifully.
Check for Doneness
Ensure the internal temperature of the thickest wing part reaches 165°F (74°C). Use an instant‑read thermometer for accuracy. The skin should be crisp, and the meat should be juicy and no longer pink.
Garnish
Transfer the sauced wings to a serving platter. Sprinkle chopped fresh parsley and blue‑cheese crumbles over the top. The parsley adds a fresh, herbaceous note that brightens the richness, while the blue‑cheese offers a creamy contrast to the heat.
Serve with Celery and Dip
Arrange celery sticks around the platter and provide a small bowl of blue‑cheese dressing or ranch for dipping. The cool crunch of celery balances the fiery wings, creating a harmonious bite.
💡 Expert Tips & Tricks
🛒 Choosing the Right Ingredients
Freshness is paramount. Look for wings with a pinkish hue and firm texture; avoid any that appear gray or have a slimy film. When selecting butter, choose a high‑fat European style for a richer sauce. For hot sauce, read the label to ensure it’s vinegar‑forward rather than sugar‑laden, which can affect the final flavor balance.
🔪 Preparation Techniques
Patting the wings dry cannot be overstated; a moist surface will steam instead of crisp. Season the wings at least 10 minutes before baking to let the salt penetrate. If you have time, a brief dry‑brine (salt only) for an hour will further enhance crispness.
🌡️ Mastering the Cooking Process
The high oven temperature (425°F) creates a Maillard reaction that locks in flavor and texture. Using a wire rack allows heat to circulate, preventing soggy undersides. Flip the wings halfway through for uniform browning. If you prefer an extra‑crunchy finish, broil for the last 2‑3 minutes, watching closely to avoid burning.
🍽️ Presentation & Service
A rustic wooden board adds visual appeal, while a drizzle of extra sauce in a small ramekin invites diners to customize their heat level. Garnish with a bright green parsley sprinkle and a crumble of blue‑cheese for contrast. Serve immediately for the best texture; the wings lose crispness after sitting for too long.
🏆 Pro Tips
Understanding the science behind each step separates a good wing from a legendary one.
- 🎯 Temperature Control: Baking at a consistent 425°F ensures the protein coagulates quickly, sealing juices inside while the skin dehydrates and crisps.
- 🎯 Butter Emulsion: Slowly whisking butter into the hot sauce creates a stable emulsion; adding the butter too quickly can cause separation, resulting in a watery sauce.
- 🎯 Salt Timing: Salting the wings early draws out moisture, which then evaporates during baking, contributing to a drier, crispier skin.
- 🎯 Airflow Importance: The wire rack is essential; without it, the bottom of the wings sits in its own rendered fat, preventing the desired crunch.
- 🎯 Sauce Adherence: Toss the wings while they’re still hot; the residual heat helps the sauce cling better, forming a glossy coating.
- 🎯 Rest Before Serving: Let the wings rest for 5 minutes after coating; this allows the sauce to set and the skin to re‑crisp slightly.
"A great wing is a balance of heat, butter, and that perfect crunch that sings in your mouth." — Chef Maya Rodriguez
🔄 Variations & Adaptations
The core technique is versatile, allowing you to tailor the dish to dietary preferences, flavor cravings, or seasonal themes without compromising the iconic Buffalo experience.
🥬 Vegetarian/Vegan Version
Replace chicken wings with cauliflower florets or plant‑based wing substitutes. Toss the cauliflower in the same seasoning blend, bake at 425°F for 30‑35 minutes, then coat with the classic Buffalo sauce (use vegan butter). The result is a crunchy, spicy bite that satisfies both vegans and meat‑eaters.
- Use 1.5 lb cauliflower florets, cut into bite‑size pieces.
- Swap butter for ½ cup melted coconut oil for a dairy‑free sauce.
🌶️ Flavor Variations
Experiment with different heat profiles and complementary aromatics to keep the recipe fresh.
Spicy Version:
Increase cayenne to ½ tsp and add 1 tsp smoked chipotle powder for a smoky heat that lingers.
Mediterranean Version:
Add 1 tsp dried oregano and replace half the butter with olive oil. Finish with a squeeze of lemon and a sprinkle of feta.
Asian Fusion Version:
Mix 2 tbsp soy sauce, 1 tsp ginger paste, and a dash of sesame oil into the Buffalo sauce. Garnish with toasted sesame seeds and sliced green onions.
⚠️ Dietary Adaptations
Gluten‑Free:
The recipe is naturally gluten‑free; just ensure your hot sauce and any pre‑made dips contain no hidden wheat.
Lactose‑Free:
Substitute butter with a lactose‑free margarine or coconut oil; the flavor remains buttery while eliminating dairy.
Low‑Calorie:
Trim the butter to ¼ cup and increase the hot sauce proportion. Serve with a light yogurt‑based dip instead of blue‑cheese.
👶 Family/Kids Version
Reduce the heat by omitting cayenne and using a milder hot sauce. Offer a side of honey‑mustard dip for kids who prefer sweet over spicy. Cut the wings into smaller, bite‑size pieces for easier handling.
📦 Storage & Reheating
🧊 Conservation
Refrigerator:
- Duration: 3 days
- Container: Airtight glass or plastic container
- Tip: Store sauce separately to keep the skin crisp.
Freezer:
- Duration: 2 months
- Method: Cool completely, then freeze in a zip‑top bag, removing excess air.
- Defrost: Thaw overnight in the refrigerator before reheating.
💡 For best texture, reheat using the oven method rather than the microwave.
♨️ Reheating
🔥 Oven (Recommended):
- Preheat to 350°F (175°C).
- Place wings on a wire rack over a baking sheet; cover loosely with foil.
- Heat for 10‑12 minutes.
- Remove foil and continue for 3‑5 minutes to restore crispness.
⚡ Microwave (Quick):
- Cover with a microwave‑safe lid.
- Heat on medium power for 1 minute.
- Stir or rotate, then heat another 30 seconds if needed.
🍳 Skillet:
Add a splash of oil to a hot skillet, toss the wings, and cook for 3‑4 minutes, turning frequently until heated through and the skin re‑crisped.
🍷 Perfect Pairings
🥗 Side Dishes
- Celery & Carrot Sticks: Provide a refreshing crunch that balances the heat.
- Classic Coleslaw: The creamy tang cuts through the butteriness of the sauce.
- Garlic Parmesan Fries: An indulgent, salty side that complements the wings.
🍷 Wine & Beverage Pairings
- Cold Lager Beer: Its crisp carbonation tempers the spice.
- Dry Riesling: The slight sweetness mirrors the sauce’s tang.
- Non‑Alcoholic: Sparkling ginger ale adds a sweet‑spicy fizz.
🍰 Complementary Courses
Begin with a light citrus salad to awaken the palate, follow the wings with a creamy avocado mousse, and finish with a tangy lemon cheesecake that offers a sweet, refreshing conclusion.
❓ Frequently Asked Questions
Q: Can I use boneless chicken pieces instead of wings?
Yes, boneless chicken thighs or breast strips work well. Adjust the cooking time to 15‑18 minutes, and ensure they are coated with the same seasoning. The texture will be slightly different, but the flavor profile remains authentic.
Q: How do I make the sauce less spicy?
Reduce the hot sauce to ⅓ cup and increase butter to ¾ cup. You can also add a tablespoon of honey or maple syrup for a subtle sweetness that mellows the heat without masking the classic flavor.
Q: My wings turned out soggy. What went wrong?
Sogginess often results from overcrowding the baking rack or not patting the wings dry enough. Ensure each wing has space around it, and consider using a convection setting for better airflow. Baking on a wire rack is essential.
Q: Can I prepare the sauce ahead of time?
Absolutely. The sauce can be made up to 2 days in advance and stored in an airtight container in the refrigerator. Reheat gently on low heat before tossing with the freshly baked wings.
Q: What are good substitutes for blue‑cheese dressing?
If you’re not a fan of blue cheese, a ranch dressing works perfectly. For a dairy‑free option, blend silken tofu with lemon juice, garlic, and fresh herbs for a creamy dip.
Q: How can I make the wings ahead for a party?
Bake the wings fully, cool, and store them uncoated in the fridge. Just before serving, reheat as described, then toss with freshly warmed sauce. This ensures the wings stay crisp while the sauce remains fresh.
🎉 Let’s Get Cooking!
This Buffalo wing recipe brings together the perfect blend of heat, butter, and crunch, making it an unbeatable centerpiece for any gathering. By following the detailed steps, you’ll master the art of achieving that coveted restaurant‑style texture without deep‑frying, while the sauce delivers a bold, tangy kick that keeps guests reaching for more.
I hope you enjoy the process as much as the final bite. Share your results, ask any lingering questions in the comments, and don’t forget to rate the recipe if it earned a place at your table.
Have you tried this recipe?
Leave a comment and rating below! Share your photos on Instagram with #BuffaloWingBliss for a chance to be featured.
Chicken Wings with Buffalo Sauce
Crispy, buttery wings drenched in classic Buffalo heat.
📝 Ingredients
Wings
Buffalo Sauce
Garnish & Serving
👨🍳 Instructions
- 1
Pat the chicken wings dry with paper towels, then season with salt, pepper, garlic powder, and smoked paprika.
- 2
Preheat the oven to 425°F (220°C) and set a wire rack on a foil‑lined baking sheet.
- 3
Arrange the wings in a single layer on the rack and bake for 20 minutes.
- 4
Flip the wings and continue baking for another 15‑20 minutes until the skin is golden and crisp.
- 5
Meanwhile, melt butter in a saucepan, whisk in hot sauce, white vinegar, Worcestershire sauce, and cayenne pepper; simmer 2‑3 minutes.
- 6
Transfer baked wings to a large bowl, pour the hot Buffalo sauce over them, and toss until fully coated.
- 7
Sprinkle chopped parsley and blue‑cheese crumbles over the coated wings.
- 8
Serve immediately with celery sticks and a side of blue‑cheese or ranch dressing.
- 9
Enjoy the wings while hot; the crisp skin and buttery sauce are at their peak.
- 10
Store leftovers as described in the storage section and reheat using the oven method for best results.
🥗 Nutritional Information (per serving)
*Values are estimates based on standard ingredients.
📚 You Might Also Like

Honey Garlic Chicken Wings

Spicy Korean Fried Chicken

Classic BBQ Ribs


💬 Comments & Reviews
Leave a Comment
No comments yet. Be the first to share your thoughts!