The kitchen was a battlefield that night, the counter littered with melted chocolate shards and a handful of unsheltered nuts. I was chasing a midnight craving that had turned into a full‑blown dessert crisis, and my friend dared me to make something that would make everyone in the apartment say, “I’ve never tasted anything like this.” I stared at the stack of chocolate chips, the bag of dried cranberries, and the jar of crushed peppermint candies, feeling like a culinary superhero about to unleash a flavor bomb. The air smelled like a winter wonderland, the faint scent of cocoa mingling with the crisp tang of dried fruit; the sound of the blender whirring was a promise of something sweet and satisfying. I knew that if I could pull this together, it would become the go‑to treat for holiday parties, a crowd‑pleaser that would make every guest ask for a second piece.
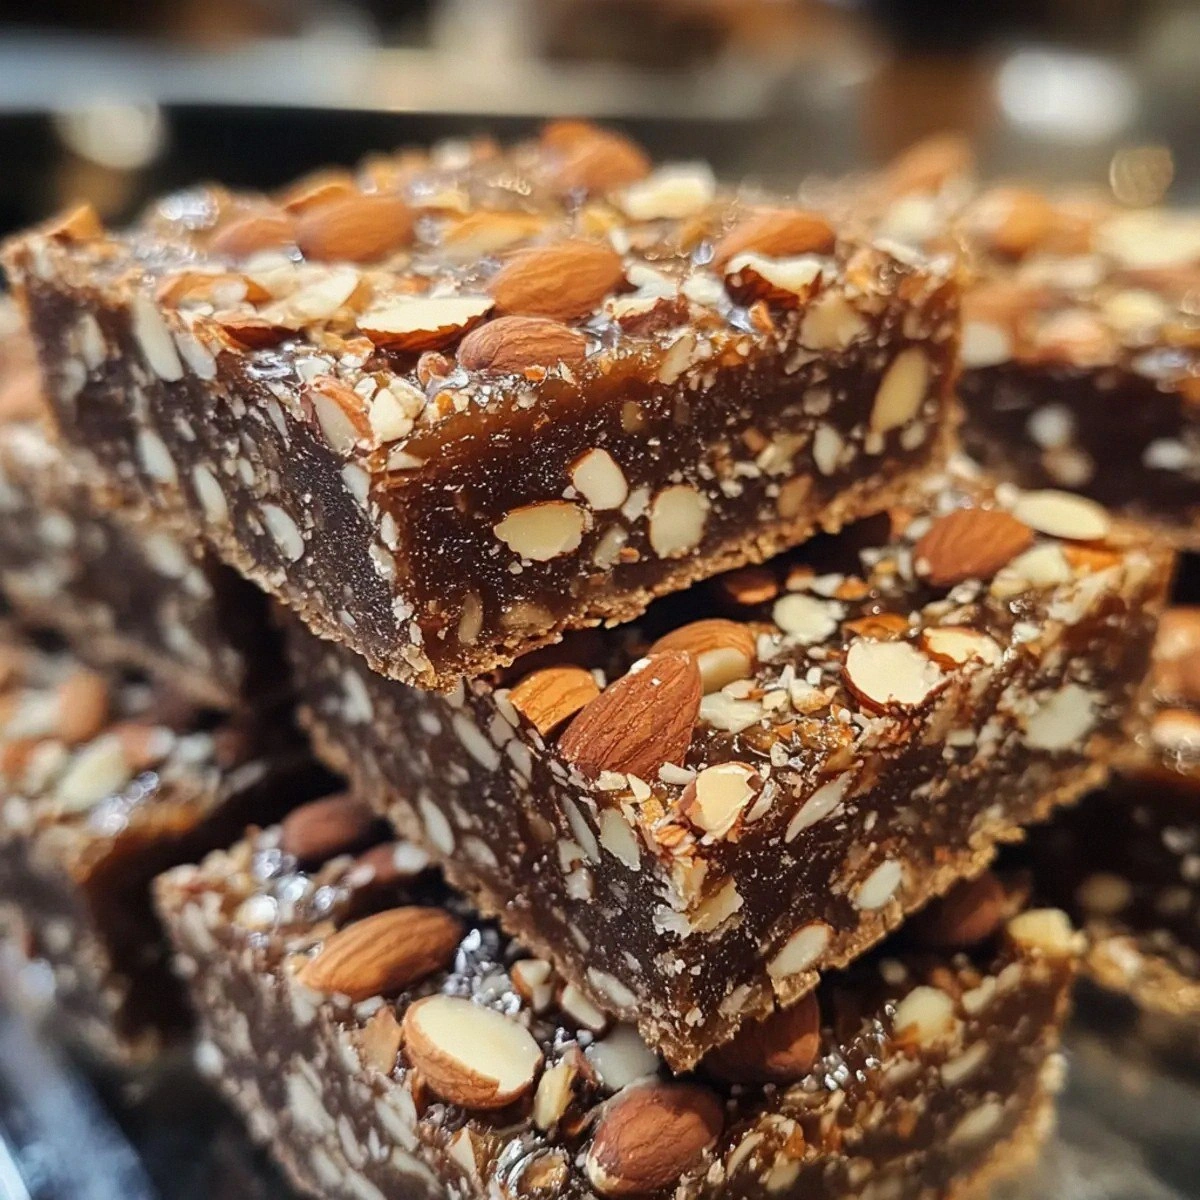
Picture this: a glossy, dark chocolate base that crackles when you break it, a crunchy mix of almonds or walnuts that adds a nutty counterpoint, and a burst of sweet, chewy cranberries or apricots that provide a chewy, tart contrast. The peppermint candies, optional but highly recommended, add a minty kick that lingers on the palate like a fresh snowfall. The sea salt, sprinkled on top, isn’t just a garnish; it’s the final flourish that turns sweet and bitter into a harmonious duet. I’ve spent years experimenting with chocolate bark, and this version is hands down the best you’ll ever make at home. The secret? A simple technique that locks in the chocolate’s sheen while keeping the mix airy and crunchy.
I’ve had my fair share of chocolate bark disasters—too soft, too sticky, or a mess of melted chips that never set. Those nights taught me that the key to flawless bark is precision in temperature and timing. I’ll walk you through every single step, from melting the chocolate to the final sprinkle of sea salt, and by the end, you’ll wonder how you ever made it any other way. This isn’t just a recipe; it’s a ritual, a moment of joy that turns ordinary ingredients into holiday gold.
But first, let’s talk about what makes this version stand out from every other chocolate bark recipe out there. It’s not just the ingredients—though they’re fantastic. It’s the way the flavors dance, the way the textures play against each other, and the way the final product feels like a piece of edible art. I’ll also drop a teaser about a technique that will make your bark set in record time, so keep your eyes peeled. Ready? Let’s dive in.
What Makes This Version Stand Out
- Flavor: The combination of dark or milk chocolate, sweet dried fruit, and crunchy nuts creates a layered taste that evolves with each bite. The chocolate’s bittersweetness is amplified by the tartness of cranberries, while the nuts add a satisfying crunch.
- Texture: The melt‑and‑set method ensures a glossy finish with a crisp edge that shatters like thin ice, while the interior remains slightly chewy thanks to the fruit.
- Simplicity: No fancy equipment required—just a microwave or double boiler, a baking sheet, and a parchment paper. It’s a recipe that anyone can master in under an hour.
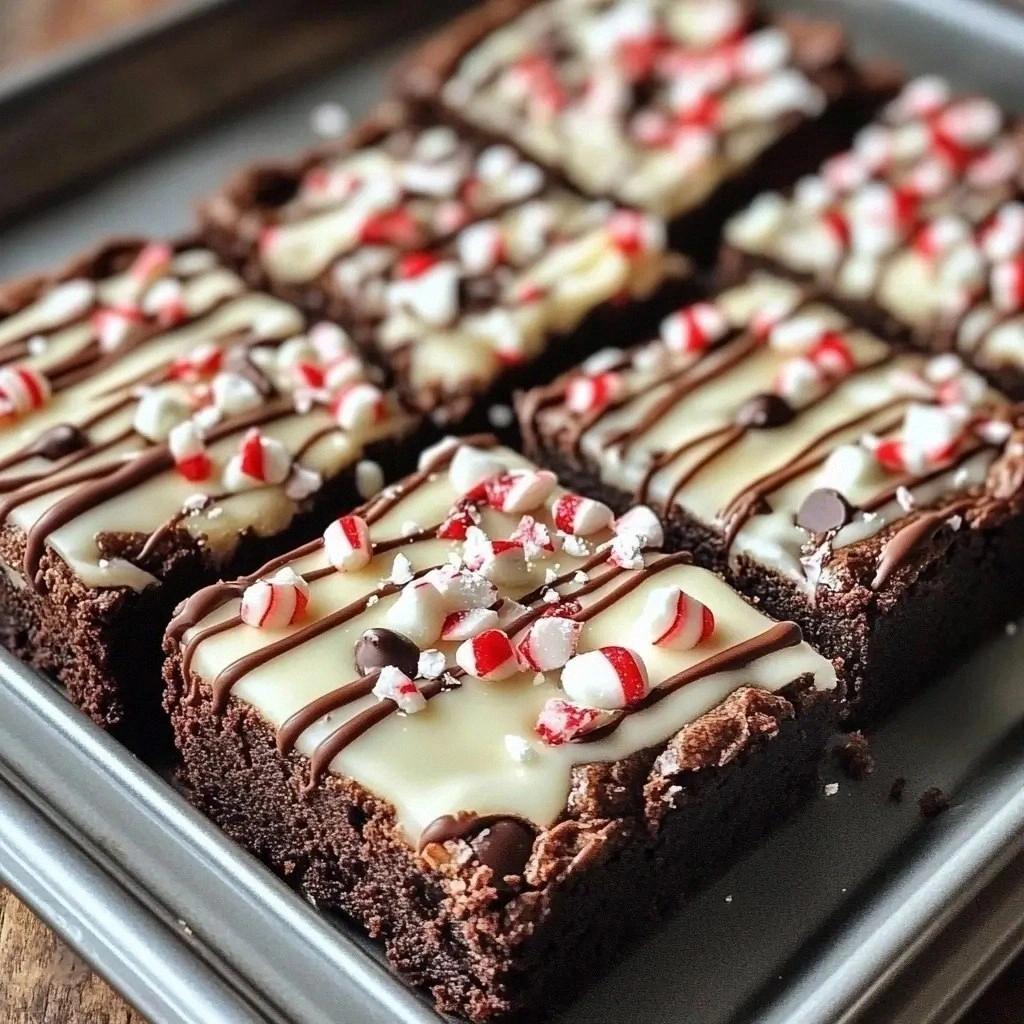
- Uniqueness: The optional crushed peppermint candies give a minty twist that sets this bark apart from classic chocolate bars.
- Crowd Reaction: Friends who taste this bark often comment, “I’ve never had anything so rich and light at the same time.”
- Ingredient Quality: Using high‑quality chocolate chips (70% cocoa for dark or premium milk) guarantees depth of flavor that cheap chips can’t match.
- Cooking Method: The double‑boiler technique keeps the chocolate from scorching, giving you a silky finish.
- Make‑ahead Potential: Once set, the bark stays fresh for up to a week in an airtight container or two weeks if frozen.
Inside the Ingredient List
The Flavor Base
Chocolate Chips (2 cups): They’re the backbone of the bark, delivering that rich, velvety cocoa flavor. Choosing a high‑percentage dark chocolate (70–80%) gives depth, while premium milk chocolate offers a creamy sweetness. Skipping this step would turn the bark into a plain nut mix—no way.
The Texture Crew
Chopped Nuts (1 cup): Almonds or walnuts bring a satisfying crunch that contrasts beautifully with the smooth chocolate. If you’re allergic or just want a lighter bite, try pistachios or hazelnuts. Removing nuts would make the bark too dense and lose that essential crunch.
The Unexpected Star
Dried Fruit (1 cup): Cranberries or apricots add a chewy, tart element that cuts through the sweetness. Their natural sugars caramelize slightly when baked, creating a subtle caramelized flavor. If you omit the fruit, the bark becomes a chocolate‑nut hybrid—still good, but missing that chewy surprise.
The Final Flourish
Crushed Peppermint Candies (½ cup, optional): They introduce a minty freshness that balances the chocolate’s richness. If you prefer a pure chocolate experience, you can skip them entirely, but you’ll miss the holiday twist.
Everything's prepped? Good. Let's get into the real action...
The Method — Step by Step
- Place the chocolate chips in a heat‑proof bowl. Set it over a pot of simmering water, ensuring the bottom of the bowl doesn’t touch the water. Stir continuously until the chocolate is completely melted and smooth. This gentle melt preserves the chocolate’s sheen; a quick microwave burst can scorch it.
- Once melted, remove the bowl from the heat and let it sit for 30 seconds. This pause allows the chocolate to settle and reduces the risk of burning. The chocolate should feel silky to the touch, not runny.
- Add the chopped nuts to the melted chocolate, stirring until every nut is coated. The nuts absorb the chocolate’s richness, creating a flavor bridge between the chocolate and fruit.
- Fold in the dried fruit gently, ensuring an even distribution. The fruit’s moisture will slightly soften the bark, giving it a delightful chew.
- If you’re using crushed peppermint candies, sprinkle them over the mixture and fold lightly. The peppermint will melt into the chocolate, infusing a minty aroma.
- Line a baking sheet with parchment paper. Pour the chocolate mixture onto the sheet, spreading it to a thickness of about ¼ inch with a spatula. A uniform thickness ensures even setting and a clean break.
- Tap the baking sheet gently on the counter to release any air bubbles. This step prevents the bark from having unwanted air pockets that could make it crack unevenly.
- Sprinkle a generous pinch of sea salt over the top. The salt’s subtle brine accentuates the chocolate’s sweetness and balances the tartness of the fruit.
- Place the sheet in the refrigerator for 30 minutes, or until the chocolate has fully set and is no longer tacky. A quick test: press a finger; it should leave a clean line.
- Once set, remove the bark from the sheet and break it into pieces with a knife or your hands. Store in an airtight container at room temperature for up to a week, or freeze for up to two weeks.
That’s it — you did it. But hold on, I’ve got a few more tricks that will take this to another level. These insider tips will help you avoid common pitfalls and elevate the flavor profile even further.
Insider Tricks for Flawless Results
The Temperature Rule Nobody Follows
Why it matters: Chocolate sets best at around 86°F (30°C). If it’s too hot, it stays gooey; too cool, it cracks. I use a chocolate thermometer to keep it just right. If you don’t have one, test the chocolate by placing a small amount on the back of your hand; it should feel warm but not hot.
Why Your Nose Knows Best
Smell test: As the chocolate melts, the aroma should deepen and become richer. If it still smells like raw cocoa, give it a few more minutes. A strong chocolate scent signals that the flavor is fully developed.
The 5‑Minute Rest That Changes Everything
Why it matters: After stirring in the nuts and fruit, let the mixture sit for 5 minutes. This short rest allows the chocolate to thicken slightly and the nuts to absorb more flavor, giving a more cohesive bite.
The Salt Finish
Application tip: Instead of sprinkling salt directly on top, sprinkle it over the parchment paper first, then pour the chocolate. The salt will spread evenly, preventing clumps and ensuring every piece gets that salty kick.
The Perfect Break
Technique: Use a sharp knife or a chocolate bar cutter. A clean break gives a polished look and ensures even portion sizes. If you prefer irregular shapes, simply break by hand, but make sure each piece has a good mix of nuts and fruit.
The Final Chill
Why it matters: Letting the bark chill for a full 30 minutes ensures the chocolate fully sets, giving it that satisfying snap. Rushing this step can leave a sticky surface that’s hard to break.
Creative Twists and Variations
This recipe is a playground. Here are some of my favorite ways to switch things up:
Nutless Delight
Omit the nuts entirely and replace them with shredded coconut. The coconut adds a tropical twist while keeping the bark light and airy.
Spiced Up
Add a pinch of cinnamon or a dash of cayenne pepper to the melted chocolate before adding the nuts. The warm spices complement the chocolate’s richness and give a holiday kick.
Vegan Version
Use dairy‑free chocolate chips and replace any dairy‑based ingredients with plant‑based alternatives. The result is a bark that’s just as indulgent but kinder to the planet.
Berry Burst
Swap the dried cranberries for dried blueberries or raisins. The subtle sweetness of blueberries gives a different flavor profile while still providing chew.
Chocolate Swirl
After pouring the chocolate onto the parchment, swirl in a thin ribbon of white chocolate using a toothpick. This creates a marbled effect and adds a creamy contrast.
Minty Fresh
Use crushed peppermint candies as the sole sweetener, omitting the chocolate chips. The result is a minty bark that’s perfect for a refreshing dessert.
Storing and Bringing It Back to Life
Fridge Storage
Store the bark in an airtight container at room temperature for up to a week. Keep it away from strong odors, as chocolate can absorb them. The bark will stay crisp and flavorful.
Freezer Friendly
Wrap the bark tightly in plastic wrap, then place it in a freezer bag. It will keep for up to two weeks. When you’re ready to enjoy, let it sit at room temperature for 10 minutes to soften slightly.
Best Reheating Method
If the bark has hardened in the fridge, gently reheat it in a microwave on low power for 10‑15 seconds. Add a tiny splash of water before reheating to create steam that restores the bark’s silky texture.