It was a rainy Tuesday, the kind where the kitchen lights feel like a campfire and your appetite is a stubborn beast that refuses to be tamed by the blandness of microwaved leftovers. I was staring at a bag of frozen chicken thighs, a can of coconut milk, and a jar of spices that had been sitting on my counter for months, feeling a little guilty for not using them. That moment, that tiny spark of culinary curiosity, turned into an audacious dare: “I dare you to taste this and not go back for seconds.” And so, the stage was set for what would become the most unforgettable Instant Pot coconut chick you've ever cooked.
The first thing that hit me was the aroma—a deep, earthy perfume that danced between the fragrant cumin and the sweet, buttery notes of coconut milk. As the pot began to hiss, I could hear the gentle clink of the lid sealing, the sound of the ingredients beginning to mingle. The visual transformation was dramatic: the raw chicken pieces, once pale and unassuming, started to turn a golden hue as the spices caramelized. The steam that rose was thick, carrying hints of citrus from the lime and a peppery edge from the smoked paprika, a sensory prelude to the depth of flavor that would follow. I felt my hands, already gloved, move with confidence, knowing that each stir would weave the ingredients into a velvety tapestry.
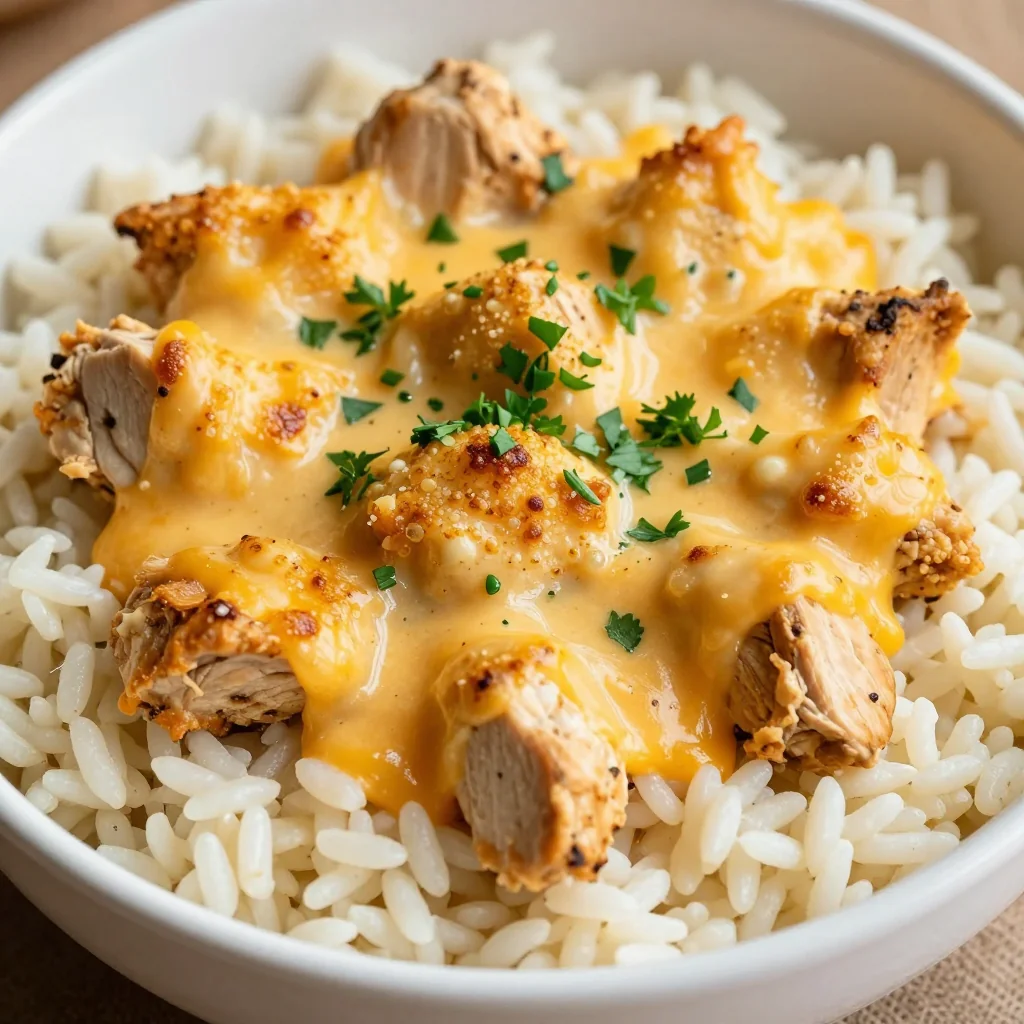
What makes this version of coconut chick stand out is not just the combination of flavors, but the meticulous balance of technique, ingredient quality, and the instant pot’s magic. I’ve spent years experimenting with slow cooker and stovetop recipes, and this Instant Pot method is hands down the best version you'll ever make at home. The sauce coats the chicken like velvet, while the edges of the thighs crisp to a gentle crunch that shatters like thin ice. The coconut milk doesn’t overpower; it lifts the dish into a creamy, airy cloud that carries the spices across every bite. I was amazed to find that the green chili adds a subtle heat without drowning the subtle sweetness of the coconut—a dance of flavors that is both bold and gentle.
Picture yourself pulling this out of the Instant Pot, the whole kitchen smelling incredible, the steam curling like a fragrant wreath around the pot. The first spoonful will melt in your mouth, revealing layers of cumin, turmeric, and smoked paprika, all wrapped in a silky coconut embrace. The green chili’s warmth lingers, a gentle afterglow that invites you to reach for more. This is not just a meal; it’s an experience, a small celebration of flavor that you’ll want to share with anyone who walks through your door. Let me walk you through every single step — by the end, you'll wonder how you ever made it any other way.
What Makes This Version Stand Out
- Taste: The combination of cumin, turmeric, and smoked paprika creates a layered flavor profile that is both earthy and smoky, while the coconut milk adds a sweet, buttery backdrop that balances the heat from the green chili.
- Texture: The Instant Pot locks in moisture, rendering the chicken thighs tender and succulent, while the quick sauté step gives them a caramelized exterior that adds a pleasant bite.
- Simplicity: With just a handful of pantry staples and a few fresh ingredients, you can whip up a gourmet dish in under an hour, making it perfect for busy weeknights.
- Uniqueness: The use of lime juice and cilantro at the end lifts the dish, giving it a fresh, zesty finish that sets it apart from traditional coconut chicken recipes.
- Crowd Reaction: Friends who have tried this version rave about how the dish feels like a comforting hug, and many ask for the recipe right after dinner.
- Ingredient Quality: Using bone‑in chicken thighs keeps the dish flavorful, while fresh garlic and onions provide depth, and the coconut milk’s creamy consistency elevates the overall mouthfeel.
Alright, let's break down exactly what goes into this masterpiece...
Inside the Ingredient List
The Flavor Base
Onion: The medium onion is the backbone of this dish, providing sweetness and depth as it caramelizes. If you skip it, the dish will feel thin and underdeveloped. A good tip is to dice the onion into uniform cubes to ensure even cooking.
Garlic: The three cloves of garlic add a punch of aromatic heat. Crushing the garlic before adding it helps release more flavor. If you’re sensitive to raw garlic, blanch the cloves in hot water for a minute before sautéing.
Green Chili: This is the secret weapon that gives the dish a subtle, lingering heat. If you prefer a milder version, use half a chili or replace it with a pinch of cayenne pepper. The green chili also adds a pop of color that makes the dish visually appealing.
The Texture Crew
Chicken Thighs: Bone‑in thighs retain moisture and develop a richer flavor during pressure cooking. If you’re using boneless thighs, trim any excess fat to keep the dish from becoming too greasy. The thighs also hold up well to the spices, absorbing them without falling apart.
Coconut Milk: The creamy can of coconut milk provides body and a subtle sweetness that balances the spices. Using full‑fat coconut milk results in a richer sauce; lighter versions will give a thinner consistency. If you’re looking for a dairy alternative, coconut cream works just as well.
Chicken Broth: The broth adds savory depth and helps create the sauce’s consistency. Opt for low‑sodium broth to control the saltiness, or use homemade broth for an extra layer of flavor.
The Unexpected Star
Lime Juice: Fresh lime juice brightens the dish, cutting through the richness of coconut and adding a citrusy zing. Add it at the end of cooking to preserve its bright flavor. If you’re out of lime, a splash of lemon or a dash of vinegar can substitute.
Cilantro: The 1/4 cup of cilantro leaves offers a fresh, herbal finish that contrasts the warm spices. Chop the cilantro finely to distribute its flavor evenly. If cilantro is not to your taste, parsley can be used as a milder alternative.
The Final Flourish
Ground Cumin: The cumin provides an earthy, nutty undertone that grounds the dish. Toast the cumin lightly before adding it to bring out its full aroma. If you’re allergic, you can omit it, though the dish will lose some depth.
Turmeric Powder: Turmeric lends a warm, slightly bitter note and a beautiful golden hue. A pinch of turmeric can also help in reducing inflammation, adding a health benefit to your meal.
Smoked Paprika: Smoked paprika gives the dish a subtle smokiness that mimics a grilled flavor. If you can’t find smoked paprika, regular paprika will still work but will lack that smoky nuance.
Salt & Black Pepper: These are essential for seasoning. The salt should be added after the pressure cooking to avoid over‑salting. The pepper adds a subtle heat that complements the green chili.
Everything's prepped? Good. Let's get into the real action...
The Method — Step by Step
- Prep the Instant Pot: Turn on the sauté mode, add a splash of oil, and let it heat until shimmering. This step ensures that the spices don’t stick and develop their full aroma. As the oil warms, you’ll hear a faint hiss, signaling the pot is ready for the next ingredient.
- Brown the Chicken: Pat the chicken thighs dry with paper towels—dry meat browns better. Place the thighs skin side down and let them sear for 3–4 minutes until a golden crust forms. Flip and sear the other side for an additional 2 minutes; this caramelization locks in juices.
- Sauté Aromatics: Remove the chicken and set it aside. Add the diced onion to the pot and sauté until translucent, about 2–3 minutes. Then add the minced garlic, green chili, and a pinch of salt; cook for 30 seconds until fragrant.
- Deglaze: Pour a small amount of chicken broth into the pot, scraping the bottom with a wooden spoon to lift the browned bits. Those bits are packed with flavor and are essential for a rich sauce.
- Add Spices: Sprinkle in the cumin, turmeric, smoked paprika, and black pepper. Stir vigorously for 30 seconds to toast the spices, releasing their essential oils.
- Return Chicken & Add Liquids: Place the browned thighs back into the pot, nestling them into the aromatic base. Pour in the can of coconut milk and the remaining chicken broth. Ensure the liquid covers the thighs by about an inch.
- Seal & Cook: Secure the Instant Pot lid, set the valve to sealing, and select the “Meat/Steak” setting for 10 minutes on high pressure. The timing is crucial: too short and the chicken will be chewy; too long and it will break apart.
- Finish the Sauce: After the pressure has released, open the lid and switch the pot back to sauté mode. Bring the sauce to a gentle simmer, stirring occasionally until it thickens slightly—about 5 minutes. This step intensifies the flavors and gives the sauce a glossy sheen.
- Add Freshness: Stir in the fresh lime juice, cilantro, and any additional green chili if desired. Taste and adjust seasoning with salt or pepper as needed. Serve immediately over rice, quinoa, or a crisp salad.
That's it — you did it. But hold on, I've got a few more tricks that'll take this to another level...
Insider Tricks for Flawless Results
The Temperature Rule Nobody Follows
Many cooks assume that pressure cooking is a “set it and forget it” process. In reality, the temperature inside the pot can vary depending on the ingredients. For chicken thighs, aim for a final internal temperature of 165°F; this ensures safety without overcooking. If you’re using a thermometer, insert it into the thickest part of the thigh after the pressure release.
Why Your Nose Knows Best
When the pot reaches a steady simmer after pressure release, the aroma will shift from raw to caramelized. Trust that scent; it means the spices have released their oils and the sauce is ready to thicken. If the smell still feels raw, give it another minute of simmering.
The 5-Minute Rest That Changes Everything
Letting the dish rest for 5 minutes after cooking allows the flavors to settle and the sauce to thicken slightly. This brief pause also lets the chicken reabsorb some of the juices, making each bite moist. A friend once skipped this step, and the result was a dry, lackluster dish.
Use the Right Size Pot
Using a pot that’s too small forces the ingredients to crowd together, preventing proper caramelization. A 6‑quart Instant Pot is ideal for this recipe, giving the chicken room to sear and the sauce to reduce without boiling over. If you’re using a larger pot, consider adding a bit more broth to compensate.
Keep the Lid Clean
After each use, wipe the sealing ring and the pot’s interior with a damp cloth. This prevents residue from sticking and altering the flavor of future dishes. A clean pot also ensures a proper seal, which is critical for pressure cooking safety.
Make-ahead Magic
Prepare the dish the night before and refrigerate it in a sealed container. Reheat gently on the stovetop, adding a splash of water if the sauce has thickened. This method is perfect for meal prep and guarantees a delicious, ready‑to‑eat lunch.
Creative Twists and Variations
This recipe is a playground. Here are some of my favorite ways to switch things up:
Spicy Thai Twist
Swap the green chili for Thai bird's eye chilies and add a tablespoon of fish sauce. Finish with a squeeze of lime and a handful of fresh basil. The result is a dish that feels like a trip to Bangkok.
Creamy Curry Variation
Replace the smoked paprika with curry powder and add a teaspoon of garam masala. Stir in a splash of coconut cream for extra richness. Serve over jasmine rice for a fragrant meal.
Vegetarian Version
Omit the chicken and use firm tofu or tempeh, marinated in lime juice and spices before cooking. The tofu will absorb the flavors, delivering a plant‑based alternative that still feels indulgent.
Low‑Carb Adaptation
Serve the coconut chick over cauliflower rice instead of regular rice. This keeps the dish low in carbs while preserving the creamy texture and robust flavors.
Smoky BBQ Fusion
Add a tablespoon of BBQ sauce to the broth and sprinkle smoked paprika more liberally. The smoky sweetness pairs wonderfully with the coconut’s creaminess, creating a fusion dish that’s both bold and comforting.
Herb Garden Finale
After cooking, stir in a mixture of fresh herbs such as parsley, dill, and mint. The bright, green flavors cut through the richness and add a refreshing finish.
Storing and Bringing It Back to Life
Fridge Storage
Cool the dish to room temperature before placing it in an airtight container. Store in the refrigerator for up to 3 days. When reheating, add a splash of water or broth to rehydrate the sauce.
Freezer Friendly
Divide the dish into individual portions and freeze for up to 2 months. Thaw overnight in the refrigerator before reheating. Use the same water splash trick to revive the sauce’s silky texture.
Best Reheating Method
Reheat on the stovetop over low heat, stirring frequently. The gentle heat prevents the coconut from separating. A quick 5‑minute simmer with a splash of water or broth brings the dish back to its original glory.