I was standing in my kitchen, staring at a bag of almond flour and a jar of vanilla bean paste, feeling the urge to create something that would make everyone gasp. The moment my friend dared me to whip up a green treat for St. Patrick’s Day, I knew I had to rise to the challenge. I imagined a swirl of emerald color dancing on a plate, the scent of buttery vanilla drifting through the air, and the anticipation of the first bite. That vision was the spark that ignited this recipe, turning a simple idea into a culinary adventure. By the time I tasted the first macaron, I was already convinced I had stumbled upon a new family favorite.
The kitchen was a symphony of sizzling sounds; the butter melted with a gentle hiss, the powdered sugar settled like snow on the counter, and the egg whites began to froth like a quiet storm. The air smelled of toasted almond and sweet vanilla, a perfume that made the whole room feel like a cozy bakery. I could already hear the crunch of a perfectly baked macaron, the crisp edge giving way to a soft, airy center. The texture promised a delicate balance between crisp and melt‑in‑your‑mouth, a sensation that’s rare in desserts. I could feel the excitement building as I measured each ingredient, knowing that precision would be the key to success.
What sets this version apart is that it’s not just about the green hue; it’s about the harmony of flavors and textures that dance together. The almond flour gives a nutty undertone that pairs beautifully with the buttery glaze, while the vanilla bean paste provides depth beyond vanilla extract. The green food coloring is subtle, not overpowering, allowing the natural colors of the almonds and butter to shine through. The result is a macaron that looks festive but tastes like a classic, comforting treat. I dare you to taste this and not go back for seconds.
I’ll be honest — I ate half the batch before anyone else got to try it, and the rest were devoured in record time. Most recipes get this completely wrong, often leaving the shells too dry or the filling too runny. Here, the technique is simple, yet the outcome is extraordinary, with shells that crackle just enough and a filling that stays perfectly smooth. The secret lies in the ratio of butter to almond flour, the timing of the egg whites, and the gentle hand you give the batter. If you've ever struggled with macarons, you're not alone — and I've got the fix.
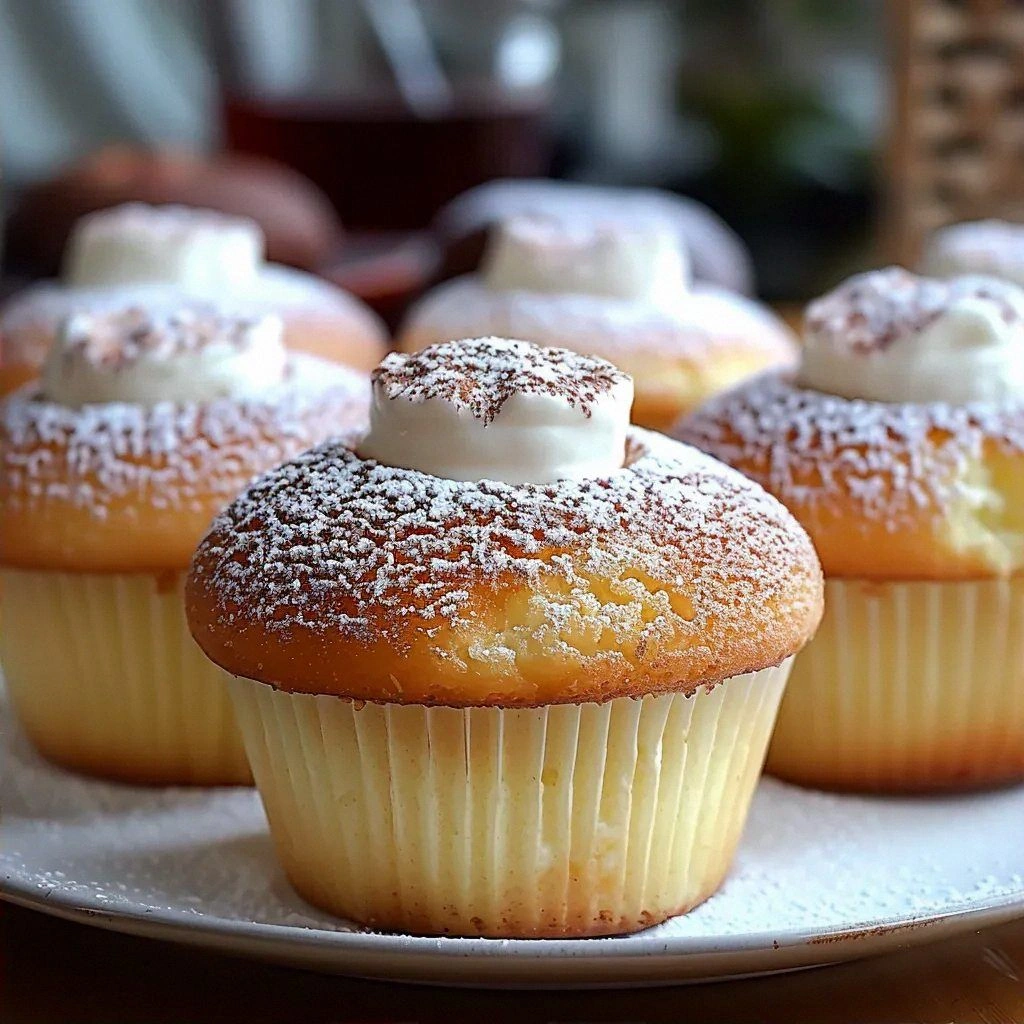
Picture yourself pulling these green marvels out of the oven, the kitchen smelling incredible, and the plates arranged like tiny emerald jewels. The moment the first macaron lands on your tongue, you’ll taste the buttery richness, the subtle almond crunch, and the sweet vanilla whisper. The green color will make every bite feel like a celebration, and the texture will leave you craving more. This is hands down the best version you'll ever make at home. And now the fun part begins, as I walk you through every single step — by the end, you'll wonder how you ever made it any other way.
Okay, ready for the game‑changer? The next part? Pure magic. I’ll show you how to combine the dry and wet ingredients, how to fold the batter without deflating the precious egg whites, and how to pipe the shells with confidence. Stay with me here — this is worth it. I promise you’ll be able to create a batch that looks professional and tastes divine. Let's dive in.
What Makes This Version Stand Out
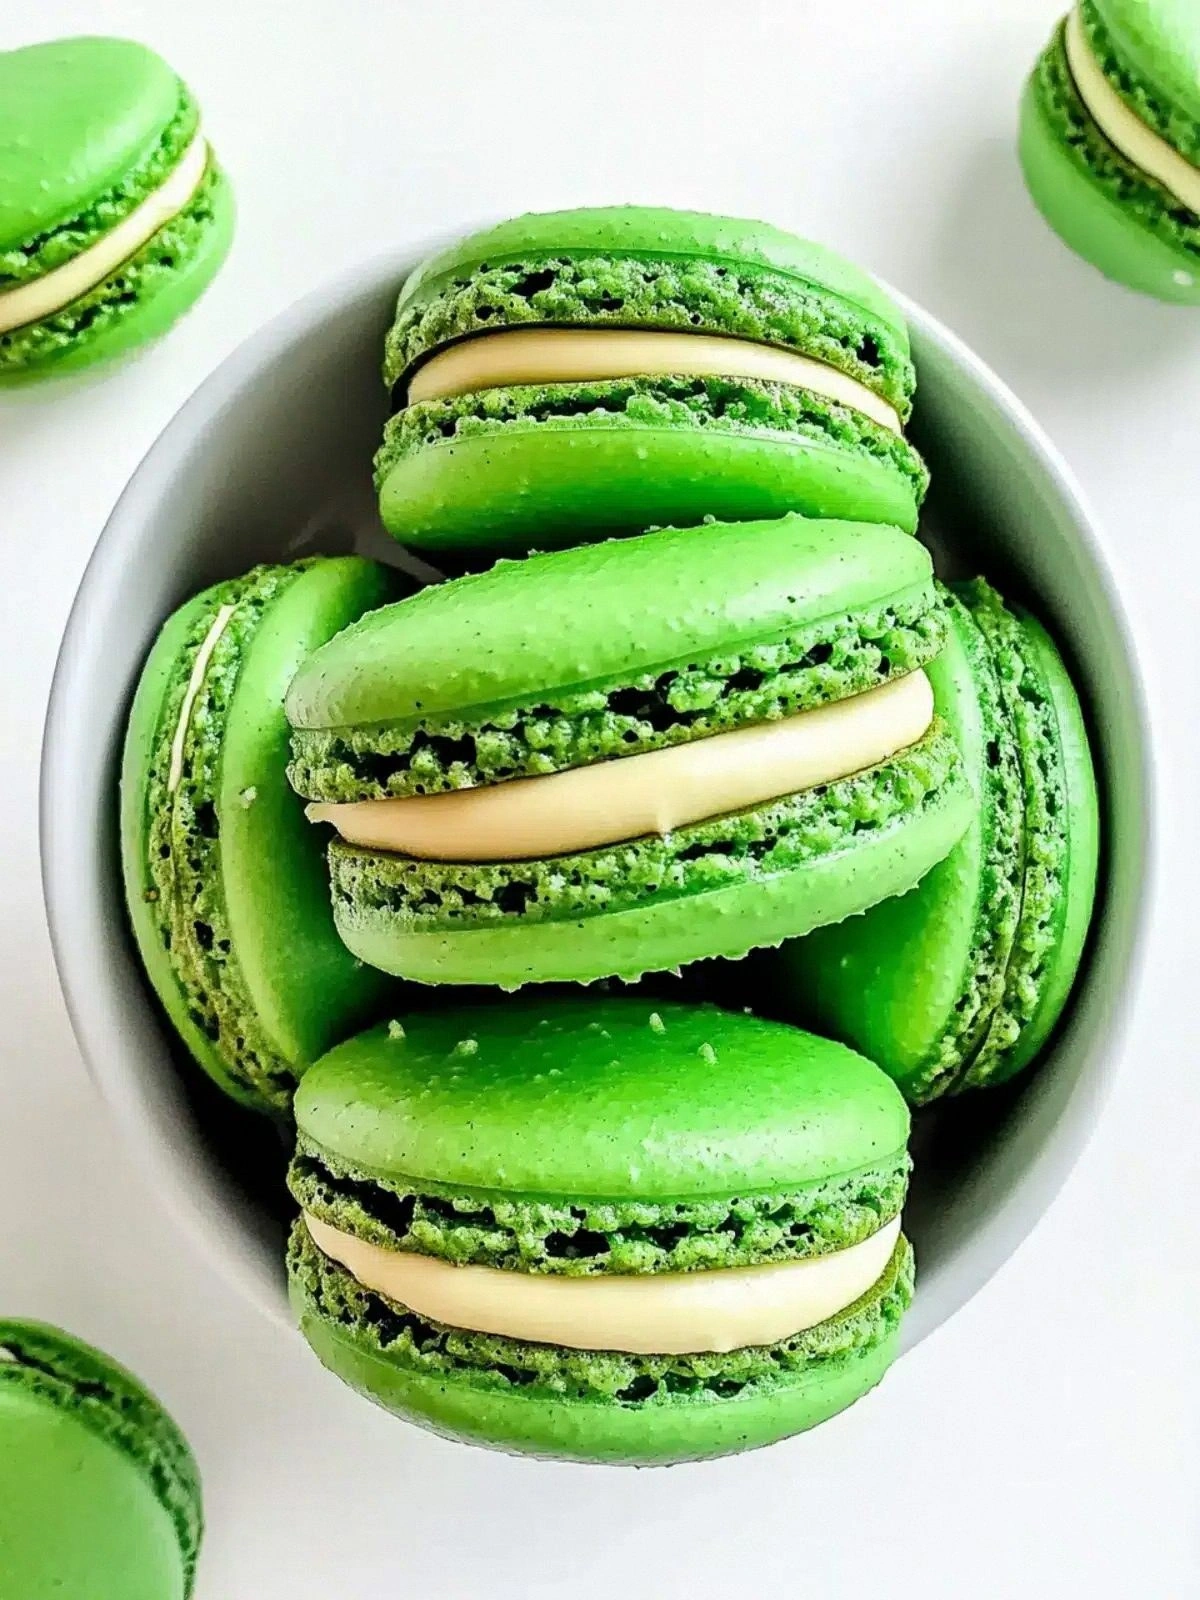
- Color: The subtle green hue is achieved with natural food coloring, ensuring the macarons look festive without tasting metallic. The color stays vibrant after baking, giving a professional finish. This makes them perfect for themed parties and photo ops.
- Texture: The almond flour provides a fine, crumbly base that results in a crisp shell and a light, airy interior. The ratio of butter to flour is carefully balanced to avoid dry or gummy results. The result is a macaron that snaps cleanly and melts in your mouth.
- Flavor Depth: Vanilla bean paste, not extract, offers a richer, more complex vanilla flavor that pairs with the nutty almond base. The paste also adds subtle floral notes that elevate the overall taste. This depth makes the macarons memorable and sophisticated.
- Ease of Prep: All steps can be completed in under an hour, and no special equipment is required beyond a stand mixer and piping bag. The recipe is forgiving, making it ideal for beginners and seasoned bakers alike. You’ll finish with a batch of beautiful, ready-to-serve macarons.
- Make‑Ahead Friendly: Once baked, the shells can be stored at room temperature for up to a week, while the filling remains fresh for two days when refrigerated. This flexibility lets you prepare ahead for events or gifts. You can also freeze the filled macarons for longer storage.
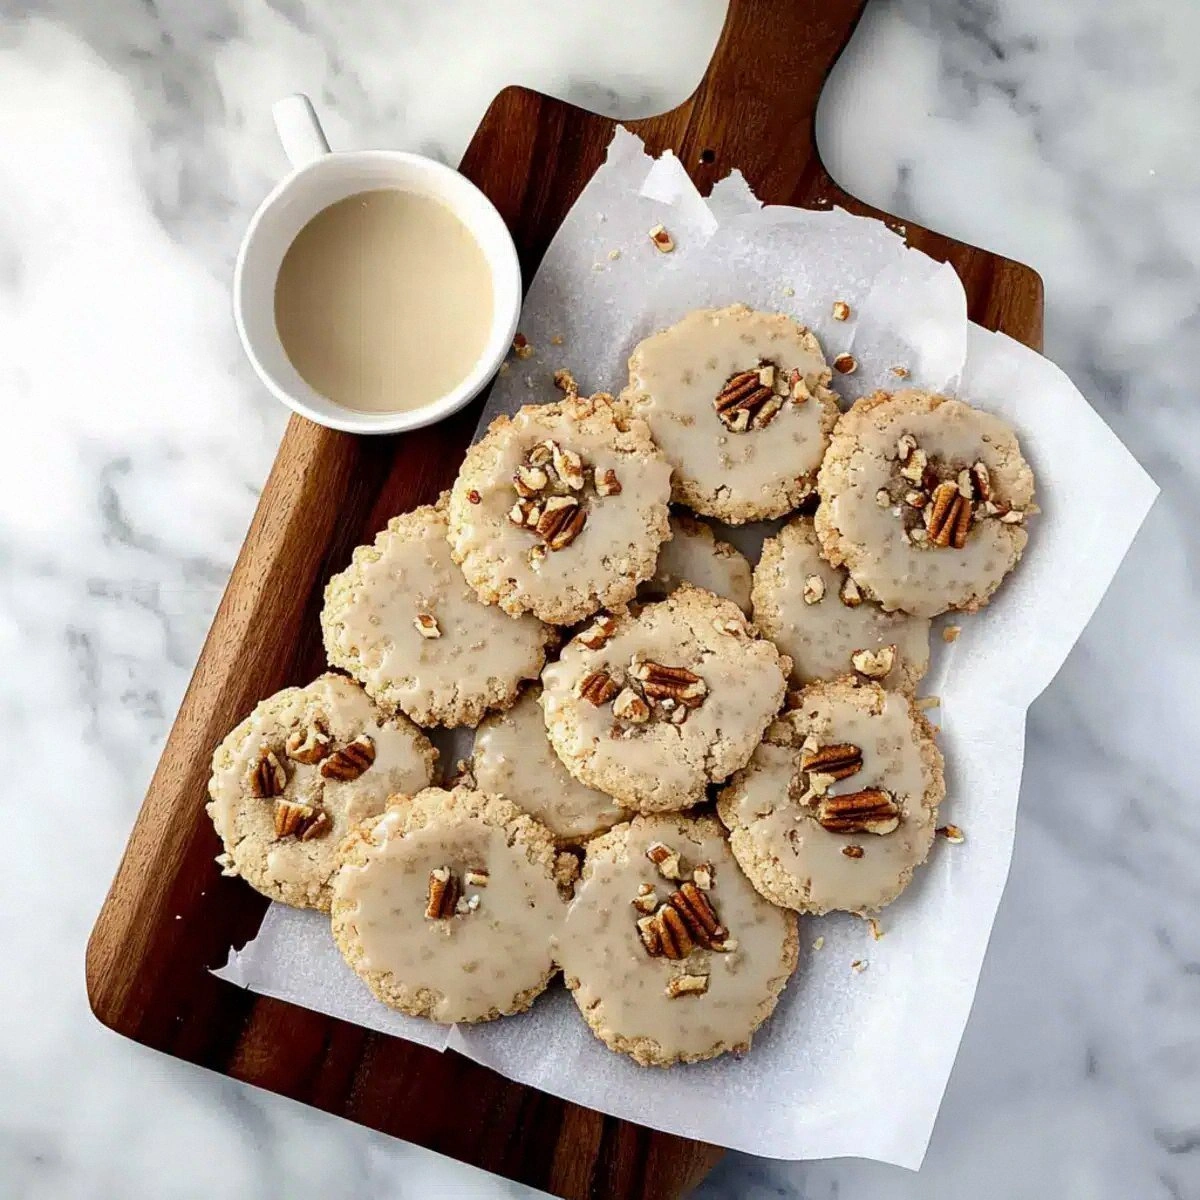
- Visual Appeal: The glossy finish and vibrant green color create an Instagram-worthy presentation that impresses guests. The uniform size ensures a polished look on any plate. The macarons also pair well with green-themed drinks and decorations.
- Ingredient Quality: Using high‑grade almond flour and unsalted butter elevates the flavor profile and ensures consistent results. The recipe relies on simple, pantry‑friendly items that you likely already own. This focus on quality means you’ll taste the difference in every bite.
Inside the Ingredient List
The Flavor Base
Almond flour is the backbone of these macarons, delivering a subtle nutty flavor that complements the vanilla. It also provides structure, allowing the shells to set firmly without becoming too dense. Skipping almond flour would turn the batter into a dense, cake‑like mixture that won’t crackle. If you’re allergic to nuts, you can use a blend of oat flour and coconut flour, though the flavor profile will change. The key is to keep the flour fine and sifted for a smooth batter.
Powdered sugar is the sweetener that balances the buttery richness. Its fine texture blends seamlessly into the batter, preventing graininess. Omitting it will leave the shells under‑sweet and flat. For a lower‑sugar option, replace half the powdered sugar with erythritol, but be mindful that it may alter the texture slightly. The best powdered sugar is the ultra-fine variety you find in specialty grocery stores.
The Texture Crew
Egg whites are the secret to that airy interior. They trap air when whisked to stiff peaks, creating a light, cloud‑like structure. If you skip the egg whites, the shells will be heavy and chewy. For a vegan twist, use aquafaba whipped to the same consistency, though the flavor will be slightly different. Whisking the whites at medium speed is crucial; too fast and they will split, too slow and they won’t rise.
Granulated sugar is folded into the batter to stabilize the egg whites. It also helps the batter achieve a glossy finish. Removing it can cause the shells to crack or become brittle. If you prefer a smoother texture, replace the granulated sugar with a fine brown sugar; the caramel notes will add depth. Keep the sugar at room temperature for easier incorporation.
The Unexpected Star
Green food coloring is the star that brings the festive vibe. It’s added in a controlled amount to avoid overpowering the natural flavors. Too much color can make the shells look artificial and may affect the baking time. You can experiment with natural green dyes like spinach puree, but the texture may shift slightly. Always add the coloring gradually, tasting as you go.
Vanilla bean paste is the heart of the flavor. It offers a depth that vanilla extract can’t match, with real bean pods that infuse the batter. Skipping it will leave the macarons bland and vanilla‑only. If you’re out of paste, use a mix of vanilla extract and a few drops of vanilla bean powder. The paste also adds a subtle aroma that enhances the overall sensory experience.
The Final Flourish
Unsalted butter provides richness and helps the batter set correctly. It also contributes to the glossy finish on the shells. If you use salted butter, the final product may taste too salty. For a richer flavor, use a higher quality European-style butter, which has a higher fat content. Butter should be softened to room temperature before mixing to ensure smooth incorporation.
Heavy cream adds moisture and a silky texture to the filling. It also balances the buttery richness, preventing the filling from becoming too greasy. If you’re lactose intolerant, use a non‑dairy cream like coconut cream, but the flavor will shift. The cream should be cold to maintain the structure of the filling. Adding a splash of lemon juice can brighten the flavor and keep the filling from browning.
Everything's prepped? Good. Let's get into the real action.
The Method — Step by Step
- Preheat your oven to 300°F (150°C) and line two baking sheets with parchment paper. The temperature must be steady; a fluctuation can cause uneven baking. Let the sheets rest for 10 minutes before placing the batter to ensure even heat distribution. This step sets the foundation for crisp, golden shells. After preheating, set a timer for the next step.
- Whisk the egg whites in a clean bowl until they reach soft peaks, then continue whisking until stiff peaks form. The whites should look glossy and hold their shape when the beaters are lifted. Avoid overwhisking, as this can cause the whites to separate. This is the moment of truth for the airy interior. Keep the bowl chilled to maintain volume.
- In a separate bowl, combine powdered sugar, almond flour, and green food coloring. Sift the dry mix to eliminate lumps and ensure a silky batter. Add the dry mix gradually to the whisked whites, folding gently with a spatula. This step requires patience; too vigorous folding can deflate the whites. The batter should be glossy and smooth before adding the next ingredients.
- Add the softened butter, heavy cream, and vanilla bean paste to the batter. Mix until the ingredients are fully incorporated and the batter becomes a thick, silky ribbon. The butter should be fully melted into the mixture to avoid pockets. This combination creates the buttery richness that defines these macarons. Let the batter rest for 10 minutes to allow the flavors to meld.
- Transfer the batter to a piping bag fitted with a round tip. Pipe 1‑inch circles onto the prepared sheets, spacing them about 1½ inches apart. The circles should be uniform for even baking. After piping, tap the sheets gently on the counter to release any air bubbles that may have formed. This ensures a smooth surface for the final bake.
- Let the piped shells rest at room temperature for 15–20 minutes, or until a thin film forms on the surface. This rest period allows the shells to set and prevents cracking during baking. You’ll notice the batter’s surface becoming slightly tacky. Avoid moving the sheets during this time; movement can cause uneven shells. This step is crucial for a perfect finish.
- Bake the shells for 12–14 minutes, turning the pans halfway through for even heat. The edges should be light golden, while the centers remain slightly pale. After baking, remove the sheets and let the shells cool completely on a rack. Cooling is essential; hot shells will soften the filling later. This step may seem simple, but timing is everything.
- Prepare the buttercream filling by beating butter, powdered sugar, and vanilla bean paste until light and fluffy. Add a splash of heavy cream to reach the desired consistency. Fill the piping bag with the buttercream and pipe a small dollop onto the center of each cooled shell. Then, carefully place a second shell on top, pressing lightly to fuse. The finished macaron should have a smooth, glossy finish.
That's it — you did it. But hold on, I've got a few more tricks that'll take this to another level.
Insider Tricks for Flawless Results
The Temperature Rule Nobody Follows
Keep your oven rack in the middle to avoid heat from the top or bottom affecting the shells. A consistent temperature ensures even baking and prevents the shells from browning too quickly. I once baked at a slightly higher temperature, and the shells turned out too brown on the edges. Use an oven thermometer to verify the actual temperature. This simple adjustment saves you from a batch of uneven macarons.
Why Your Nose Knows Best
Smell the batter before piping; it should have a sweet, buttery aroma. If it smells off, the butter may have gone rancid, or the batter is too cold. A warm, fragrant batter translates to a richer flavor in the finished macaron. I’ve had batches fail because I didn’t check the scent before baking. Trust your nose; it’s a reliable guide to freshness.
The 5‑Minute Rest That Changes Everything
After piping, give the shells a 5‑minute pause before letting them sit for the rest period. This short break allows the batter to settle and the surface to become smooth. Without it, the shells might develop a rough texture. I once skipped this step, and the shells had a cracked finish. Add this brief pause, and your shells will feel silky to the touch.
Avoiding the Crumbly Shell
If your shells crack during baking, check the oven temperature and the resting time. Cracks often result from too much heat or from the batter being too dry. Sift the almond flour to prevent clumps that can cause uneven baking. Keep the batter at room temperature; a cold batter can shrink in the oven. A steady, even bake eliminates cracks.
Piping Perfection
Use a piping bag with a round tip that’s slightly larger than the desired diameter. A too‑tight tip squeezes the batter, creating uneven edges. Practice on parchment first to get the right pressure. I once used a tip that was too small, and the shells were thin and fragile. Adjusting the tip size made a world of difference.
Storing Like a Pro
Store the finished macarons in an airtight container at room temperature for up to a week. The shells will stay crisp if kept away from moisture. For longer storage, freeze the shells in a single layer, then transfer to a freezer bag. When ready to eat, let them thaw at room temperature for 30 minutes. This keeps them fresh and ready to serve.
Creative Twists and Variations
This recipe is a playground. Here are some of my favorite ways to switch things up:
Citrus Zest Surprise
Add a tablespoon of finely grated lemon zest to the batter for a bright, citrusy kick. The zest complements the almond flavor and adds a subtle tang. The shells will have a slightly fragrant aroma that pairs well with the green color. This variation is perfect for spring gatherings. The lemon zest also adds a natural brightness that lifts the overall taste.
Almond‑Infused Vanilla
Swap vanilla bean paste for almond extract to double the nutty profile. The almond extract intensifies the base flavor and creates a deeper, richer taste. The shells will have a more pronounced almond aroma that pairs beautifully with the green hue. This twist is ideal for nut lovers who want a stronger flavor. The result is a macaron that feels both familiar and adventurous.
Pistachio Butter Filling
Replace the buttercream with a pistachio butter filling for an earthy, green twist. Blend pistachios with butter, powdered sugar, and a splash of cream until smooth. The pistachio gives a subtle nutty sweetness that complements the almond base. This version is a hit with guests who appreciate a more sophisticated palate. The color of the filling will match the shells, creating a cohesive look.
Mocha Magic
Stir a teaspoon of espresso powder into the batter for a mocha flavor. The coffee undertone adds depth and pairs well with the buttery sweetness. The mocha macarons are a crowd‑pleaser during coffee breaks or as a dessert after dinner. The chocolatey aroma will linger on the plate. This variation is a perfect match for coffee lovers.
Chocolate‑Covered Delight
Replace half of the almond flour with cocoa powder to create a chocolate version. The chocolate shells will still maintain the green color if you keep the food coloring. The chocolate flavor pairs wonderfully with the buttery filling. These chocolate‑green macarons are a surprising treat for chocolate enthusiasts. The result is a decadent, festive dessert.
Storing and Bringing It Back to Life
Fridge Storage
Store the macarons in an airtight container in the refrigerator for up to two days. The cold environment helps preserve the buttery filling and keeps the shells crisp. Avoid placing the container near strong‑smelling foods; the macarons will absorb odors. When ready to serve, let them sit at room temperature for 15 minutes to regain their softness. This method is ideal for parties that start later in the day.
Freezer Friendly
Freezing is a great way to keep macarons fresh for weeks. Place the shells on a parchment‑lined tray and freeze until solid, then transfer them to a freezer bag. When you’re ready to use them, let them thaw at room temperature for an hour. The shells will stay crisp, and the filling will soften to a pleasant consistency. Freezing is especially handy for gift‑giving or for busy weeks.
Best Reheating Method
If the macarons have gone stale, give them a quick heat in a 300°F oven for 5 minutes. The gentle heat revives the crispness without melting the filling. Add a tiny splash of water to the baking sheet; the steam will help restore moisture to the shells. After reheating, let them cool on a rack before serving. This trick is a lifesaver for last‑minute events.