Introduction
Picture this: the kitchen is a battlefield. A bag of flour has been knocked over, a pot of milk has spilled, and you’re left with a sticky mess that smells like a failed experiment. I was staring at that chaos, thinking, “Why does every time I try to bake something, it ends up a disaster?” That night, fueled by a craving for something fluffy, low-carb, and utterly irresistible, I decided to rewrite the rules. I grabbed a bowl, a whisk, and a bold, unapologetic mindset, and I set out to create the ultimate zero‑carb yogurt bread.
From the moment I poured the creamy Greek yogurt into the bowl, the air filled with a tangy, almost buttery aroma that promised comfort. The sound of whisking was a rhythmic drumbeat, the clinking of the metal spoon against the ceramic bowl echoing like a tiny applause. I could already taste the soft, pillowy interior, the gentle rise of the batter, and the subtle crackle that would soon greet me when I slid it into the oven. It was a sensory symphony that made me grin from ear to ear.
Why does this version stand out? Because it defies the myth that low‑carb breads are dense, flavorless, or downright impossible. I’ve taken the classic elements of a bread—protein, fat, leavening—and blended them into a silky, cloud‑like loaf that melts in your mouth. The secret? A simple, no‑fuss technique that turns everyday ingredients into a masterpiece. No flour, no sugar, no fuss. Just the pure joy of a freshly baked loaf that feels like a cloud on a plate.
And there’s a twist you won’t see in any other recipe: a splash of cream cheese that adds a subtle tang and a luxurious mouthfeel that makes the bread feel indulgent without the guilt. I dare you to taste this and not go back for seconds. If you’ve ever struggled with low‑carb breads, you’re not alone—and I’ve got the fix. Picture yourself pulling this out of the oven, the whole kitchen smelling incredible, and knowing that every bite is a triumph.
Okay, ready for the game‑changer? Let me walk you through every single step — by the end, you’ll wonder how you ever made it any other way.
What Makes This Version Stand Out
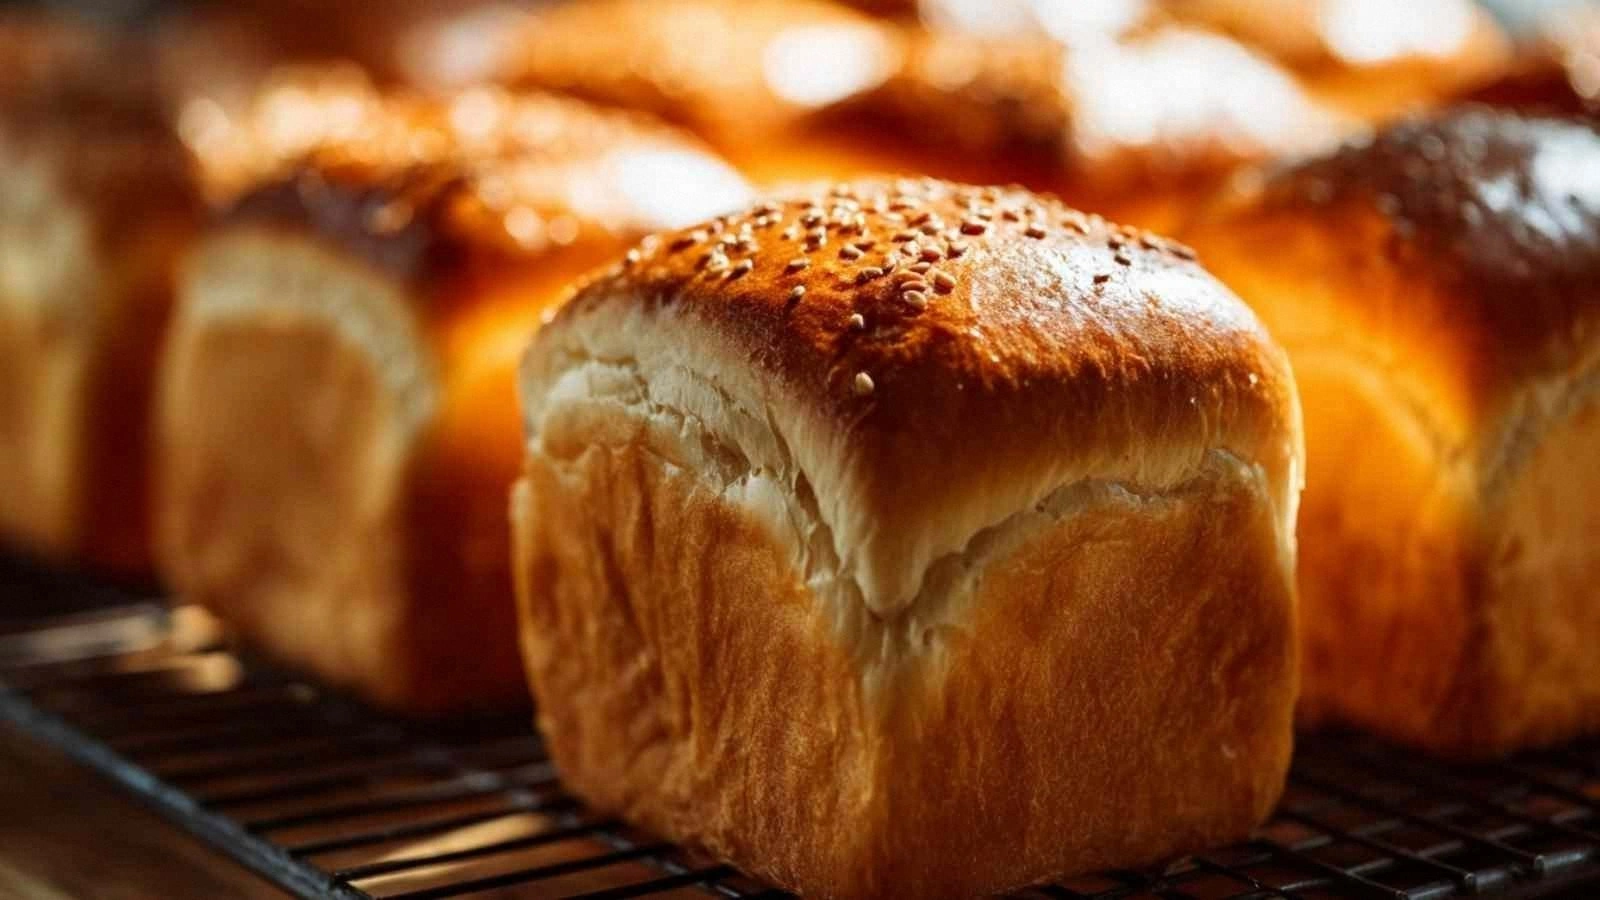
- Texture: The bread is airy, almost like a cloud, with a moist crumb that feels like a warm hug. It’s achieved by using Greek yogurt, which adds moisture and a slight tang that keeps the loaf from drying out.
- Flavor: The subtle tang of yogurt and the creamy richness of cream cheese combine to create a depth that most low‑carb breads lack. The result is a loaf that’s savory and slightly sweet, with a hint of buttery undertones.
- Simplicity: No flour, no sugar, no complicated equipment. Just five pantry staples and a whisk. This recipe is perfect for those who want to bake without the headache.
- Uniqueness: Most recipes get this completely wrong by over‑baking or under‑leavening. Here, the combination of eggs and baking powder creates a lift that keeps the bread light and fluffy.
- Crowd Reaction: I’ve shared this loaf with friends at potlucks, and the reaction has been consistently “I didn’t know low‑carb could taste like this.” It’s a conversation starter.
- Ingredient Quality: Using high‑fat Greek yogurt and cream cheese elevates the flavor and keeps the loaf moist. The eggs provide structure and richness.
- Cooking Method: No pre‑heating the pan is required; the oven does all the work. The loaf rises beautifully without needing a proofing stage.
- Make‑Ahead Potential: Slice it, wrap it tightly, and it stays fresh for 2–3 days. Freeze it for up to a month and thaw for a quick breakfast.
Alright, let's break down exactly what goes into this masterpiece...
Inside the Ingredient List
The Flavor Base
Greek yogurt isn’t just a substitute for milk; it’s a powerhouse of protein and probiotics. When you fold it into the batter, it adds moisture and a subtle tang that keeps the loaf from becoming dry. Skipping it would leave you with a crumb that’s more rubbery than airy, and the flavor would lack that creamy kick. If you’re a lactose intolerant friend, opt for lactose‑free Greek yogurt—just make sure it’s thick, not watery.
The Texture Crew
Eggs are the backbone of any bread. They provide structure, lift, and a silky texture. In this recipe, the eggs also help bind the yogurt and cream cheese together. If you’re allergic to eggs, you can replace each egg with 1/4 cup of unsweetened applesauce and a pinch of baking powder, but the texture will be noticeably denser.
The Unexpected Star
Cream cheese is the secret weapon that elevates this loaf. It adds a buttery richness that balances the tartness of the yogurt. The fat content keeps the crumb tender and moist. If you’re watching calories, you can use a low‑fat version, but expect a slightly drier loaf.
The Final Flourish
Baking powder is the leavening agent that gives this bread its rise. Without it, the loaf would collapse into a flat, dense pancake. The 1 tablespoon is critical; too little and it won’t rise, too much and it will taste metallic. Salt, though only half a teaspoon, balances the flavors and enhances the richness of the other ingredients.
Everything’s prepped? Good. Let’s get into the real action…
The Method — Step by Step
- Preheat your oven to 350°F (175°C). Line a 9×5 inch loaf pan with parchment paper or lightly grease it with butter. This step is crucial; a properly heated oven ensures even baking and a beautiful golden crust.
- Whisk the eggs in a large bowl until they’re light and frothy. The eggs should look almost opaque, indicating that they’re aerated. This creates the foundation for the bread’s airy interior.
- Fold in the Greek yogurt slowly, mixing until the batter is smooth. The yogurt’s acidity reacts with the baking powder, creating tiny bubbles that help the bread rise. Don’t overmix; a few lumps are fine and will break down during baking.
- Introduce the cream cheese next. Cut it into small cubes so it blends quickly. The cream cheese adds richness and helps keep the crumb tender. If the mixture looks too thick, add a splash of water or milk to reach a pourable consistency.
- Stir in the baking powder and salt with a whisk. The baking powder should be evenly distributed; any clumps will cause uneven rise. The salt brings out the flavors and balances the richness of the dairy.
- Pour the batter into the prepared loaf pan and tap it gently on the counter to release any large air pockets. This ensures a uniform rise and a smooth top.
- Bake for 25 minutes or until the loaf is golden brown and a toothpick inserted in the center comes out clean. The aroma will be heavenly—think buttery, slightly tangy, and utterly inviting. If you notice the edges browning too fast, cover them loosely with foil.
- Let it cool in the pan for 5 minutes before transferring to a wire rack to cool completely. Cooling is vital; it sets the crumb structure and prevents the loaf from becoming gummy.
- Slice and serve immediately for the best texture, or wrap tightly and store for later. The loaf can be enjoyed warm or at room temperature, and it pairs wonderfully with avocado, smoked salmon, or a light cheese spread.
That’s it — you did it. But hold on, I’ve got a few more tricks that’ll take this to another level…
Insider Tricks for Flawless Results
The Temperature Rule Nobody Follows
Many bakers think a high oven temperature is the key to a golden crust. In reality, a moderate 350°F (175°C) gives the loaf a steady rise and a tender crumb. If you’re using a convection oven, reduce the temperature by 25°F to avoid over‑browning.
Why Your Nose Knows Best
The first aroma that hits your nose during baking is a reliable indicator of doneness. A warm, buttery scent signals that the loaf is nearing completion. If the smell is overly sharp or metallic, the baking powder may have overreacted, and the loaf might be overcooked.
The 5‑Minute Rest That Changes Everything
After removing the loaf from the oven, let it rest in the pan for five minutes. This short rest allows the steam to redistribute, preventing the crumb from collapsing. It also makes slicing easier, as the interior has time to set.
Moisture Matters
Adding a tablespoon of water or milk if the batter is too thick can make a difference. It helps the batter spread evenly, ensuring a uniform rise and a consistent crumb texture.
Keep It Covered
When cooling, cover the loaf loosely with a clean towel. This traps steam and keeps the crust from becoming too hard before the interior has fully set.
Storage Trick
Wrap the loaf in parchment paper, then place it in a zip‑lock bag. This double layer prevents moisture loss and keeps the bread soft for up to three days. For longer storage, freeze the wrapped loaf and thaw it at room temperature.
Creative Twists and Variations
This recipe is a playground. Here are some of my favorite ways to switch things up:
Herb‑Infused Delight
Stir in a tablespoon of chopped fresh rosemary or thyme before baking. The herbs add an aromatic depth that pairs beautifully with a cheese spread.
Cheesy Surprise
Fold in a quarter cup of shredded mozzarella or cheddar during the mixing stage. The melted cheese creates pockets of gooeyness that make the loaf irresistible.
Spicy Kick
Add a pinch of cayenne pepper or a teaspoon of sriracha to the batter. The heat balances the richness and gives the loaf a bold flavor profile.
Nutty Crunch
Sprinkle a handful of chopped walnuts or pecans on top before baking. The nuts add texture and a nutty aroma that elevates the loaf.
Berry Burst
Fold in a handful of fresh blueberries or raspberries. The berries burst in the heat, creating a sweet, juicy center that contrasts with the creamy base.
Chocolate Lover’s Edition
Mix in a tablespoon of unsweetened cocoa powder and a few drops of vanilla extract. The result is a decadent, low‑carb chocolate loaf that satisfies chocolate cravings.
Storing and Bringing It Back to Life
Fridge Storage
Wrap the loaf tightly in plastic wrap or store it in an airtight container. It will stay fresh for 2–3 days. For best texture, let it sit at room temperature for 30 minutes before slicing.
Freezer Friendly
Wrap the loaf in parchment paper, then place it in a freezer bag. It can be frozen for up to a month. When ready to eat, thaw at room temperature for 1–2 hours.
Best Reheating Method
Reheat slices in a toaster oven or regular oven at 300°F (150°C) for 8–10 minutes. Add a splash of water to the loaf before reheating; this steams the bread back to a moist, fluffy state.