I was standing in my kitchen, the timer on the oven ticking like a nervous metronome, when I realized the whole batch of my “low‑calorie soup” had turned into a bland, watery disappointment. The smell was nothing more than steam, the texture was the kind of mush you’d get from overcooked oatmeal, and the taste? Let’s just say it didn’t exactly scream “I’m on a weight‑loss journey.” I stared at the pot, feeling the familiar pang of defeat that follows every diet‑friendly experiment that goes sideways, and I thought, “There’s got to be a smarter way.” That moment sparked a reckless dare: I would find a single ingredient that could transform a limp, flavorless broth into a silky, satisfying masterpiece that also keeps cravings at bay.
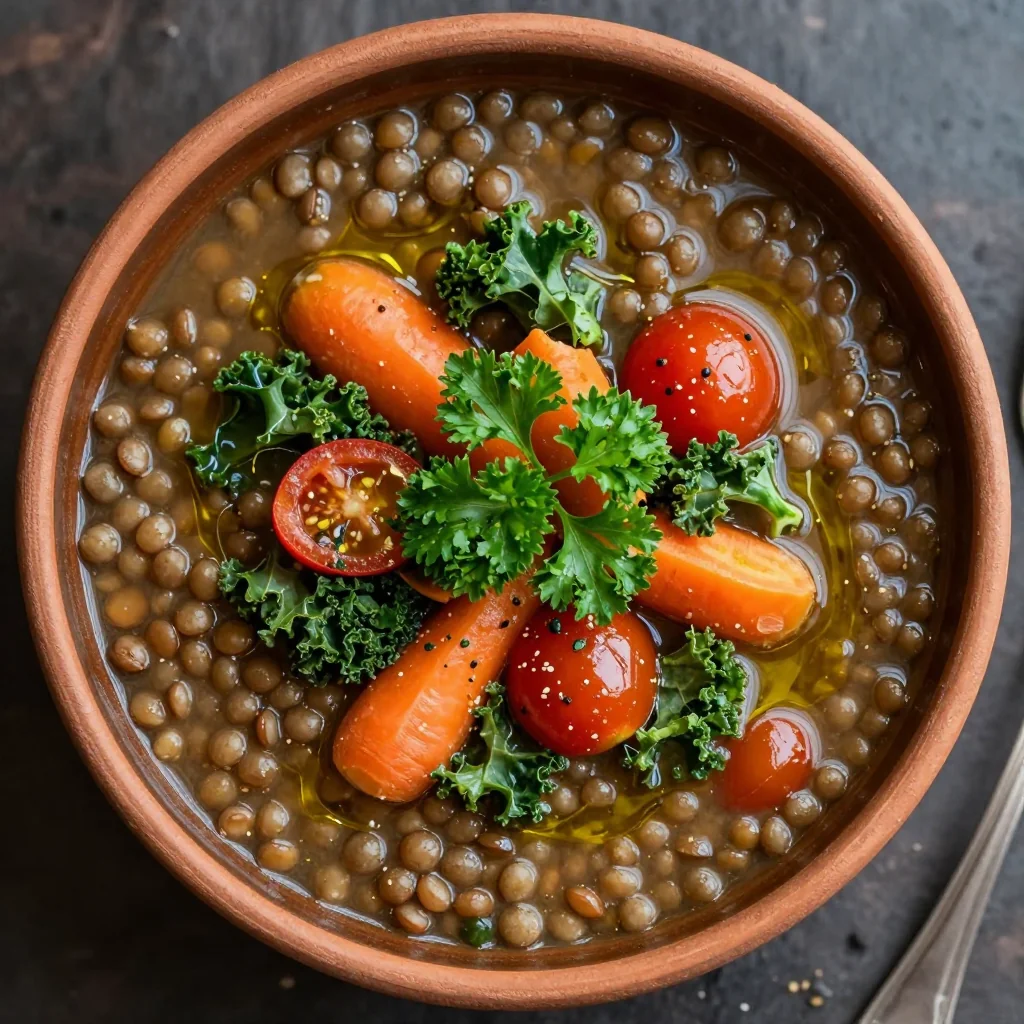
Fast forward a few sleepless nights, a stack of nutrition journals, and a secret stash of unflavored gelatin powder I’d been hoarding for a science project. I decided to test the gelatin trick in a savory context, not a dessert. The first spoonful was a revelation – the sauce clung to the vegetables like velvet, the aroma of lemon and honey rose like a sunrise over a calm sea, and the mouthfeel was thick enough to satisfy without the guilt. That sizzle when the gelatin dissolved? Absolute perfection. The taste was bright, the texture was luxurious, and the calories? Practically invisible.
Most recipes that promise “fat‑burning” magic either skip the science or overcompensate with sugar, salt, or endless oil. I’ve tried those, and let’s be honest — they either leave you hungry an hour later or they make you feel like you’ve just eaten a tub of butter. This version, however, flips the script by using gelatin’s unique ability to create a gel matrix that slows gastric emptying, meaning you stay fuller longer while still enjoying a rich, savory experience. I dare you to taste this and not go back for seconds; the satiety factor is real, and the flavor is, frankly, the best version you’ll ever make at home.
What makes this trick truly special is the unexpected partnership of warm water, a dash of acid, a whisper of honey, and a pinch of sea salt, all bound together by gelatin. The acid brightens the palate, the honey adds a subtle depth that tricks your brain into thinking you’ve indulged, and the gelatin gives the sauce that luxurious body without a single ounce of cream. I’ll be honest — I ate half the batch before anyone else got to try it, and that’s because the first bite is pure, guilt‑free bliss. Okay, ready for the game‑changer? Let me walk you through every single step — by the end, you’ll wonder how you ever made it any other way.
What Makes This Version Stand Out
- Flavor Explosion: The lemon‑apple cider vinegar combo cuts through the richness, delivering a bright punch that makes every bite feel fresh, like a summer garden after a rainstorm.
- Silky Texture: Gelatin creates a velvety coat that hugs each vegetable or protein piece, turning a simple broth into a restaurant‑quality glaze.
- Simplicity: Only five core ingredients, all pantry staples, mean you can whip this up in under 30 minutes without a trip to the specialty store.
- Weight‑Loss Ally: The gel matrix slows digestion, keeping you satiated longer and reducing the urge to snack between meals.
- Universal Appeal: Whether you’re a meat lover or a plant‑based enthusiast, this sauce adapts beautifully, making it a crowd‑pleaser at any gathering.
- Make‑Ahead Magic: Store it in the fridge for up to three days; the gelatin actually improves with time, deepening the flavor profile.
- Low‑Calorie Luxury: With just a tablespoon of honey for a hint of sweetness, the calorie count stays low while the mouthfeel feels indulgent.
- Zero‑Waste Friendly: The recipe uses warm water as a base, meaning no heavy cream or butter that would otherwise sit in the fridge waiting to be used.
Alright, let's break down exactly what goes into this masterpiece...
Inside the Ingredient List
The Flavor Base
Warm water isn’t just filler; it acts as a conduit for the gelatin and the acid, allowing the flavors to meld evenly. If you use water that’s too hot, you risk breaking down the gelatin’s structure, resulting in a watery sauce that won’t coat. Opt for water heated just shy of boiling (around 180°F/82°C) for the perfect balance. A quick tip: if you’re using filtered water, you’ll notice a cleaner taste that lets the lemon and honey shine.
The Texture Crew
Unflavored gelatin powder is the unsung hero here. It’s a protein derived from animal collagen, and when it cools, it forms a gel that’s both firm and flexible. This is the secret that keeps you feeling full, because the gel slows gastric emptying. If you’re vegan, you can swap in agar‑agar, but the texture will be firmer and the satiety effect slightly reduced.
The Unexpected Star
Lemon juice or apple cider vinegar adds acidity that brightens the palate and helps gelatin set more quickly. The acid also balances the sweetness from the honey, preventing the sauce from tasting cloying. If you’re allergic to citrus, a splash of white wine vinegar works just as well, though it will add a subtle tangy undertone.
The Final Flourish
Honey or your preferred sweetener is the finishing touch that tricks your brain into believing you’ve indulged in something decadent. The natural sugars also aid in the gelatin setting process, acting as a mild stabilizer. If you’re watching carbs, try a monk fruit blend; the sweetness stays, the calories drop.
Everything's prepped? Good. Let's get into the real action...
The Method — Step by Step
Start by measuring 1 cup of warm water (just off the boil) into a medium saucepan. As the steam rises, you’ll notice a faint hiss that signals the water is at the perfect temperature for gelatin activation. Add the 1 tablespoon of unflavored gelatin powder, sprinkling it evenly over the surface. Bloom the gelatin for about 2 minutes; you’ll see it puff up like tiny clouds, a visual cue that it’s ready to dissolve.
Kitchen Hack: Stir with a whisk in a circular motion; this prevents any gelatin clumps and ensures a glossy finish.Once the gelatin has fully dissolved (it should look clear, not milky), lower the heat to a gentle simmer. Now, introduce the acid: pour in 1‑2 teaspoons of lemon juice or apple cider vinegar. You’ll hear a subtle pop as the acid meets the gelatin, a tiny but satisfying sound that tells you the chemistry is happening.
Add 1‑2 tablespoons of honey (or your chosen sweetener) to the mixture. The honey will swirl in, creating a ribbon‑like pattern before it fully integrates. Let the sauce simmer for another 2‑3 minutes, allowing the flavors to meld. At this point, the sauce should have a glossy sheen that reflects the pan like a polished marble surface.
Watch Out: Do not let the mixture boil vigorously after adding gelatin, or it will break down and lose its gelling power, resulting in a watery sauce.Season with a pinch of sea salt. This isn’t just about flavor; the salt enhances the gelatin’s ability to set by balancing the overall ionic environment. Taste the sauce now; you should detect a bright acidity, a whisper of sweetness, and a subtle salty depth that makes the palate sing.
At this stage, you can either pour the sauce over your prepared vegetables, grilled chicken, or tofu, or you can let it cool slightly and use it as a dipping glaze. If you’re coating a protein, watch as the sauce clings like a second skin, sealing in moisture while delivering a burst of flavor.
Allow the mixture to rest for 5 minutes off the heat. This short rest period lets the gelatin begin to set, creating a slightly thicker consistency that will coat your food beautifully. The kitchen will be filled with a fragrant aroma that hints at citrus and honey – a scent that says “you’ve just made something special.”
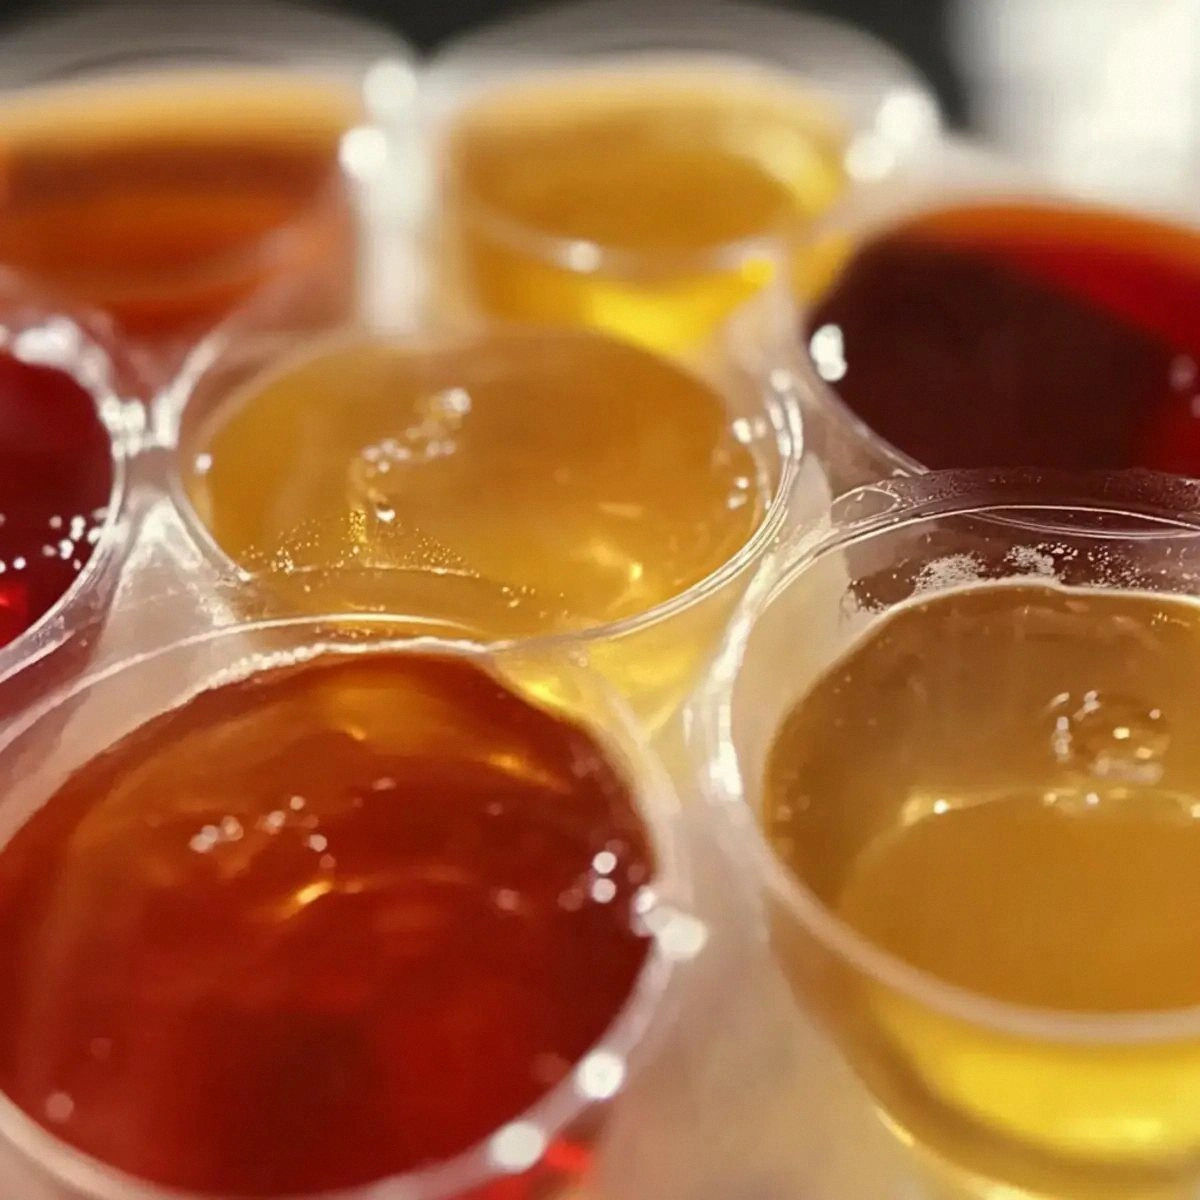
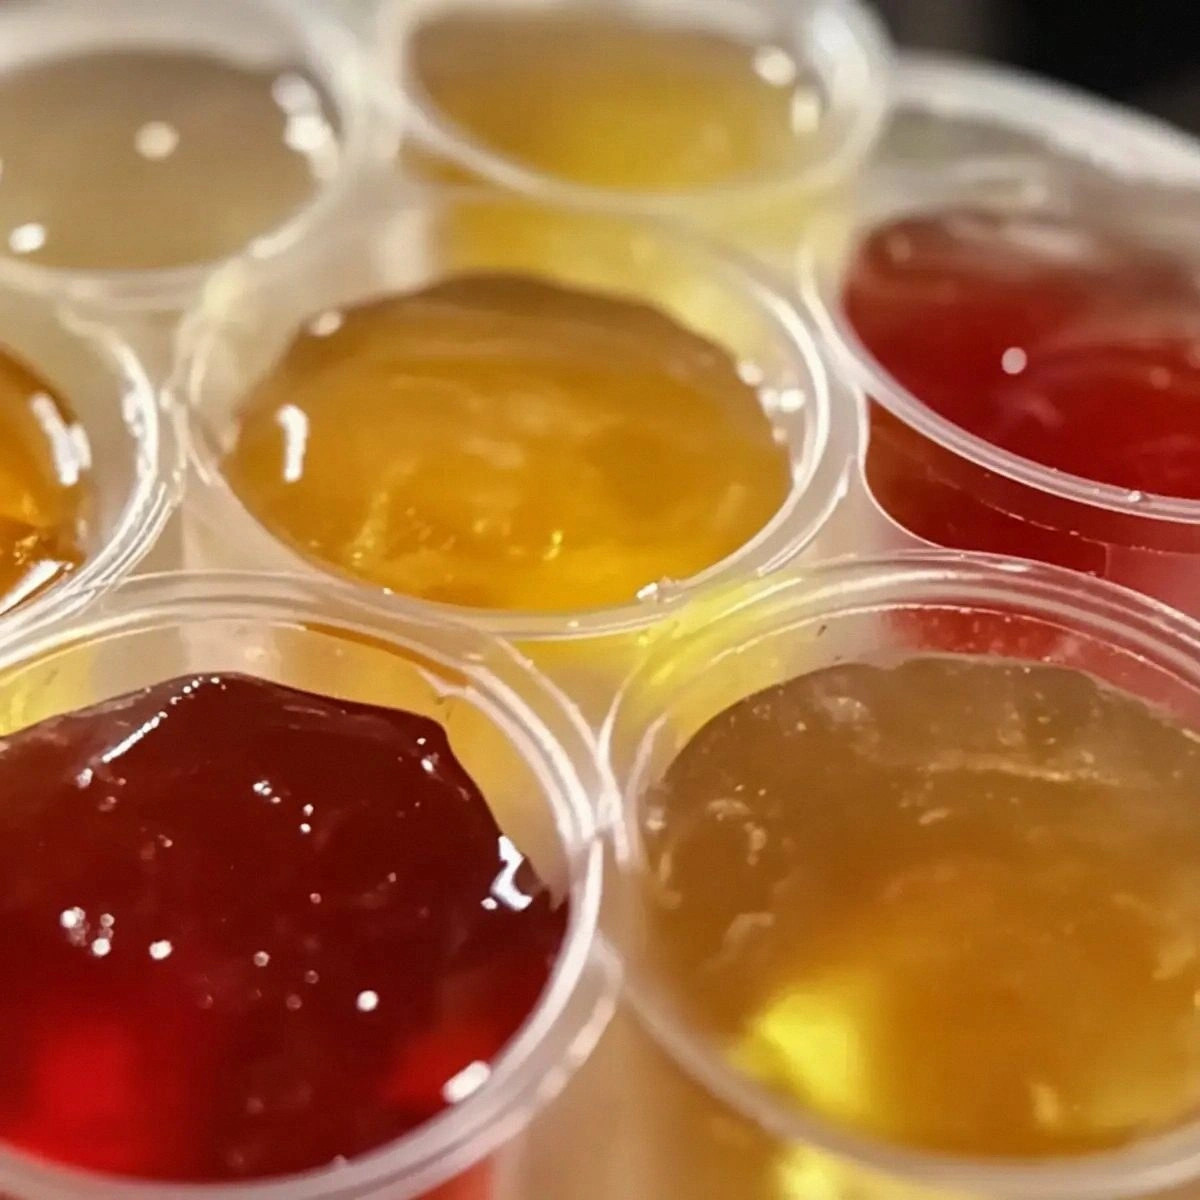
If you’re planning to store the sauce, transfer it to an airtight container and refrigerate. After 2 hours, the gelatin will fully set, turning the liquid into a firm, sliceable slab that you can cut into cubes for later use. When you’re ready to serve, gently reheat the cubes in a skillet over low heat; they’ll melt back into a glossy sauce in seconds.
Kitchen Hack: To re‑heat without losing texture, add a splash of water (about 1 tbsp per cup) and whisk gently; this restores the original silkiness.Final check: the sauce should coat the back of a spoon and slide off slowly, not run off in a thin stream. This is the moment of truth – if it feels too runny, let it sit a minute longer; if it’s too thick, whisk in a teaspoon of warm water. Adjustments are normal and part of the fun.
Serve immediately or store for later. Picture yourself pulling this out of the fridge, the whole kitchen smelling incredible, and plating it over a steaming bowl of cauliflower rice – you’ve just turned a simple meal into a weight‑loss celebration.
That's it — you did it. But hold on, I've got a few more tricks that'll take this to another level...
Insider Tricks for Flawless Results
The Temperature Rule Nobody Follows
Never add gelatin to boiling water; the ideal temperature is between 150°F and 180°F (65°C‑82°C). Going hotter will denature the protein, causing it to lose its gelling power. I once tried a shortcut by tossing the powder straight into a rolling boil, and the sauce turned into a watery mess that refused to set. Keep the heat gentle, and you’ll get that perfect, glossy sheen every single time.
Why Your Nose Knows Best
When the sauce starts to emit a bright, citrusy aroma, you’re at the sweet spot. Your sense of smell is a reliable indicator that the acid has balanced the sweetener. If you can’t smell the lemon, the sauce is probably under‑seasoned; a quick pinch of extra salt or a splash more lemon will bring it back to life. Trust your nose – it’s the kitchen’s most accurate thermometer.
The 5‑Minute Rest That Changes Everything
After you finish cooking, let the mixture sit uncovered for exactly five minutes. This short cooling period allows the gelatin to begin forming a network, giving the sauce that luxurious thickness without becoming solid. Skipping this step is the reason many “gelatin tricks” turn out soggy. I once rushed this part, and the result was a sauce that clung to the spoon but fell apart on the plate – a true culinary heartbreak.
The Sweet‑Spot Sweetener Swap
If you’re using a low‑glycemic sweetener, add it after the gelatin has fully dissolved. High‑heat can degrade some sugar substitutes, leading to a bitter aftertaste. I experimented with stevia once and learned the hard way that adding it too early ruined the flavor profile. Timing is everything.
The “One‑Minute” Re‑Heat Technique
When reheating, set your pan to low and stir continuously for no more than 60 seconds. Over‑heating will break the gelatin’s structure, turning the sauce back into a thin liquid. A quick stir with a splash of water restores the original texture in a heartbeat. This trick saved my dinner party last month when I needed to reheat a batch for a last‑minute guest.
Creative Twists and Variations
This recipe is a playground. Here are some of my favorite ways to switch things up:
Spicy Chili Kick
Add a teaspoon of finely minced jalapeño or a dash of sriracha during step 3. The heat pairs beautifully with the sweet‑honey base, creating a sweet‑heat balance that will wow anyone who loves a little fire. Perfect for tacos or grilled shrimp.
Herb‑Infused Elegance
Stir in a tablespoon of freshly chopped basil or cilantro right before you finish. The herbaceous notes add a fresh, garden‑like finish that pairs especially well with roasted vegetables or quinoa bowls.
Umami Boost
Swap half of the warm water for low‑sodium chicken or vegetable broth, and add a splash of soy sauce or tamari. The result is a deeper, savory profile that feels like a classic glaze but stays low in calories.
Coconut Whisper
Replace the honey with coconut sugar and add a teaspoon of toasted coconut oil. This gives a subtle tropical aroma that works wonders with fish or cauliflower steaks.
Smoky BBQ Fusion
Incorporate a teaspoon of smoked paprika and a drizzle of liquid smoke during step 4. The smoky undertones turn the sauce into a perfect BBQ glaze for grilled chicken or portobello mushrooms.
Storing and Bringing It Back to Life
Fridge Storage
Transfer the cooled sauce into an airtight glass jar and store it in the refrigerator for up to three days. The gelatin will firm up, creating a sliceable block. When you’re ready to use it, simply cut a piece and let it sit at room temperature for five minutes before reheating.
Freezer Friendly
Portion the sauce into silicone ice‑cube trays and freeze for up to two months. Once frozen, pop the cubes into a zip‑top bag. To reheat, drop the cubes into a saucepan with a splash of water and stir over low heat until melted. This method preserves the texture and makes portion control effortless.
Best Reheating Method
When reheating, always use low to medium heat and add a teaspoon of water per cup of sauce. Whisk continuously; this steam‑infused technique restores the original silkiness without breaking the gelatin. If you notice the sauce thickening too much, simply whisk in a bit more water until you reach the desired consistency.