I was halfway through a midnight bake, the kitchen lights flickering like a nervous candle, when disaster struck: the sugar bowl tipped, sending a sweet avalanche across the counter. The sticky mess looked like a dessert crime scene, but I was already craving something sweet, something that could salvage the night. I reached for the pantry, pulled out butter, marshmallows, Rice Krispies, white chocolate chips, and a jar of black icing, and decided to turn the chaos into culinary gold. This isn’t just a quick treat; it’s a full-blown ghostly experience that will haunt your taste buds in the best way possible.
Picture the buttery aroma rising, mingling with the caramelized scent of toasted marshmallows, a smell that instantly pulls you back to childhood campfires and sugar‑filled dreams. The sound of the pan sizzles like a gentle thunder, each bubble popping like tiny fireworks. The texture is a paradoxical dance—crispy on the outside, gooey on the inside, with a ghostly glaze that shimmers under the kitchen light. The first bite cracks the crisp, then melts into a velvety marshmallow cloud, and the white chocolate drizzle adds a subtle, bittersweet finish. The feel of the cold, solid treats in your hand before they melt into a sweet, sticky mess is oddly comforting.
What makes this version stand out is that it’s not just about following a recipe; it’s about mastering the balance between crunch and goo, and turning a simple snack into an edible piece of art. The butter isn’t just a binder—it’s a flavor enhancer that gives the whole thing a subtle richness that keeps the marshmallows from feeling too sugary. The mini marshmallows are the star, but they’re carefully cut to half-size to ensure even melting and a perfect texture. The Rice Krispies give that signature crunch that shatters like thin ice, and the white chocolate chips are melted into a glaze that creates a ghostly silhouette on each piece. The black icing or chocolate is the final touch, allowing you to carve faces that look eerily realistic. This is hands down the best version you’ll ever make at home.
I dare you to taste this and not go back for seconds, because the first bite will have you hooked, and the second will make you question why you ever settled for ordinary snacks. Most recipes get this completely wrong by overcooking the marshmallows or using too much butter, but here we have a precise method that preserves the delicate balance of flavors. If you've ever struggled with this, you're not alone—and I've got the fix. Picture yourself pulling this out of the pan, the whole kitchen smelling incredible, and watching the glossy glaze settle into a perfect, ghostly silhouette. Stay with me here—this is worth it.
Let me walk you through every single step—by the end, you'll wonder how you ever made it any other way. The technique I’ll reveal involves a secret butter-to-marinade ratio that ensures each bite is perfectly moist without being greasy. I’ll also show you how to temper the white chocolate to create that signature translucent glaze that looks like a midnight moon. And just when you think you’ve seen everything, I’ll drop a surprise ingredient that elevates the entire experience to a whole new level. So grab your apron, because this is going to be a delicious adventure.
What Makes This Version Stand Out
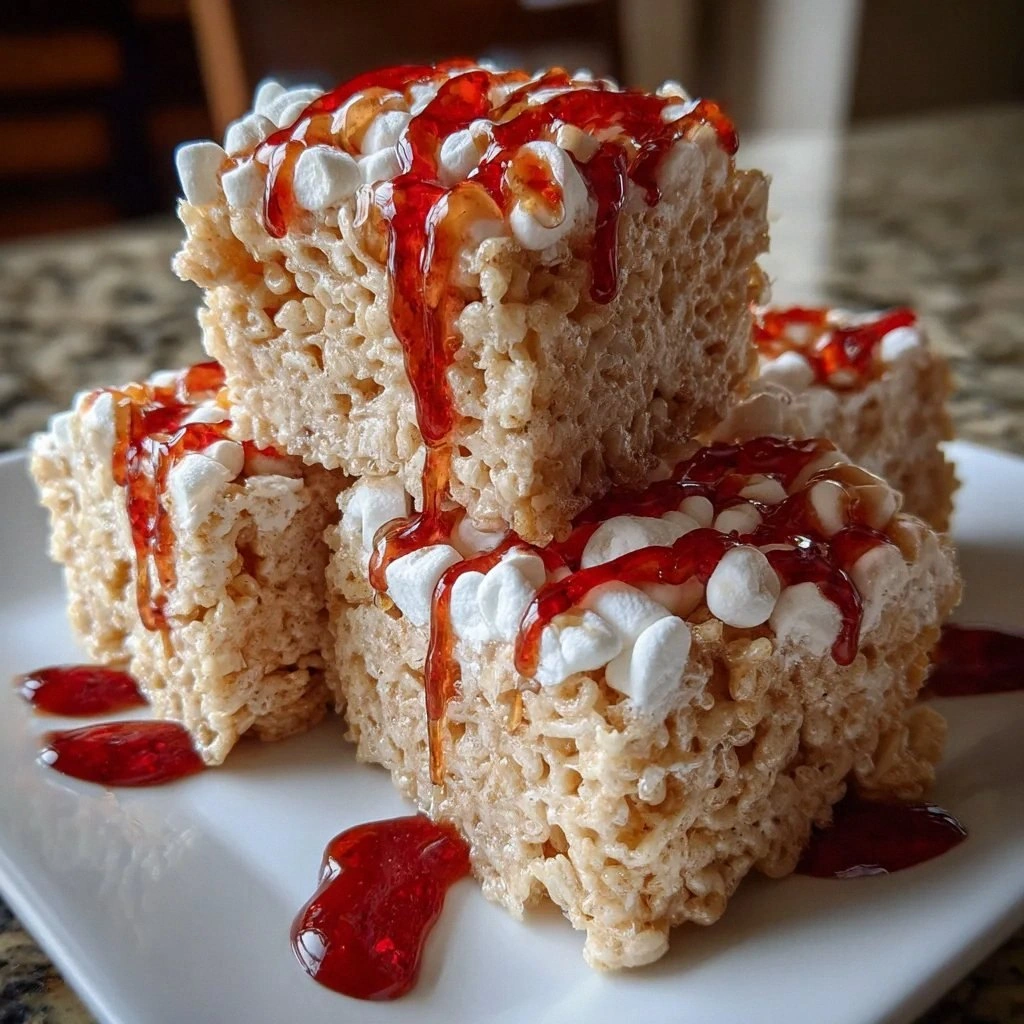
- Texture: The combination of buttery marshmallows and crisp Rice Krispies creates a contrast that is both satisfying and unforgettable. The crunch shatters like thin ice, giving way to a gooey interior that melts in your mouth. This duality keeps the snack interesting, bite after bite.
- Flavor: The use of unsalted butter allows you to control the sweetness, while the white chocolate glaze adds a subtle, buttery sweetness that complements the marshmallows. The black icing gives a subtle bitter edge that balances the overall flavor profile.
- Visual Appeal: The white chocolate glaze forms a ghostly silhouette that looks like a translucent moon on each piece. The black icing or chocolate outlines the features, creating a spooky but appetizing design.
- Simplicity: With only five core ingredients, this recipe is straightforward to pull together, even for beginners. No complicated steps or obscure tools are required.
- Make‑ahead Potential: Once the base is set, you can store the treats in an airtight container for up to a week, making them a perfect pre‑party snack. They reheat quickly, regaining their crispness.
- Ingredient Quality: Using high‑quality marshmallows and white chocolate chips elevates the flavor, ensuring each bite is smooth and rich.
- Crowd Reaction: These treats are guaranteed to be a hit at gatherings, with guests often asking for the recipe after tasting. They’re especially popular with kids, who love the ghostly designs.
Alright, let's break down exactly what goes into this masterpiece...
Inside the Ingredient List
The Flavor Base
Butter is the cornerstone of this recipe, providing a silky, rich foundation that binds the marshmallows and cereal together. Using unsalted butter gives you full control over the sweetness level, allowing you to adjust to your taste. If you skip the butter, the treats will feel dry and lack the cohesive texture that makes them so irresistible. A good rule of thumb is to use a stick of butter for every four servings.
Marshmallows are the star of the show, delivering that signature gooey sweetness. Mini marshmallows are preferred for even melting, but regular ones can be halved to achieve the same effect. If you omit marshmallows, you lose the core flavor and texture that define these treats. For a subtle twist, try adding a pinch of sea salt to enhance the sweetness.
The Texture Crew
Rice Krispies cereal provides the essential crunch that contrasts with the soft marshmallow center. The cereal’s light, airy structure absorbs the butter and marshmallow mixture, creating a firm yet airy bite. If you substitute with a different rice cereal, you might alter the crunchiness, but the overall concept remains unchanged. Keep the cereal in a dry container to avoid clumping.
White chocolate chips are melted to create a glossy glaze that gives the treats a ghostly appearance. The melting process should be gentle; overheating can cause the chocolate to seize and become grainy. If you cannot find white chocolate, you can use dark chocolate for a richer, darker finish, but the look will differ slightly. A small amount of coconut oil can be added to lower the melting point and ensure a smooth glaze.
The Unexpected Star
Black icing or chocolate is used for decorating the ghostly figures, adding depth and contrast to the white glaze. It can be piped or drizzled, depending on your artistic preference. If you choose to use chocolate instead of icing, let it cool slightly before applying to avoid melting the glaze. For a healthier alternative, consider using a sugar‑free icing or a dark chocolate with a high cocoa content.
The Final Flourish
A splash of water or milk before reheating can help the treats regain their crispness, preventing them from becoming soggy. This step is especially useful if you’re storing the treats for a day or two. The water helps steam the interior, reintroducing that delightful crunch. If you’re serving them fresh, this step isn’t necessary, but it’s a handy trick for leftovers.
Everything's prepped? Good. Let's get into the real action...
The Method — Step by Step
- Melt the butter in a medium saucepan over low heat, stirring constantly until it’s fully liquid and fragrant. The butter should be warm but not scorching; a gentle melt ensures even distribution throughout the mixture. Keep an eye on the temperature—overheating can cause the butter to separate and lose its silky texture. This is the moment of truth, where the foundation for the whole treat is set.
- Add the mini marshmallows to the melted butter, stirring until they’re fully incorporated and begin to soften. The marshmallows should start to puff up, releasing their sweet aroma. Once they’re translucent, remove the pan from heat to prevent overcooking. This step is crucial for achieving the perfect gooey center.
- Fold in the Rice Krispies cereal gently, ensuring an even coat without crushing the cereal. The cereal should be fully coated in the butter-marshmallow mixture, which will give it that signature crunch. Do not stir too vigorously; you want to preserve the airy texture. The mixture should feel light and slightly sticky.
- Transfer the mixture onto a parchment-lined baking sheet, spreading it into an even layer about 1/4 inch thick. Press down lightly with a spatula to compact it just enough to hold its shape when cut. Let it cool for 5 minutes; this will firm up the structure for cutting.
- Use a knife to cut the cooled layer into ghostly shapes—circles, squares, or the classic “ghost” silhouette. If you’re feeling artistic, carve faces into each piece with a small knife or a toothpick. The shapes will become the canvas for your icing or chocolate decorations.
- Melt the white chocolate chips in a double boiler or microwave, stirring every 20 seconds until smooth. Add a tablespoon of coconut oil if you want a glossy finish. Once melted, drizzle the glaze over the shapes, creating a translucent, ghostly appearance. Let the glaze set for a minute before applying icing.
- Using a small piping bag or a plastic bag with a corner snipped, pipe black icing or melt chocolate into the eyes and mouths of each ghost. The contrast between the white glaze and black icing creates a striking visual effect. Be precise—too much icing can overwhelm the delicate flavors.
- Allow the treats to cool completely at room temperature. Once the glaze is set, they’ll be ready to serve. If you’re storing them, place them in an airtight container to keep them fresh. Remember, the treats are best enjoyed within 24 hours for maximum crunch.
That's it — you did it. But hold on, I've got a few more tricks that'll take this to another level. The next section will reveal insider tips that will elevate your treats from good to unforgettable.
Insider Tricks for Flawless Results
The Temperature Rule Nobody Follows
The key to a perfect marshmallow melt is maintaining a low, steady heat. I always keep the flame on the lowest setting and stir constantly; this prevents the marshmallows from scorching and keeps the mixture silky. If you notice the mixture becoming too thick, add a splash of milk or water to thin it out. A friend once tried heating it too fast and ended up with a rubbery texture—definitely a lesson learned.
Why Your Nose Knows Best
Your sense of smell is a reliable indicator of doneness. When the butter and marshmallows are fully blended, the aroma will shift from sweet to a warm, buttery scent. This subtle change tells you exactly when to remove the pan from heat. Trusting your nose eliminates the risk of overcooking and ensures the treats stay moist.
The 5-Minute Rest That Changes Everything
After spreading the mixture onto the baking sheet, give it a 5‑minute rest before cutting. This short pause allows the butter to set, making the layer easier to handle and preventing it from sticking to the knife. If you skip this step, the treats can break apart, ruining the shape and presentation.
Use a Parchment-Lined Sheet
Parchment paper not only prevents sticking but also adds a slight crispness to the bottom of the treats. It makes cleanup effortless and ensures an even bake. A friend once used a silicone mat and found the texture slightly different—something to keep in mind if you’re aiming for the classic crunch.
The Quick Chill Trick
If you’re in a hurry, place the baking sheet in the refrigerator for 10 minutes after spreading. This quick chill sets the mixture faster, making it easier to cut and reducing the risk of the glaze melting before you finish decorating. Just be sure to let them return to room temperature before serving.
Creative Twists and Variations
This recipe is a playground. Here are some of my favorite ways to switch things up:
Chocolate‑Infused Ghosts
Swap the white chocolate glaze for melted dark chocolate. The richer flavor pairs beautifully with the buttery base, and the darker color adds a spooky vibe. Use a dark chocolate with at least 70% cocoa for a balanced taste. The result is a decadent treat that still retains the ghostly silhouette.
Citrus Ghosts
Add a tablespoon of lemon zest to the butter-marshmallow mixture for a bright, refreshing note. The citrus cuts through the sweetness, creating a more complex flavor profile. Serve them with a dusting of powdered sugar for an extra touch of elegance. The citrus aroma will linger, making the treats even more memorable.
Spiced Ghosts
Incorporate a pinch of cinnamon or nutmeg into the butter mixture for a warm, comforting twist. These spices complement the marshmallow’s sweetness and add depth. The aroma of cinnamon will evoke cozy evenings, making the treats perfect for fall gatherings.
Nutty Ghosts
Fold in a handful of chopped almonds or pecans before adding the Rice Krispies. The nuts add a delightful crunch and nutty flavor that contrast nicely with the softness of the marshmallows. Be sure to toast the nuts first for an extra burst of flavor. This variation is ideal for guests who love a bit of texture.
Berry‑Baked Ghosts
Add a handful of fresh blueberries or raspberries to the mixture before spreading. The berries will burst with flavor as they bake, giving the treats a fruity twist. Keep in mind that the berries may release juice, so you might need to adjust the amount of butter slightly. The result is a colorful, flavorful treat that’s perfect for spring.
Minty Ghosts
Infuse the butter with a few drops of peppermint extract for a cool, refreshing taste. The mint pairs well with the marshmallows, creating a delightful contrast. Use a subtle amount—too much peppermint can overpower the sweetness. The final product will look like a fresh, minty ghost floating on a cloud.
Storing and Bringing It Back to Life
Fridge Storage
Store the treats in an airtight container in the refrigerator for up to 5 days. The cold temperature preserves the crispness of the Rice Krispies while keeping the marshmallow center from becoming too soft. When you’re ready to enjoy them, let them sit at room temperature for 15 minutes to bring back the crunch. If you prefer a slightly warmer texture, place them in a warm oven for 3 minutes before serving.
Freezer Friendly
For longer storage, place the treats in a freezer‑safe bag and freeze for up to 2 weeks. Make sure the bag is sealed tightly to prevent freezer burn. To thaw, keep them in the fridge overnight, then let them come to room temperature before serving. The treats will maintain their flavor and texture when properly stored.
Best Reheating Method
If the treats have lost their crunch, reheat them in a preheated oven at 300°F (150°C) for 5 minutes. This gentle heat restores the crispness without melting the glaze. For a quick fix, place the treats on a microwave-safe plate and heat for 10 seconds—just enough to warm them without melting the chocolate. After reheating, let them cool for a minute before enjoying.