Picture this: a dark kitchen, a thunderstorm rattling the windows, and a sudden craving for something that screams “Halloween” louder than the wind outside. I was halfway through a batch of boring, store‑bought caramel popcorn when my roommate dared me to create a snack that could actually double as a costume accessory. I laughed, I rolled my eyes, and I grabbed the biggest pot of popcorn I owned, a bag of candy‑colored melts, and a handful of spooky‑themed goodies. The result? A bowl of popcorn so vibrant, so crunchy, and so decadently sweet that even the ghosts in the hallway paused for a sniff.
The moment the butter‑infused kernels hit the pot, the kitchen filled with a buttery perfume that reminded me of movie‑theater popcorn, but with a twist—an undercurrent of chocolate and candy that hinted at mischief. The sizzle of the melts as they melted into a glossy, ruby‑orange river was pure alchemy, and the crunch of Oreo‑style cookies shattering into the mix added a texture that reminded me of stepping on dry leaves in an autumn forest. I could hear the faint pop‑pop‑pop of kernels, the soft crackle of candy melts, and the distant howl of a distant dog—each sound a reminder that this was no ordinary snack. My fingers tingled as I tossed everything together, feeling the heat of the pan and the coolness of the candy coating in perfect harmony.
What makes this version stand out? Most popcorn recipes stop at “add butter and salt,” but I went full‑on Halloween, layering flavors and textures like a costume designer stacking layers of fabric. The candy melts create a glossy, glossy shell that clings to each kernel like a glossy spider web, while the Oreo‑style cookies bring a buttery crumble that shatters the monotony of plain popcorn. The M&Ms and sprinkles add bursts of color and a sugary crunch that makes every bite feel like a mini celebration. And the best part? It’s unbelievably simple—no fancy equipment, just a pot, a microwave, and a willingness to get a little messy.
Now, I’m about to spill the beans (and the candy melts) on the secret technique that makes this popcorn stick together without turning into a sticky mess. Trust me, you’ll want to try it before anyone else does. Let me walk you through every single step — by the end, you’ll wonder how you ever made it any other way.
What Makes This Version Stand Out
- Flavor Explosion: The combination of black and orange candy melts with Halloween‑themed M&Ms creates a sweet‑and‑slightly‑salty profile that hits every taste bud. It’s like a carnival ride for your palate, with each bite delivering a new surprise.
- Texture Symphony: From the airy puff of popcorn to the crunchy Oreo‑style cookies and the melt‑in‑your‑mouth candy coating, every mouthful offers a different mouthfeel that keeps you reaching for more.
- Simplicity Meets Drama: You only need a few pantry staples and a microwave, yet the final product looks like it was crafted by a professional pastry chef for a haunted house gala.
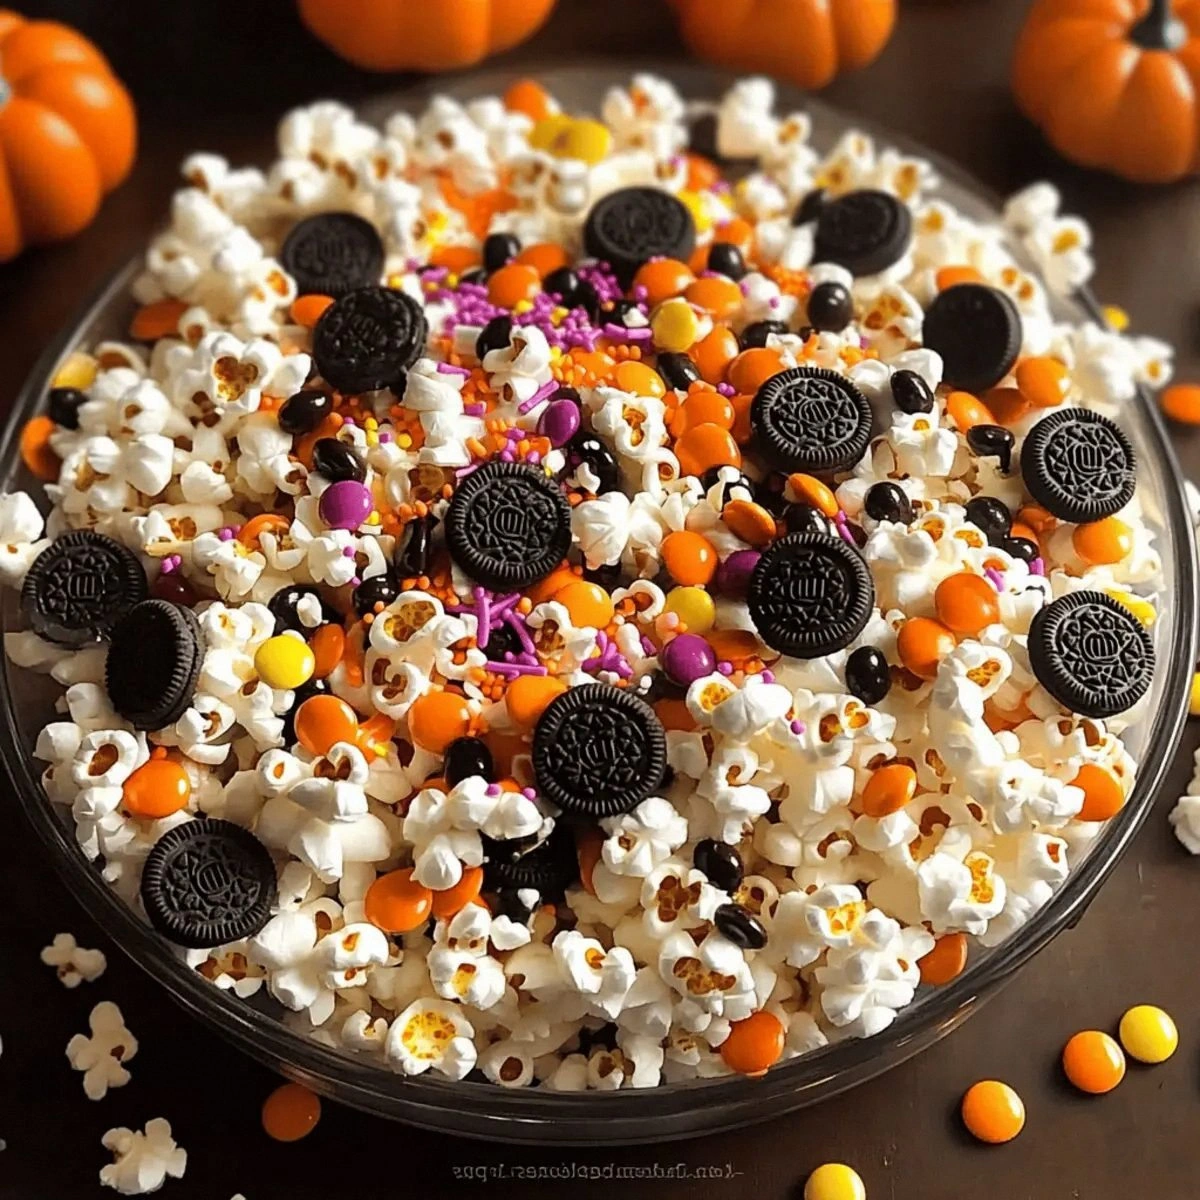
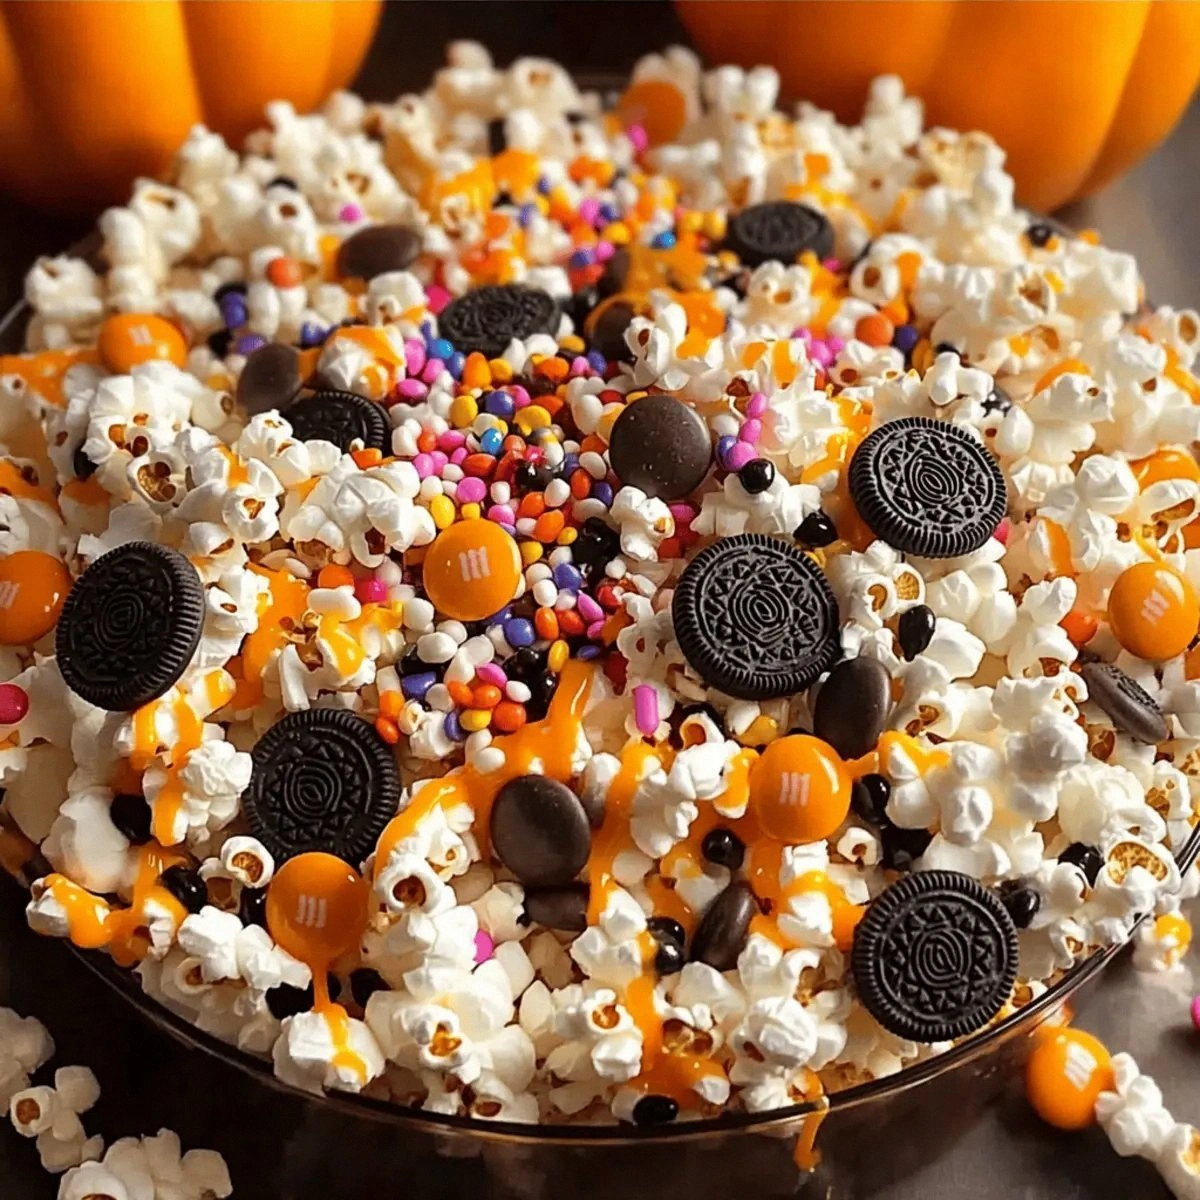
- Visual Wow Factor: The black‑orange swirl of the melted candy against the white popcorn is instantly Instagram‑worthy, making it the perfect centerpiece for any spooky spread.
- Crowd‑Pleaser: Kids adore the bright colors, while adults appreciate the sophisticated chocolate base. I dare you to taste this and not go back for seconds.
- Make‑Ahead Magic: This treat stores beautifully, and the coating re‑crystallizes to stay crisp, so you can prep it ahead of your Halloween party and still serve it fresh.
- Ingredient Quality: Using premium candy melts ensures a smooth, glossy finish that cheap alternatives simply can’t match. Most recipes get this completely wrong. Here’s what actually works.
- Flexible Scaling: Whether you need a single bowl for movie night or a mountain of snack for a costume contest, the recipe scales effortlessly without losing its charm.
Inside the Ingredient List
The Flavor Base
The star of this recipe is the Black and Orange Candy Melts. These are essentially chocolate with food‑grade coloring, and they melt into a glossy river that clings to each kernel. If you skip them, you’ll end up with plain popcorn that lacks that magical, festive sheen. For a richer flavor, opt for premium couverture melts; they contain a higher cocoa butter content, which means a smoother, shinier finish. If you can’t find orange melts, a mix of white chocolate and a few drops of orange food coloring works just as well.
The Texture Crew
Next up, the Halloween Oreo Cookies. These aren’t your regular Oreos; they’re dipped in orange or black icing, adding an extra layer of crunch and a subtle vanilla note. Crumbling them into the mix introduces a buttery crumble that contrasts beautifully with the light popcorn. If you’re out of the themed cookies, regular Oreo crumbs or even crushed chocolate graham crackers will do the trick, though you’ll lose a bit of that festive color.
The Unexpected Star
The Halloween M&Ms bring both color and a candy shell that resists melting, giving you little pockets of sweetness that pop in your mouth. They also add a subtle chocolate flavor that complements the candy melts perfectly. Skipping them would make the snack less colorful and slightly less texturally interesting. If you prefer a nutty twist, swap half the M&Ms for roasted peanuts or pumpkin seeds.
The Final Flourish
The Halloween Sprinkles are the finishing touch—tiny bursts of sugar that add sparkle and a slight crunch. They’re the edible glitter that turns a good snack into a show‑stopper. If you’re watching sugar, you can reduce the amount or use sugar‑free sprinkles, but the visual impact will be a bit muted.
Everything's prepped? Good. Let's get into the real action...
The Method — Step by Step
Start by popping 8‑10 cups of popcorn using your favorite method—air popper, stovetop, or microwave. If you’re using a pot, heat a splash of oil over medium heat, add the kernels, and cover. Listen for the rapid pop‑pop‑pop; once the popping slows to a couple of seconds between pops, remove from heat. Transfer the popcorn to a large mixing bowl, spreading it out so it cools slightly and doesn’t steam.
While the popcorn is still warm, break the Halloween Oreo Cookies into bite‑size pieces. Toss them in with the popcorn, letting the warm kernels lightly toast the cookie crumbs. You’ll hear a faint crackle as the cookies soften and release their buttery aroma—this is the first sign that flavor layers are beginning to meld.
Now, it’s time for the candy melts. Place the 10‑12 oz of black and orange melts in a microwave‑safe bowl. Microwave in 30‑second bursts, stirring after each burst, until the chocolate is completely smooth and glossy. Watch out for any lumps; if you see them, keep stirring—this is where the magic happens.
Once the melts are silky, drizzle them over the popcorn‑cookie mixture. Use a spatula to toss gently, ensuring every kernel is coated. The coating should look like a thin veil of midnight sky with orange lightning bolts—glossy, smooth, and just a tad thick. If you find any dry spots, give the bowl a quick shake; the heat will help the chocolate cling.
Immediately sprinkle the Halloween M&Ms and sprinkles over the coated popcorn. The heat from the chocolate will slightly melt the outer shell of the M&Ms, creating a subtle caramelized edge while preserving the core’s crunch. Toss again, but this time with a lighter hand to avoid crushing the M&Ms.
While the popcorn is setting, prepare any optional toppings you love—extra drizzle of white chocolate, a pinch of sea salt, or even a dusting of powdered sugar. These additions can elevate the flavor profile from great to legendary. I personally love a light sprinkle of smoked paprika for a subtle smoky undertone.
After the coating has firmed up (about 5‑7 minutes), give the popcorn one final toss to break up any clumps. The result should be a glossy, evenly coated snack that looks like a haunted forest floor—dark, mysterious, and peppered with bright, candy‑colored gems.
Transfer the finished popcorn to a large serving bowl, or portion into individual treat bags for guests. Serve immediately for maximum crunch, or store in an airtight container for up to three days. Picture yourself pulling this out of the oven, the whole kitchen smelling incredible, and your guests gasping in awe. That’s the moment you’ll remember.
That's it — you did it. But hold on, I've got a few more tricks that'll take this to another level...
Insider Tricks for Flawless Results
The Temperature Rule Nobody Follows
Never melt candy melts directly over high heat. Use a double boiler or microwave in short bursts. The gentle heat keeps the cocoa butter from separating, ensuring a glossy finish that doesn’t turn grainy. I once tried melting over a stovetop flame and ended up with a clumpy mess—lesson learned.
Why Your Nose Knows Best
The moment the chocolate hits a fragrant “toasty” smell, you know it’s ready. Trust that nose cue more than a timer. If the aroma feels buttery and slightly nutty, you’re at the perfect melting point. Over‑cooking dulls the scent and the flavor.
The 5‑Minute Rest That Changes Everything
After coating, let the popcorn rest for exactly five minutes before serving. This short pause allows the chocolate to set just enough to stay crisp yet remain pliable enough to break cleanly when bitten. Skipping this step often leads to a soggy coating that clings to your fingers.
Salt Balance is Key
A pinch of flaky sea salt sprinkled over the finished batch elevates the chocolate’s sweetness and adds a pop of contrast. It’s the same trick pastry chefs use on caramel to heighten flavor. Too much salt, however, can overwhelm the subtle chocolate notes, so use sparingly.
Storage Secrets for Crunch
Store the popcorn in a container with a tight‑fitting lid and a paper towel at the bottom. The towel absorbs any excess moisture, preserving the crunch. If you notice any soft spots, a quick re‑bake at 250°F for five minutes revives the texture.
Creative Twists and Variations
This recipe is a playground. Here are some of my favorite ways to switch things up:
Spooky S’mores Popcorn
Swap the candy melts for white chocolate and add mini marshmallows and graham cracker crumbs. The result is a campfire‑flavored treat that still looks Halloween‑ready.
Ghostly White Chocolate & Mint
Use white candy melts with a dash of peppermint extract, and garnish with silver dragees. The minty coolness cuts through the sweetness, giving a refreshing twist.
Caramel Apple Crunch
Replace the chocolate coating with caramel sauce, toss in dried apple chips, and finish with a drizzle of dark chocolate. It’s like a bite‑sized apple‑cider donut.
Nutty Nightmare
Add toasted pecans or walnuts and a splash of bourbon‑infused chocolate. The nuts add depth, while the bourbon brings an adult‑only edge.
Vegan Velvet
Use plant‑based chocolate melts and dairy‑free popcorn kernels. The flavor stays rich, and the texture stays crunchy—perfect for vegans and the health‑conscious.
Storing and Bringing It Back to Life
Fridge Storage
Place the popcorn in an airtight container and store in the refrigerator for up to a week. The cool environment keeps the chocolate from blooming, preserving the glossy finish.
Freezer Friendly
For longer storage, seal the popcorn in a freezer‑safe bag, removing as much air as possible. It will stay fresh for up to three months. Thaw at room temperature before serving.
Best Reheating Method
To revive lost crunch, spread the popcorn on a baking sheet, add a tiny splash of water (just a few drops), and heat at 300°F for 3‑5 minutes. The steam re‑crystallizes the coating, giving you that fresh‑out‑the‑oven snap.