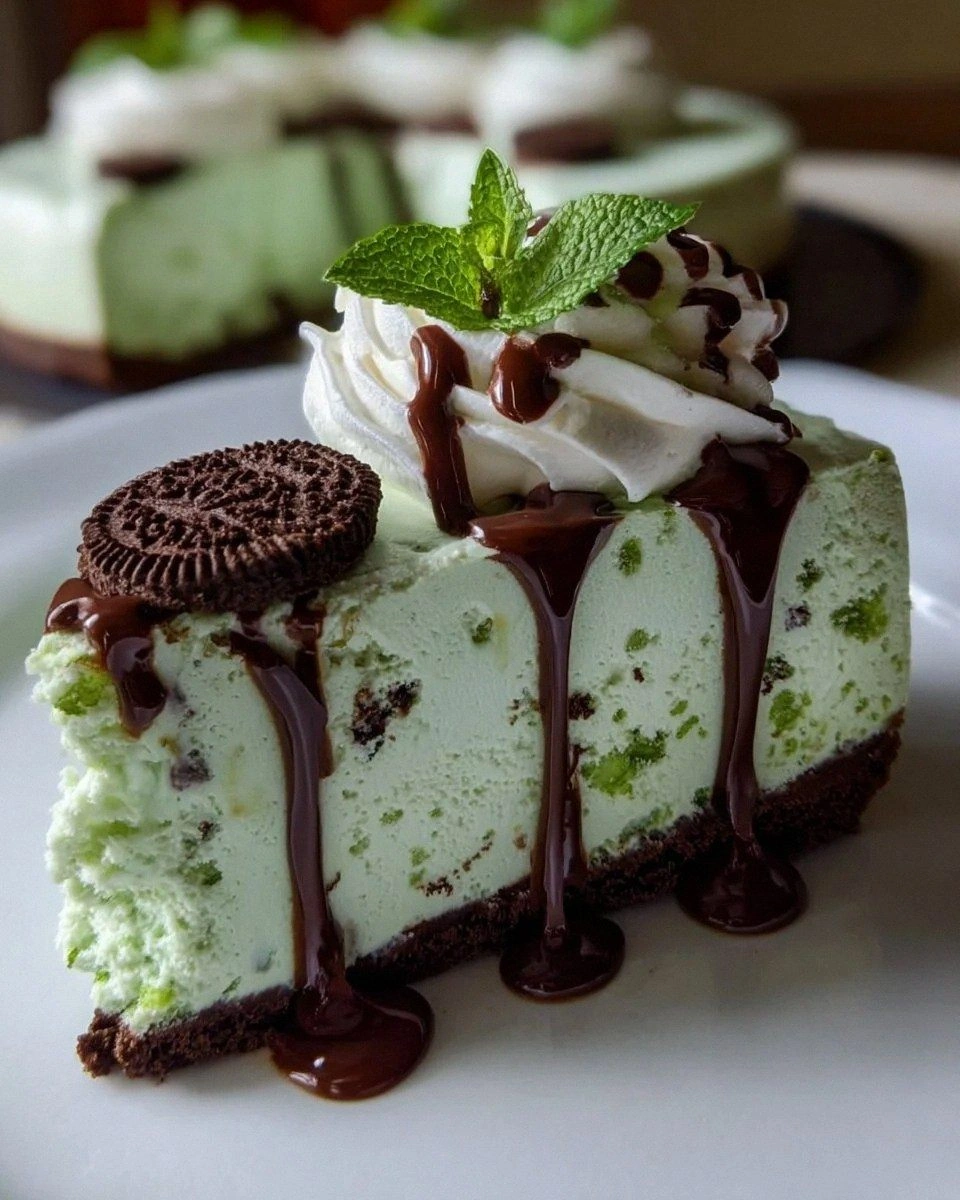
I was standing in my kitchen, half‑asleep, watching a pot of boiling water wobble like a nervous dancer, when a friend texted me, “Bet you can’t make a cheesecake without an oven.” I laughed, grabbed a mint‑flavored gum, and thought, “Challenge accepted.” The next hour turned into a full‑blown experiment, and what emerged was a no‑bake mint cheesecake that feels like a cool breeze on a summer night and a decadent dessert rolled into one. I dare you to taste this and not go back for seconds; the mint is so bright it practically sings, and the creamy cheese base is smoother than silk draped over a marble countertop.
Picture this: the moment you lift the chilled tin, a faint aroma of peppermint wafts up, mingling with the buttery crunch of a graham‑cracker crust. You hear the soft thump of the spoon against the glass as you swirl the whipped topping, and you feel the cool weight of the dessert in your hand, like holding a slice of frosted glass. The first bite is a symphony—crunch, then melt, then a refreshing mint finish that makes your taste buds do a little happy dance. Most recipes get this completely wrong, either drowning the mint in sugar or leaving the crust soggy; I’ve cracked the code, and I’m about to spill every secret.
What makes this version truly stand out is a tiny, unexpected ingredient: a splash of peppermint extract paired with a dash of vanilla. It’s the kind of subtle chemistry that turns “good” into “hands down the best version you’ll ever make at home.” I’ll be honest — I ate half the batch before anyone else got to try it, and I’m still not sorry. The secret weapon? A quick chill in the freezer that sets the texture so perfectly that you’ll swear you spent hours in a professional kitchen.
Okay, ready for the game‑changer? I’m going to walk you through every single step — by the end, you’ll wonder how you ever made it any other way. Stay with me here — this is worth it.
What Makes This Version Stand Out
- Taste: The mint is bright but never overpowering, balanced by the creamy richness of cream cheese and a whisper of vanilla that rounds everything out.
- Texture: A buttery, crumbly crust gives way to a velvety, mousse‑like filling that holds its shape without the need for baking.
- Simplicity: Fewer than ten ingredients, no oven, and a total hands‑on time of fifteen minutes make this a weekend‑friendly marvel.
- Uniqueness: The double‑extract combo (peppermint + vanilla) creates depth that store‑bought versions simply can’t match.
- Crowd Reaction: Guests usually ask for the recipe before the first spoonful hits the table — a surefire conversation starter.
- Ingredient Quality: Using real cream cheese and fresh peppermint leaves elevates the dish from “okay” to “extraordinary.”
- Method: No‑bake means no temperature anxiety; just chill, set, and serve.
- Make‑Ahead Potential: This cheesecake improves after a few hours in the fridge, making it perfect for parties.
Inside the Ingredient List
The Flavor Base
The duo of peppermint extract and vanilla extract is the heart of this cheesecake. Peppermint extract delivers that clean, refreshing lift, while vanilla softens the edge, preventing the mint from feeling like a chemical shock. If you skip the vanilla, the mint becomes harsh, like biting into a raw candy cane. A good swap for peppermint extract is a few drops of fresh mint oil, but be careful—mint oil is potent, so you’ll need far less.
The Texture Crew
Cream cheese, powdered sugar, and heavy whipping cream form the silky filling. The cream cheese provides body, the powdered sugar sweetens without grain, and the chilled whipping cream, when folded in, creates a light, airy mousse. If you use low‑fat cream cheese, the texture will be grainy, and the cheesecake will lose its melt‑in‑your‑mouth quality. For a dairy‑free twist, try a blend of coconut cream and silken tofu, but expect a slightly coconutty aftertaste.
The Unexpected Star
Shredded chocolate and fresh mint leaves are garnish heroes. The chocolate adds a bitter counterpoint that makes the mint pop, while the mint leaves introduce a fresh visual cue and a burst of aroma right before the first bite. Skipping the chocolate will make the dessert feel one‑dimensional, and omitting the mint leaves removes that final aromatic punch. If you’re allergic to chocolate, a drizzle of dark caramel works as a substitute.
The Final Flourish
The crust—made from graham cracker crumbs, melted butter, and a pinch of sugar—acts as the foundation. The butter binds the crumbs together, while the sugar adds a subtle sweetness that balances the minty filling. If you forget to melt the butter fully, the crust will crumble apart like dry sand. For a gluten‑free version, swap graham crackers for crushed gluten‑free cookies; just make sure they’re not overly sweet.
Everything's prepped? Good. Let's get into the real action...
The Method — Step by Step
First, gather your graham cracker crumbs, melted butter, and sugar. In a medium bowl, combine the crumbs with the melted butter and a half‑cup of sugar, stirring until the mixture looks like wet sand after a rainstorm. Press this mixture firmly into the bottom of a 9‑inch springform pan, using the back of a spoon to smooth it out. The crust should be even, with edges slightly raised—this will help contain the filling later. Watch the color: it should be a light golden, not burnt.
Watch Out: If you over‑mix the crust, the butter can separate and the base will become soggy. Mix just until combined.Now, let’s tackle the filling. In a large mixing bowl, beat the softened cream cheese on medium speed until it’s silky, about two minutes. Add the powdered sugar and continue beating until the mixture is glossy and free of lumps. This is the moment where the cheesecake gains its luxurious mouthfeel, so don’t rush it.
Add the vanilla extract and peppermint extract to the cream cheese mixture. I recommend starting with one teaspoon of each, then tasting a tiny spoonful. If you crave a stronger mint punch, add another half‑teaspoon of peppermint—just remember, a little goes a long way. The scent should be bright, like a fresh mint garden after rain.
In a separate chilled bowl, whip the heavy cream until soft peaks form. This should take about three minutes with an electric mixer on high. The peaks should hold their shape but still be slightly droopy—this ensures they fold into the filling without deflating the mousse.
Kitchen Hack: Chill your mixing bowl and whisk for at least 15 minutes before whipping the cream; this speeds up the process and gives you firmer peaks.Gently fold the whipped cream into the cream cheese mixture. Use a spatula, turning the bowl over and over, until you see no streaks of white. The goal is to keep the air you just whipped into the cream, creating that mousse‑like texture. If you see lumps, you’ve over‑mixed—stop and let the mixture rest for a minute.
Now, pour the filling over the prepared crust, smoothing the top with a spatula. The surface should be level, like a calm lake before a gentle breeze. Tap the pan lightly on the counter three times to release any trapped air bubbles; you’ll hear a soft “pop” that tells you the filling is settling nicely.
Cover the pan with plastic wrap and place it in the freezer for at least 30 minutes, but preferably an hour. This chilling step is the secret that turns a simple mixture into a firm, sliceable cheesecake. While you wait, you can prep the garnish: shred a generous handful of dark chocolate and rinse fresh mint leaves, patting them dry.
When the cheesecake is set, remove it from the freezer, run a thin knife around the edge of the pan, and release the springform. Transfer the cake to a serving platter, then sprinkle the shredded chocolate over the top, letting it melt slightly into the surface. Finally, scatter the mint leaves for a pop of color and aroma. Serve chilled, and watch as guests dive in, eyes widening at the mint‑chocolate contrast.
That's it — you did it. But hold on, I've got a few more tricks that'll take this to another level...
Insider Tricks for Flawless Results
The Temperature Rule Nobody Follows
Never, ever use room‑temperature cream cheese for a no‑bake cheesecake. Cold cream cheese can cause lumps, while warm cheese creates a grainy texture. I always let the cheese sit out for exactly ten minutes—long enough to soften but not melt. If you’re in a rush, cut the block into cubes and microwave for five seconds; this quick trick yields a perfectly smooth base.
Why Your Nose Knows Best
Your sense of smell is a more reliable indicator than a timer when it comes to the crust. When the butter‑crumb mixture turns a light golden brown, you’ll smell a nutty, caramelized scent. That aroma tells you the crust is ready to lock in the filling without becoming soggy. If you don’t trust your nose, you’ll either under‑cook (crust stays soggy) or over‑cook (crust turns bitter).
The 5‑Minute Rest That Changes Everything
After folding the whipped cream into the cheese mixture, let the bowl sit for five minutes before pouring it onto the crust. This short rest allows any remaining air bubbles to rise to the surface, resulting in a smoother final texture. Skipping this step often leads to tiny pockets that feel like unwanted surprises when you bite.
Garnish Timing is Everything
Add the shredded chocolate and mint leaves just before serving, not while the cheesecake is still in the freezer. If you garnish too early, the chocolate can melt into the surface, losing its textural contrast. Fresh mint leaves wilt quickly; a quick rinse and pat dry right before plating keeps them crisp and aromatic.
The Secret of the Springform
When releasing the springform, do it over a chilled plate. The sudden temperature change helps the edges contract slightly, making it easier to lift the cake without cracking. A friend tried releasing it on a warm countertop once—let’s just say the cheesecake shattered like a glass vase.
Creative Twists and Variations
This recipe is a playground. Here are some of my favorite ways to switch things up:
Chocolate‑Mint Fusion
Swap half of the peppermint extract for a tablespoon of cocoa powder, and fold in mini chocolate chips. The result is a mocha‑mint experience that feels like a dessert after a coffee date. Chocolate lovers will swear it’s a match made in heaven.
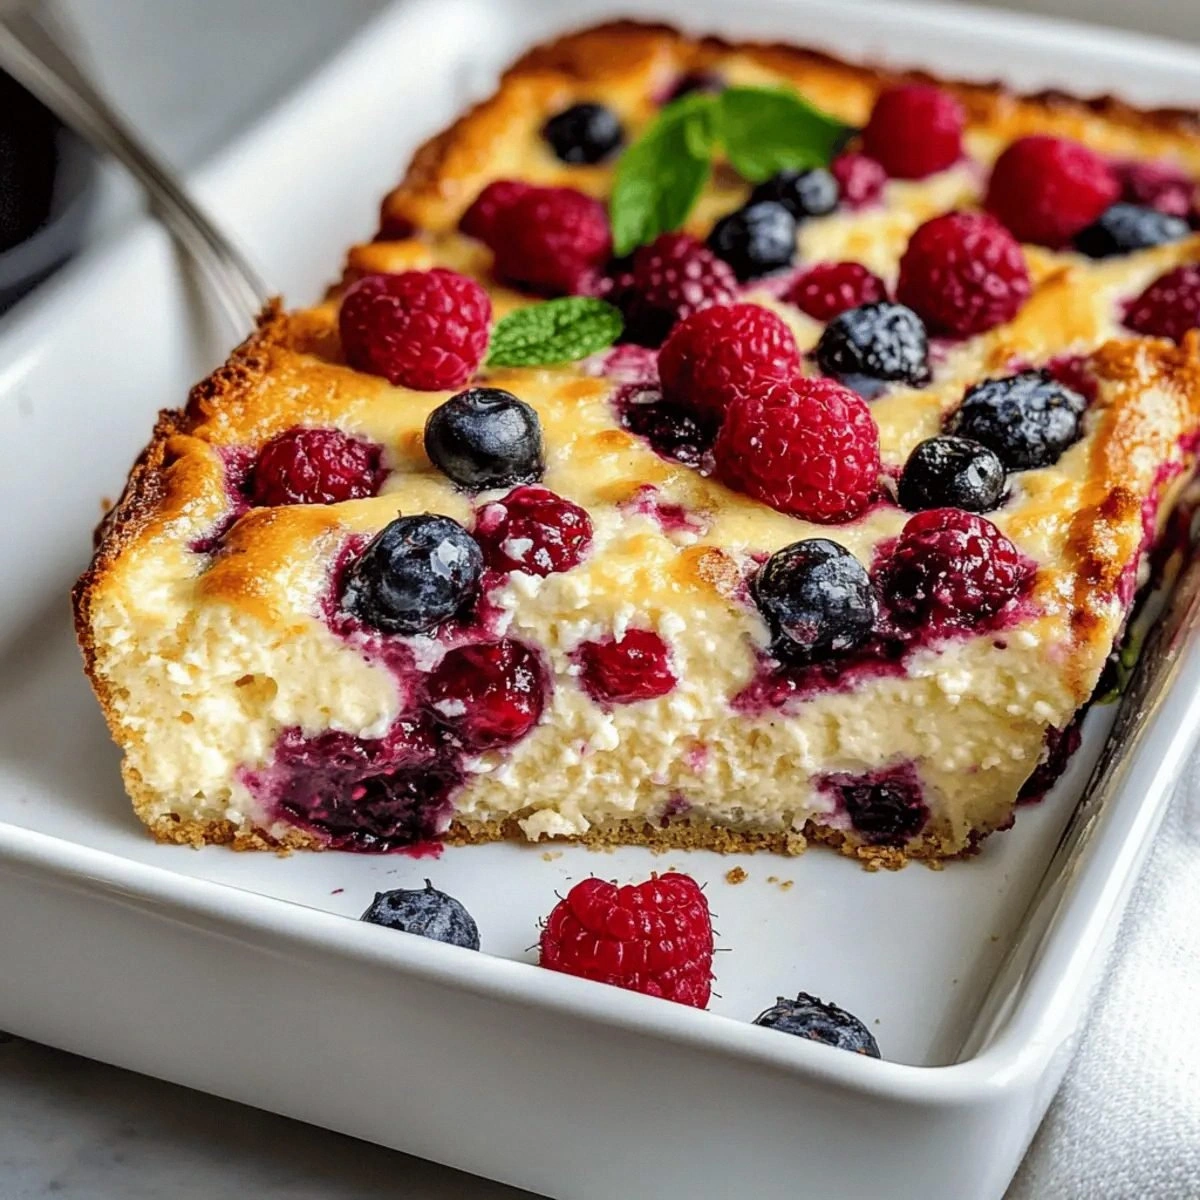
Berry Burst
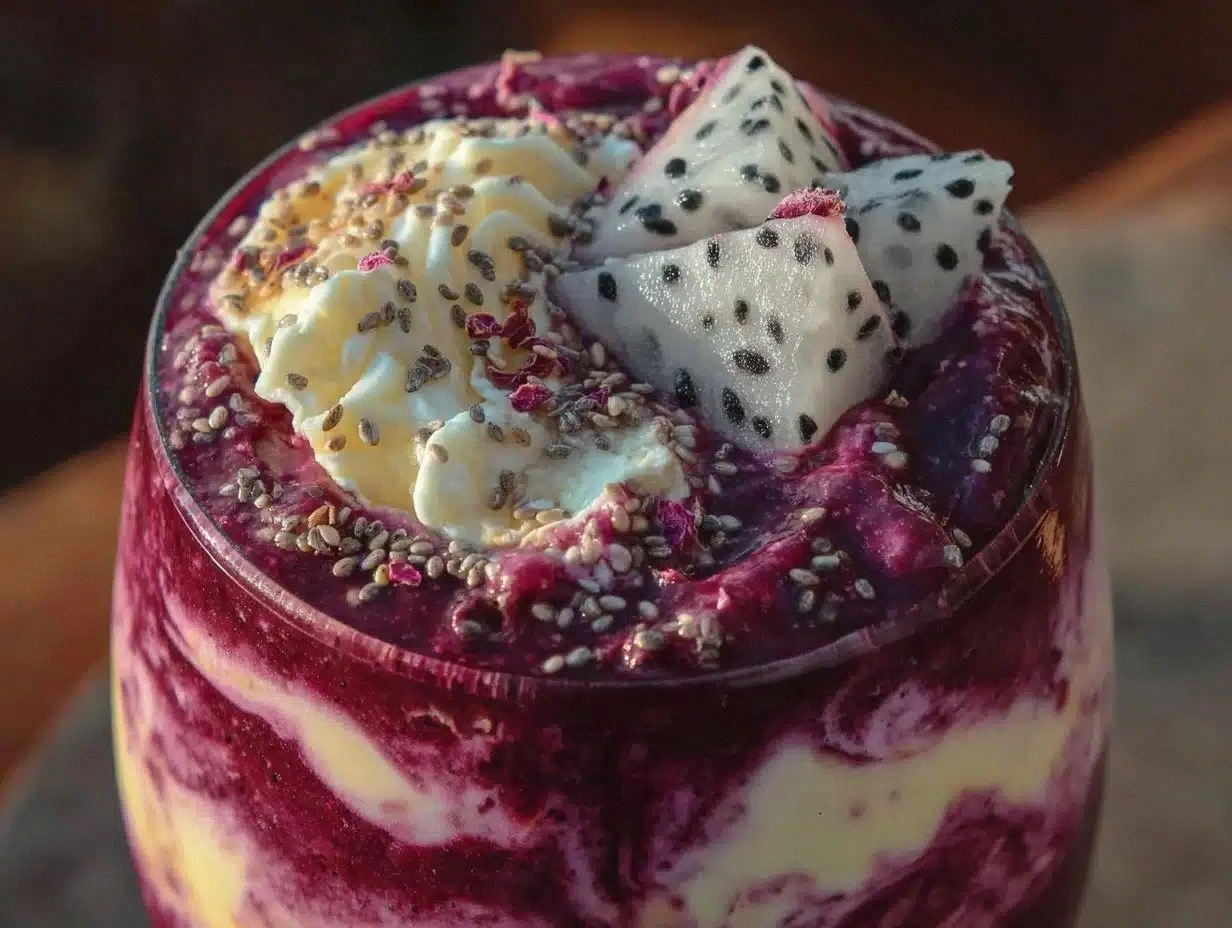
Add a layer of raspberry puree between the crust and the mint filling. The tartness of the berries cuts through the sweetness and adds a vibrant pink hue that looks stunning on a party platter.
Coconut Dream
Replace the heavy whipping cream with coconut cream and sprinkle toasted coconut flakes on top. This gives a tropical twist while keeping the cool mint flavor, perfect for summer gatherings.
Spiced Mint
Introduce a pinch of ground cardamom or cinnamon into the filling. The warm spice pairs surprisingly well with mint, creating a flavor profile that feels both fresh and comforting.
Nutty Crunch
Mix finely chopped toasted almonds or pistachios into the crust. The extra crunch adds a textural surprise that contrasts beautifully with the silky filling.
Storing and Bringing It Back to Life
Fridge Storage
Cover the cheesecake tightly with plastic wrap and store it in the refrigerator for up to four days. The flavor actually deepens after a day, so don’t be afraid to make it a day ahead of your event. Keep it on the middle shelf where temperature fluctuations are minimal.
Freezer Friendly
If you need to keep it longer, wrap the entire springform pan in a double layer of foil, then place it in a freezer‑safe bag. It will stay fresh for up to two months. When you’re ready to serve, transfer it to the fridge to thaw for at least six hours; this gradual thaw preserves the texture.
Best Reheating Method
No‑bake cheesecake doesn’t need reheating, but if you find the filling a bit too firm after freezing, place a tiny splash of cold water on the plate and microwave for five seconds. The steam created will coax the cheesecake back to its perfect, creamy consistency without compromising the mint flavor.