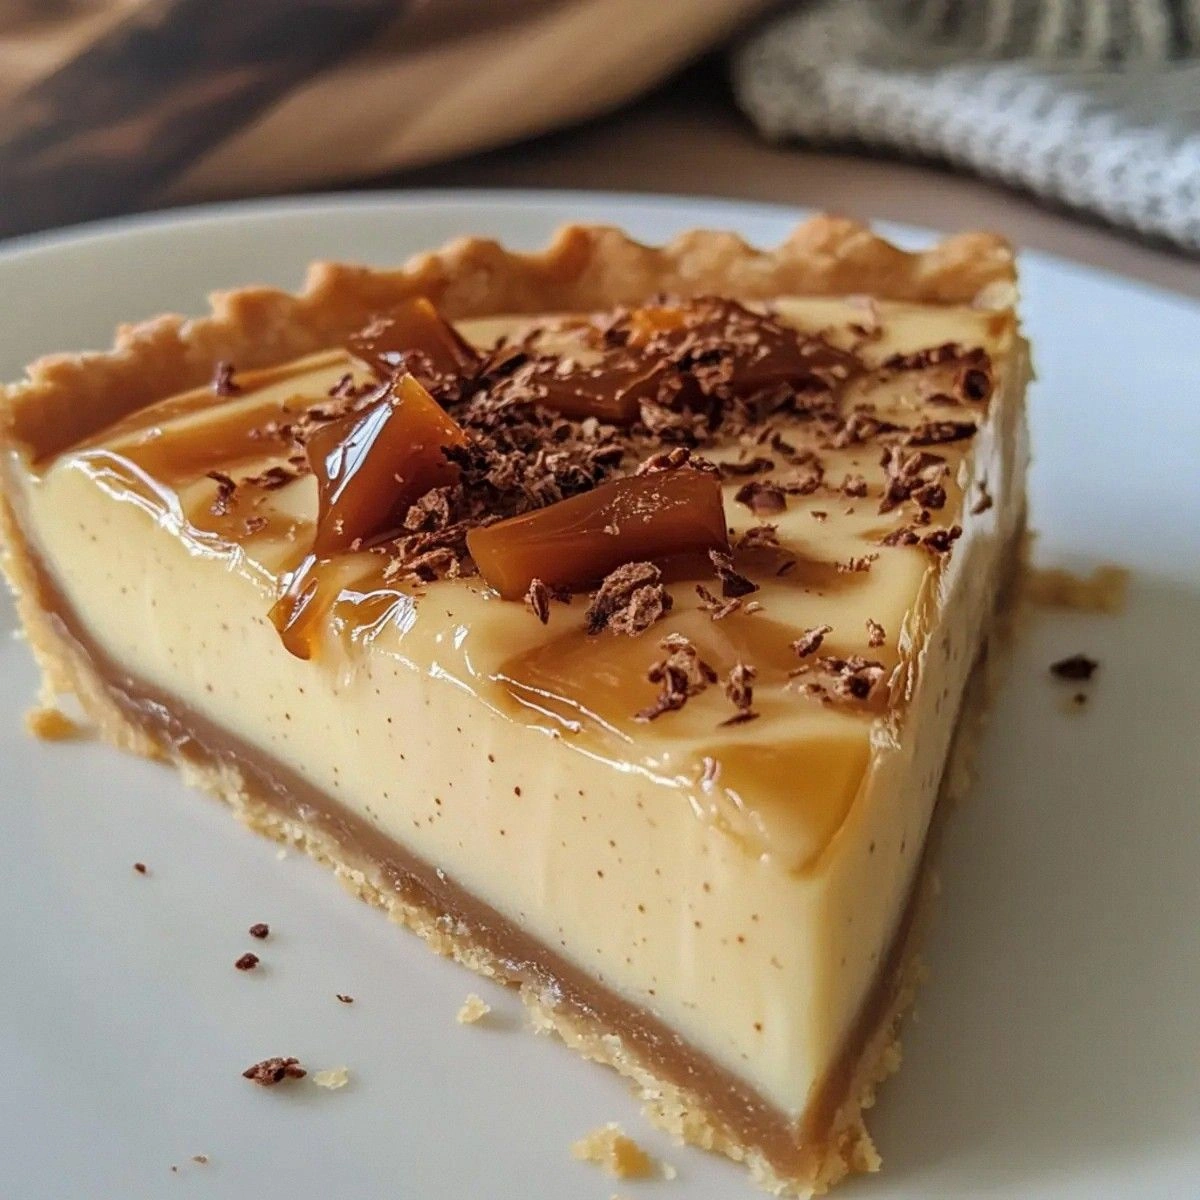
No‑Bake 20‑Minute Pear Dessert Cups – Creamy Yogurt, Honey, and Nut Crunch
When the first bite of a dessert transports you to a sun‑kissed orchard, you know you’ve discovered something special. This No‑Bake 20‑Minute Pear Dessert Cups recipe captures the sweet, subtly floral essence of ripe pears and pairs it with a luxuriously smooth yogurt‑honey base, finished with a crunchy nut topping that adds texture and depth. In just twenty minutes—no oven, no stovetop, no mess—you can create an elegant, portion‑controlled treat that feels as indulgent as a patisserie masterpiece while staying light enough for a midday snack or a guilt‑free after‑dinner finish.
The magic starts with perfectly ripe Bartlett or Bosc pears, sliced thin and lightly tossed in a splash of lemon juice to preserve their natural brightness. They sit in the bottom of a clear glass cup, allowing the vibrant golden‑yellow yogurt mixture to peek through, inviting you to dig in. A drizzle of pure honey adds a nuanced floral sweetness that compliments the pears without overpowering them, while a handful of toasted almonds, walnuts, and a pinch of sea‑salt create a satisfying crunch that balances the creamy texture.
This dessert is designed for busy lifestyles: it requires no baking, no chilling (beyond a quick 5‑minute set‑up), and uses pantry staples that you probably already have on hand. Whether you’re entertaining guests, looking for a quick family‑friendly treat, or simply craving something sweet that won’t leave you feeling heavy, these dessert cups deliver on flavor, visual appeal, and nutritional balance. The recipe also lends itself to easy customization—swap the nuts, add a dash of cinnamon, or replace the yogurt with a dairy‑free alternative for a vegan twist.
Ready to impress yourself and anyone you share them with? Let’s dive into the step‑by‑step guide, explore pro tips that guarantee perfect results every time, and discover creative variations that keep this dish fresh in your culinary repertoire.
Why You’ll Love This Recipe
- Ready in 20 minutes – perfect for last‑minute cravings.
- No oven or stove required – ideal for dorm rooms, offices, or summer kitchens.
- Balanced nutrition – protein‑rich Greek yogurt, natural sugars from pears and honey, and heart‑healthy nuts.
- Portion‑controlled cups make serving and storing a breeze.
- Versatile – adapt to vegan, gluten‑free, or low‑sugar diets with simple swaps.
- Eye‑catching presentation – clear glasses showcase layers of color for a restaurant‑style look.
Ingredients
- 2 ripe pears (Bartlett or Bosc), cored and thinly sliced
- 1 cup Greek yogurt (plain, 2% or full‑fat)
- 2 Tbsp honey (or maple syrup for vegan)
- ½ tsp vanilla extract
- ¼ tsp ground cinnamon
- 1 Tbsp lemon juice (fresh)
- ¼ cup mixed nuts (almonds, walnuts, pistachios), toasted and coarsely chopped
- Pinch of flaky sea salt
- Optional garnish: fresh mint leaves, extra drizzle of honey

Instructions
- Prep the pears: Wash, core, and slice the pears as thinly as possible (about 1 mm). Place the slices in a bowl and toss with the lemon juice to prevent browning.
- Toast the nuts: Heat a dry skillet over medium heat. Add the mixed nuts and toast, stirring constantly, until fragrant and lightly golden, about 3‑4 minutes. Transfer to a plate and let cool, then coarsely chop.
- Mix the yogurt base: In a medium bowl, combine Greek yogurt, honey, vanilla extract, ground cinnamon, and a pinch of sea salt. Whisk until smooth and creamy.
- Assemble the cups (first layer): Divide the pear slices evenly among 4–6 serving glasses, arranging them in a single layer at the bottom.
- Add the creamy layer: Spoon an equal amount of the yogurt mixture over the pears in each glass, smoothing the top with the back of a spoon.
- Top with crunch: Sprinkle the toasted nuts evenly over the yogurt layer. Finish with a light drizzle of extra honey and a pinch of flaky sea salt for contrast.
- Optional garnish: Add a few fresh mint leaves or a dusting of extra cinnamon for visual flair.
- Serve immediately or chill: These cups can be enjoyed right away for a fresh, bright texture, or refrigerated for up to 30 minutes if you prefer a slightly firmer set.
- Clean‑up tip: Because the recipe is no‑bake, you’ll only need a bowl, a skillet, and a spoon – minimal dishes!
Pro Tips & Tricks
- Choose the right pear: Bartlett pears are sweeter and softer, while Bosc pears hold their shape better and add a subtle caramel note.
- Prevent browning: The lemon juice not only adds a bright note but also slows oxidation. For an even brighter color, add a splash of orange juice.
- Yogurt alternatives: Use coconut‑cream yogurt for a dairy‑free version or blend silken tofu with a bit of lemon zest for a high‑protein vegan substitute.
- Crunch factor: For extra texture, mix toasted seeds (pumpkin or sunflower) with the nuts, or add a sprinkle of granola just before serving.
- Make ahead: Assemble the cups up to the yogurt layer and store them covered in the fridge for up to 2 hours. Add nuts right before serving to stay crunchy.
Variations & Substitutions
Fruit Swaps
Replace pears with sliced apples, ripe peaches, or even fresh figs for a seasonal twist. Adjust the sweetener level if the fruit is naturally sweeter.
Nut Alternatives
Try pistachios, hazelnuts, or pecans. For a nut‑free version, use toasted pumpkin seeds or crispy quinoa.
Flavor Boosters
Add a pinch of ground cardamom or ginger for an exotic warmth, or swirl in a spoonful of berry compote for a pop of color.
Vegan / Dairy‑Free
Swap Greek yogurt for plain soy or almond yogurt, and replace honey with agave nectar or maple syrup. The texture remains creamy while staying plant‑based.
Storage Tips
Because this dessert is assembled fresh, it’s best enjoyed within a few hours of preparation. If you need to store leftovers, keep the components separate: place the pear slices in an airtight container with a thin layer of lemon juice, store the yogurt mixture in a sealed bowl, and keep the toasted nuts in a dry jar. When ready to serve, simply re‑assemble the cups. The assembled dessert will stay fresh in the refrigerator for up to 24 hours, though the nuts may lose some crunch over time.
Frequently Asked Questions
No‑Bake 20‑Minute Pear Dessert Cups
Prep: 10 min
Cook: 0 min
Serves: 4‑6
Calories: ~210 kcal
Ingredients
Instructions
- Toss pear slices with lemon juice; set aside.
- Toast nuts in a dry skillet until golden; cool and chop.
- Whisk yogurt, honey, vanilla, cinnamon, and sea salt until smooth.
- Layer pear slices at the bottom of each serving glass.
- Spoon the yogurt mixture over the pears, smoothing the surface.
- Sprinkle toasted nuts evenly; drizzle a little extra honey.
- Garnish with a mint leaf or extra cinnamon if desired.
- Serve immediately or chill briefly for a firmer texture.
Nutrition (per serving)
| Calories | 210 kcal |
|---|---|
| Protein | 9 g |
| Carbohydrates | 28 g |
| Sugars | 18 g (natural) |
| Fat | 9 g |
| Fiber | 3 g |
| Calcium | 150 mg |