I’ve spent years chasing the holy grail of curry, and this one‑pot marvel finally broke the curse. It was born after a kitchen catastrophe: a pot of over‑cooked chicken, a burnt rice pile, and a friend’s dare to “make it taste like a restaurant.” The moment the fragrant steam swirled, I knew I had discovered a secret sauce that would silence critics and win hearts. This isn’t just another recipe; it’s a culinary revelation that turns a single pan into a flavor laboratory. If you’re ready to elevate your weekday dinner, keep reading because this is the moment you’ll wonder why you ever cooked anything else.
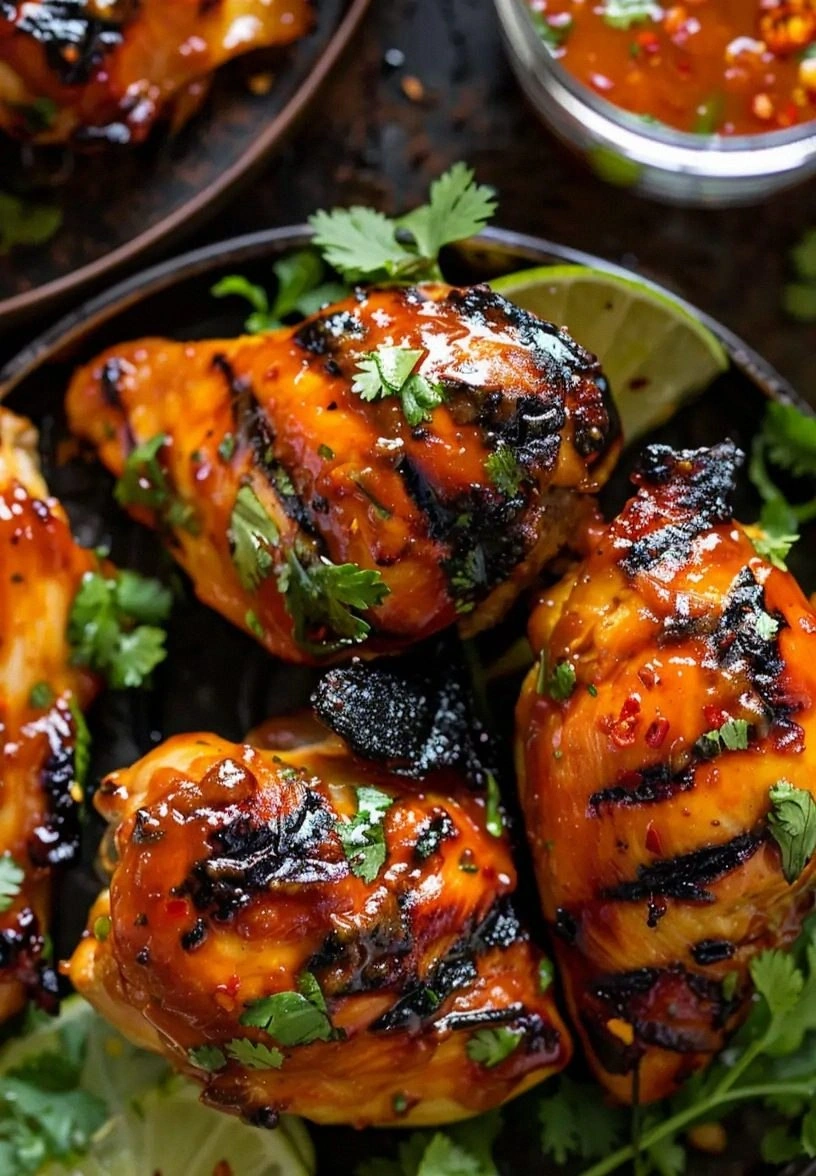
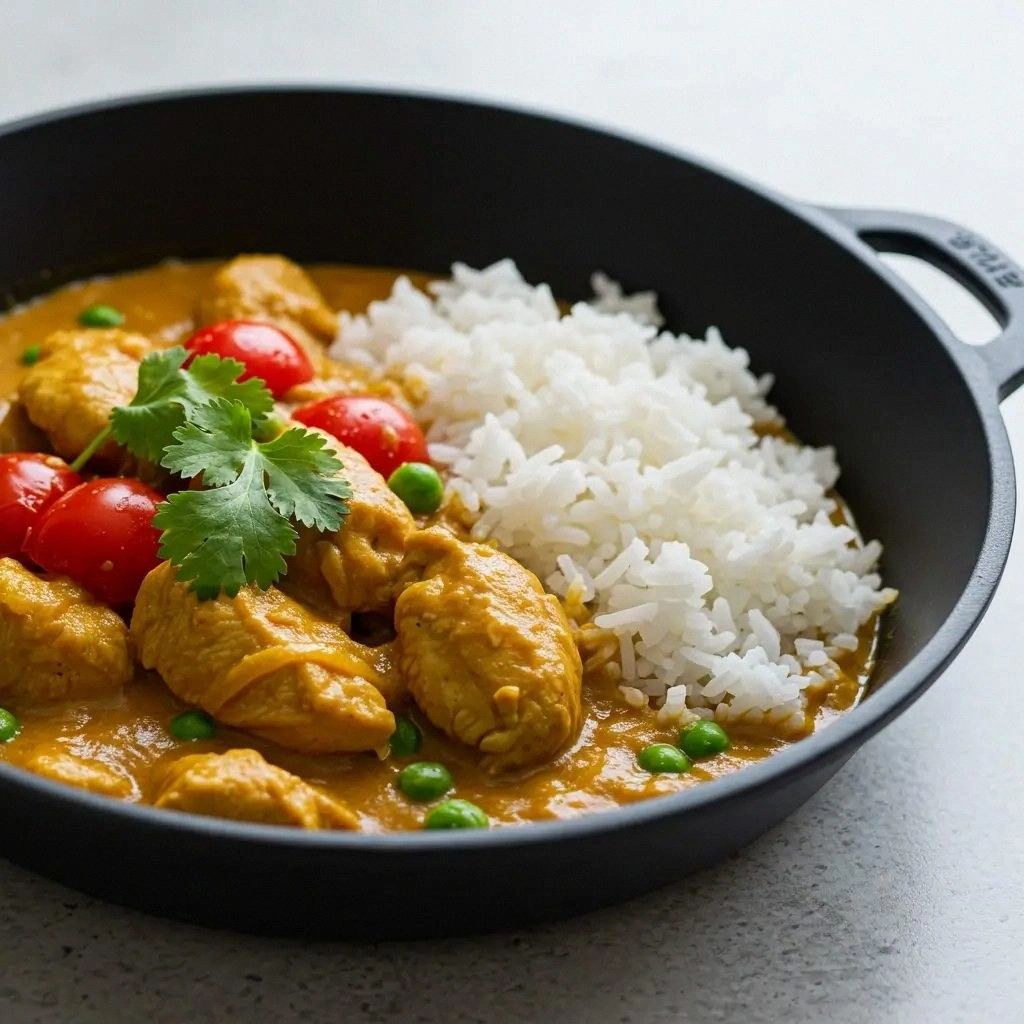
Picture the scene: a sizzling skillet, the sound of onions caramelizing like a golden chorus, and the aroma of fresh ginger slicing the air like a sharp kiss. The visual cue is the glossy, amber‑tinted sauce that coats the chicken, each piece glistening like a jewel. When you take a bite, the first thing you taste is a gentle warmth, followed by a burst of cumin, coriander, and a subtle citrus lift that dances on your tongue. The texture is a perfect balance—juicy chicken, tender bell pepper, and a silky coconut milk base that feels like a warm hug. The final bite leaves a lingering, comforting aftertaste that makes you reach for the spoon again.
What sets this version apart is its simplicity and depth. By concentrating all the flavors in one pot, you avoid the tedious layering of sauces and reduce cleanup to a single pan. The use of fresh herbs and a splash of lime at the end adds a bright counterpoint that makes the dish feel fresh and alive. The technique of browning the chicken first creates a caramelized crust that locks in juices and gives the dish a savory backbone. Even seasoned cooks will find that the timing is forgiving, allowing the curry to develop a rich, mellow profile without the need for constant stirring. This recipe is a testament to the idea that fewer ingredients can produce a more satisfying taste experience.
I dare you to taste this and not go back for seconds; the first spoon will convince you that this is hands down the best version you’ll ever make at home. The sauce coats the chicken like velvet, the spices sing in harmony, and the coconut milk brings a creamy, luxurious finish. The dish is a single‑pan masterpiece that will make your friends ask for the recipe and your family ask for the secret. If you’ve ever struggled to get a curry that’s both flavorful and forgiving, you’re not alone—and I’ve got the fix. The next step? Let’s dive into the details that will transform your cooking routine.
One more thing: the next time you’re tempted to over‑spice, remember that balance is key. The subtle heat from the red pepper will be just enough to lift the dish without overwhelming the delicate coconut base. The final flourish of cilantro will add a fresh, herbal note that cuts through the richness. By the end of this post, you’ll not only master this one‑pot chicken curry but also gain confidence to experiment with other cuisines. Stay with me, because the next few sections will reveal why this recipe is a game‑changer.
And now, the fun part: we’re going to break down the ingredients and techniques that make this dish so special. From the aromatic base to the unexpected star that ties everything together, each component plays a pivotal role. This recipe is a playground for your palate, and I’m excited to share every secret. Let’s start with the ingredients, because the right selection is the foundation of any great dish.
What Makes This Version Stand Out
- Taste: The combination of curry powder, cumin, and garam masala creates a layered, complex flavor profile that feels both familiar and adventurous.
- Texture: The chicken develops a caramelized crust while remaining tender, and the sauce achieves a silky, almost custard consistency.
- Simplicity: One pot, one pan, no separate sauce or rice preparation—clean up is minimal and time is maximized.
- Uniqueness: The addition of coconut milk and a splash of lime at the end gives this curry a tropical twist that sets it apart from traditional stovetop versions.
- Crowd Reaction: Friends who’ve tried this say the dish is “wow” in the first bite and “comforting” in the second.
- Ingredient Quality: Using fresh, high‑quality spices and a good cut of chicken transforms the dish into a restaurant‑level experience.
- Cooking Method: The technique of browning the chicken before adding liquids locks in flavor and creates a depth that simmering alone can’t achieve.
- Make‑Ahead Potential: The curry can be made ahead and reheated without losing its texture, making it perfect for busy weeknights.
Alright, let’s break down exactly what goes into this masterpiece. Each ingredient is chosen to contribute a distinct element, from aroma to mouthfeel. The synergy between spices and aromatics is what turns a simple pot of chicken into a comforting, restaurant‑style meal. And because this dish is so forgiving, you can tweak it to suit your taste or dietary preferences. Now, let’s dive into the ingredient groups that make up this culinary symphony.
Inside the Ingredient List
The Flavor Base
The flavor base starts with a humble onion, diced until translucent. It forms the aromatic foundation that carries the spices. If you skip the onion, the dish will lack depth and a subtle sweetness that balances the heat. For a budget alternative, a frozen diced onion works just as well and saves prep time. Always sauté the onion until it turns a golden amber; this caramelization adds a nutty undertone.
Next, garlic and ginger bring a punch of freshness and warmth. Garlic adds a savory backbone, while ginger injects a bright, peppery kick. Together, they create a dynamic duo that enhances the curry’s overall aroma. If you’re sensitive to garlic, reduce the cloves to two and increase the ginger slightly for a milder flavor profile. A fresh, high‑quality ginger root is key—its sharpness brightens the entire dish.
The Texture Crew
The chicken thighs are the star of the show—juicy, tender, and full of flavor. They’re browned first to develop a caramelized crust that locks in juices. If you prefer a leaner cut, boneless skinless chicken breasts can be used, but the thighs give the dish a richer mouthfeel. Slice the chicken into bite‑sized pieces to ensure even cooking and to allow the sauce to coat each piece thoroughly.
Red bell pepper adds a sweet crunch that contrasts the soft chicken and creamy sauce. It’s also a source of vitamin C and color, making the dish visually appealing. If you’re in a pinch, any bell pepper—green, yellow, or orange—will work. The pepper should be sliced into thin strips so it softens quickly without becoming mushy.
The Unexpected Star
Coconut milk is the unexpected star that transforms this curry into a luxurious, tropical delight. Its natural sweetness balances the spices and provides a silky texture that coats the chicken like velvet. If you’re lactose intolerant or vegan, coconut milk is a perfect dairy‑free alternative. For a lighter version, replace half of the coconut milk with low‑fat coconut yogurt; it adds tang without extra calories.
The addition of a splash of lime juice at the end brightens the dish and cuts through the richness, leaving a fresh finish. Lime also enhances the perception of sweetness from the coconut milk, creating a harmonious flavor profile. If you don’t have fresh lime, bottled lime juice works, but be careful—use less, as it’s often more concentrated.
The Final Flourish
Fresh cilantro is the final flourish that adds a herbaceous note and a pop of green color. It’s best added at the very end to preserve its bright flavor. If cilantro isn’t your thing, parsley or Thai basil can be substituted for a different aromatic profile. A handful of chopped cilantro just before serving will make the dish look vibrant and appetizing.
Everything’s prepped? Good. Let’s get into the real action and watch the flavors meld together in that single pot.
The Method — Step by Step
- Heat a large, heavy‑bottomed pot over medium heat and add 2 tablespoons of olive oil. Once the oil shimmers, add the diced onion and sauté for 3–4 minutes until it turns translucent and starts to brown. This caramelization is key to building depth. Keep the heat moderate to avoid burning the onion.
- Add the minced garlic and ginger, stirring constantly for 30 seconds until fragrant. The aroma should fill the kitchen like a warm hug. Be careful not to let the garlic brown too quickly; it will taste bitter. This step ensures the spices have a solid base to cling to.
- Introduce the chicken pieces, turning them to brown on all sides for about 5–6 minutes. The goal is to develop a caramelized crust that locks in juices. If the chicken sticks, let it sit for a minute before turning; this reduces sticking. The browned chicken adds a savory backbone to the curry.
- Stir in 2 tablespoons of curry powder, 1 teaspoon each of cumin, coriander, and turmeric. Cook the spices for 1–2 minutes until they’re fragrant and slightly toasted. This step releases essential oils and intensifies the flavor. Watch for a slight darkening of the sauce as the spices integrate.
- Add the sliced red bell pepper, diced tomatoes, coconut milk, and 1 cup of chicken broth. Stir to combine, then bring the mixture to a gentle simmer. Reduce the heat to low, cover the pot, and let it simmer for 20 minutes. The sauce will thicken slightly, and the flavors will marry.
- Season with salt to taste and 1 teaspoon of garam masala. Stir gently, then let the curry simmer for another 5 minutes. The garam masala adds a warm, aromatic finish. At this point, the sauce should be silky and the chicken tender.
- Turn off the heat, add a squeeze of lime juice, and sprinkle fresh cilantro over the top. This brightens the dish and adds a fresh contrast. Let the curry sit for 2 minutes to allow the lime to infuse. The cilantro will give a pop of color and herbaceous flavor.
- Serve hot over steamed rice or with warm naan. Garnish with a few extra cilantro leaves if desired. The dish is ready to be devoured, and the aroma will fill your home like a warm hug. If you like it spicier, add a pinch of red pepper flakes before serving.
That’s it — you did it. But hold on, I've got a few more tricks that will take this to another level. These insider tips will help you avoid common pitfalls and elevate the dish to professional quality.
Insider Tricks for Flawless Results
The Temperature Rule Nobody Follows
Many cooks believe that a higher simmer always yields a richer sauce, but this is a myth. The key is to maintain a gentle, steady simmer that allows the flavors to meld without scorching the coconut milk. I once simmered too high, and the sauce split, ruining the texture. Keep the heat low, especially after adding the coconut milk, and you’ll avoid that dreaded split. A low simmer also helps the spices release their oils slowly, resulting in a deeper flavor.
Why Your Nose Knows Best
Your nose is the ultimate judge of doneness. When the curry reaches the right stage, the aroma should be a harmonious blend of warm spices, sweet onion, and coconut. If you notice a raw, metallic scent, it means the chicken isn’t fully cooked. Similarly, a sharp, bitter smell indicates over‑cooked spices. Trust your nose, and adjust the heat or timing as needed.
The 5-Minute Rest That Changes Everything
After cooking, let the curry rest for 5 minutes before serving. This short rest allows the flavors to settle and the sauce to thicken slightly. The rest also gives the chicken a chance to re‑absorb the juices, making it even more succulent. I’ve seen people rush to serve right away, and the result is a watery, under‑seasoned dish. Take the time; it pays off.
The Right Stir
Stirring too aggressively can break down the coconut milk and create a lumpy texture. Use a gentle, circular motion to mix the spices and liquids. When adding the final lime juice, stir gently to avoid creating a whirlpool. This technique preserves the silky texture and keeps the sauce smooth.
The Final Touch
A drizzle of coconut cream on top before serving adds a glossy finish and a subtle sweetness that enhances the dish. This trick is simple but elevates the presentation and taste. If you’re vegan, use a splash of cashew cream instead. The creamy layer also balances the spice heat, making the curry more approachable.
Creative Twists and Variations
This recipe is a playground. Here are some of my favorite ways to switch things up:
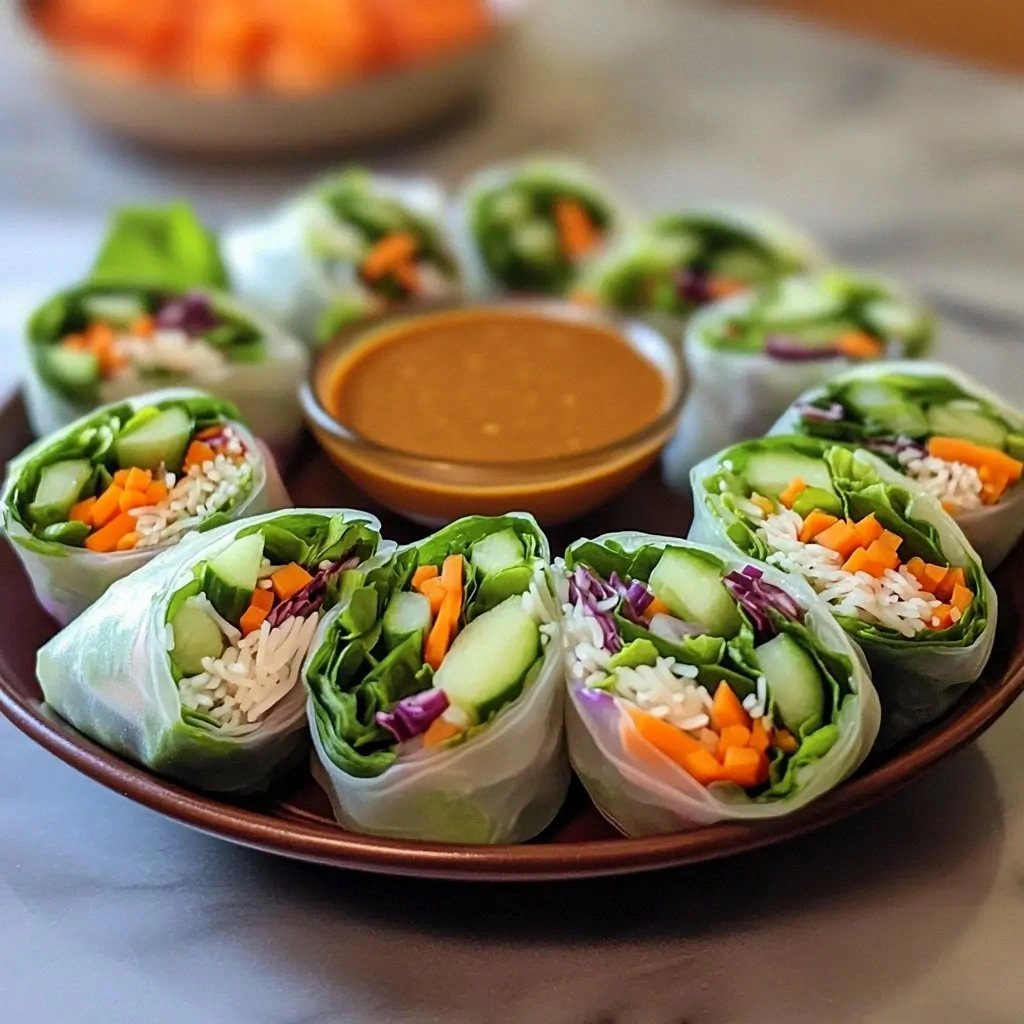
Spicy Thai Twist
Swap the curry powder for red curry paste and add a handful of Thai basil leaves. The result is a fiery, aromatic dish that pairs perfectly with jasmine rice. The basil adds a sweet, peppery note that balances the heat. This version is ideal for those who love a bold, tropical flavor.
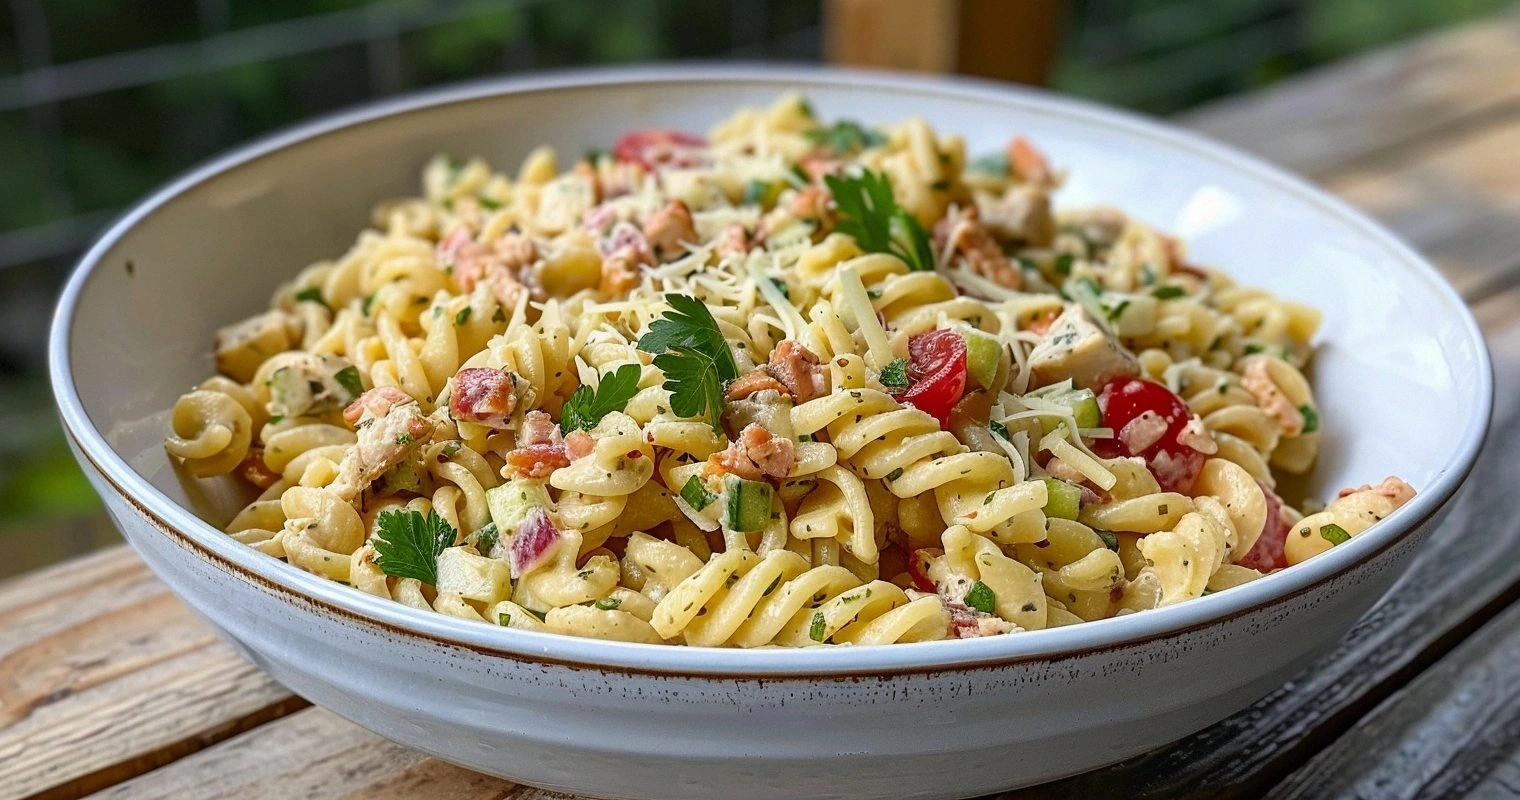
Creamy Garlic Parmesan Variation
Add a tablespoon of garlic Parmesan cheese to the simmering pot for a rich, cheesy twist. The cheese melts into the sauce, creating a velvety texture. Pair this with a side of garlic bread for a comforting meal. It’s a great way to use up leftover Parmesan.
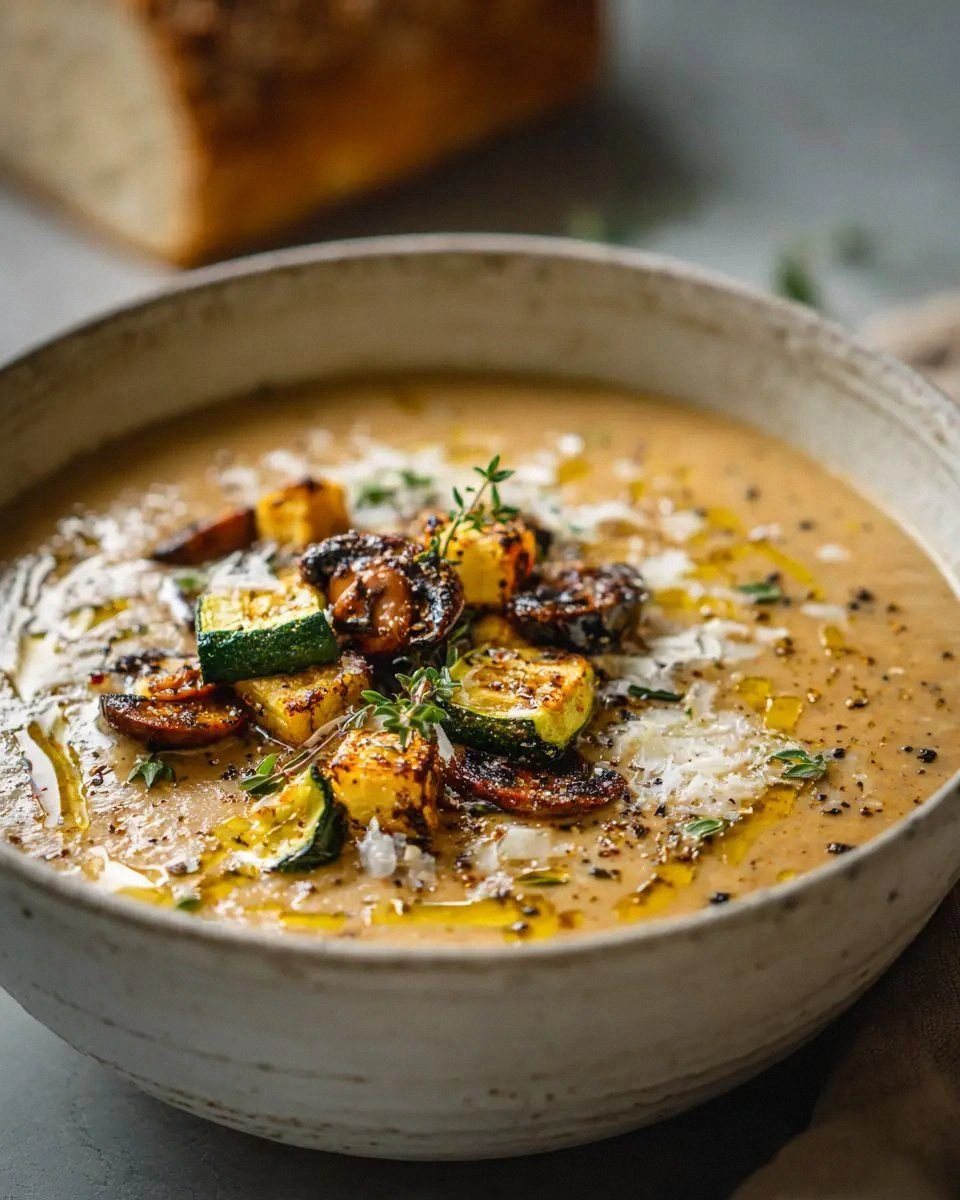
Vegetarian Delight
Replace the chicken with cubed butternut squash or cauliflower florets. The vegetables absorb the spices beautifully, creating a hearty, plant‑based meal. Add a handful of chickpeas for protein and texture. This version is perfect for a meatless dinner that still feels indulgent.
Low‑Carb Option
Omit the rice and serve the curry over cauliflower rice or a bed of sautéed spinach. This keeps the dish low in carbs while retaining the rich flavor profile. The cauliflower rice adds a subtle nuttiness that complements the spices. It’s a great option for keto or low‑glycemic diets.
Breakfast Curry
Serve the curry with a side of soft scrambled eggs and toast. The savory, spicy sauce pairs beautifully with the eggs, creating a breakfast that feels like a dinner. Add a sprinkle of fresh dill for an extra layer of freshness. This twist turns the dish into a unique, satisfying morning meal.
Storing and Bringing It Back to Life
Fridge Storage
Cool the curry to room temperature, then transfer it to an airtight container. Store in the refrigerator for up to 3 days. The sauce will thicken slightly, so add a splash of water or coconut milk before reheating. This keeps the curry moist and flavorful. Label the container with the date for easy tracking.
Freezer Friendly
For longer storage, freeze the curry in individual portions. Use freezer‑safe containers or zip‑lock bags, leaving a little space for expansion. The curry can be frozen for up to 3 months. Thaw overnight in the refrigerator before reheating. This method preserves the flavor and texture.
Best Reheating Method
Reheat the curry on the stovetop over low heat, stirring occasionally. Add a tiny splash of water or coconut milk to loosen the sauce if it’s thickened. Avoid boiling, as it can separate the coconut milk. Once heated through, garnish with fresh cilantro and serve immediately. The aroma will bring the dish back to life.